Alerts Use-Case: Structured Output Type
This tutorial describes how to set up presets for Notification Center using alerts as the notification source type.
Preset setup
Step 1: Getting started
Navigate to Data Flow > Notification Center. Select the destination type as the basis for your notification.
Navigate to the Presets tab. Click + Create new preset.
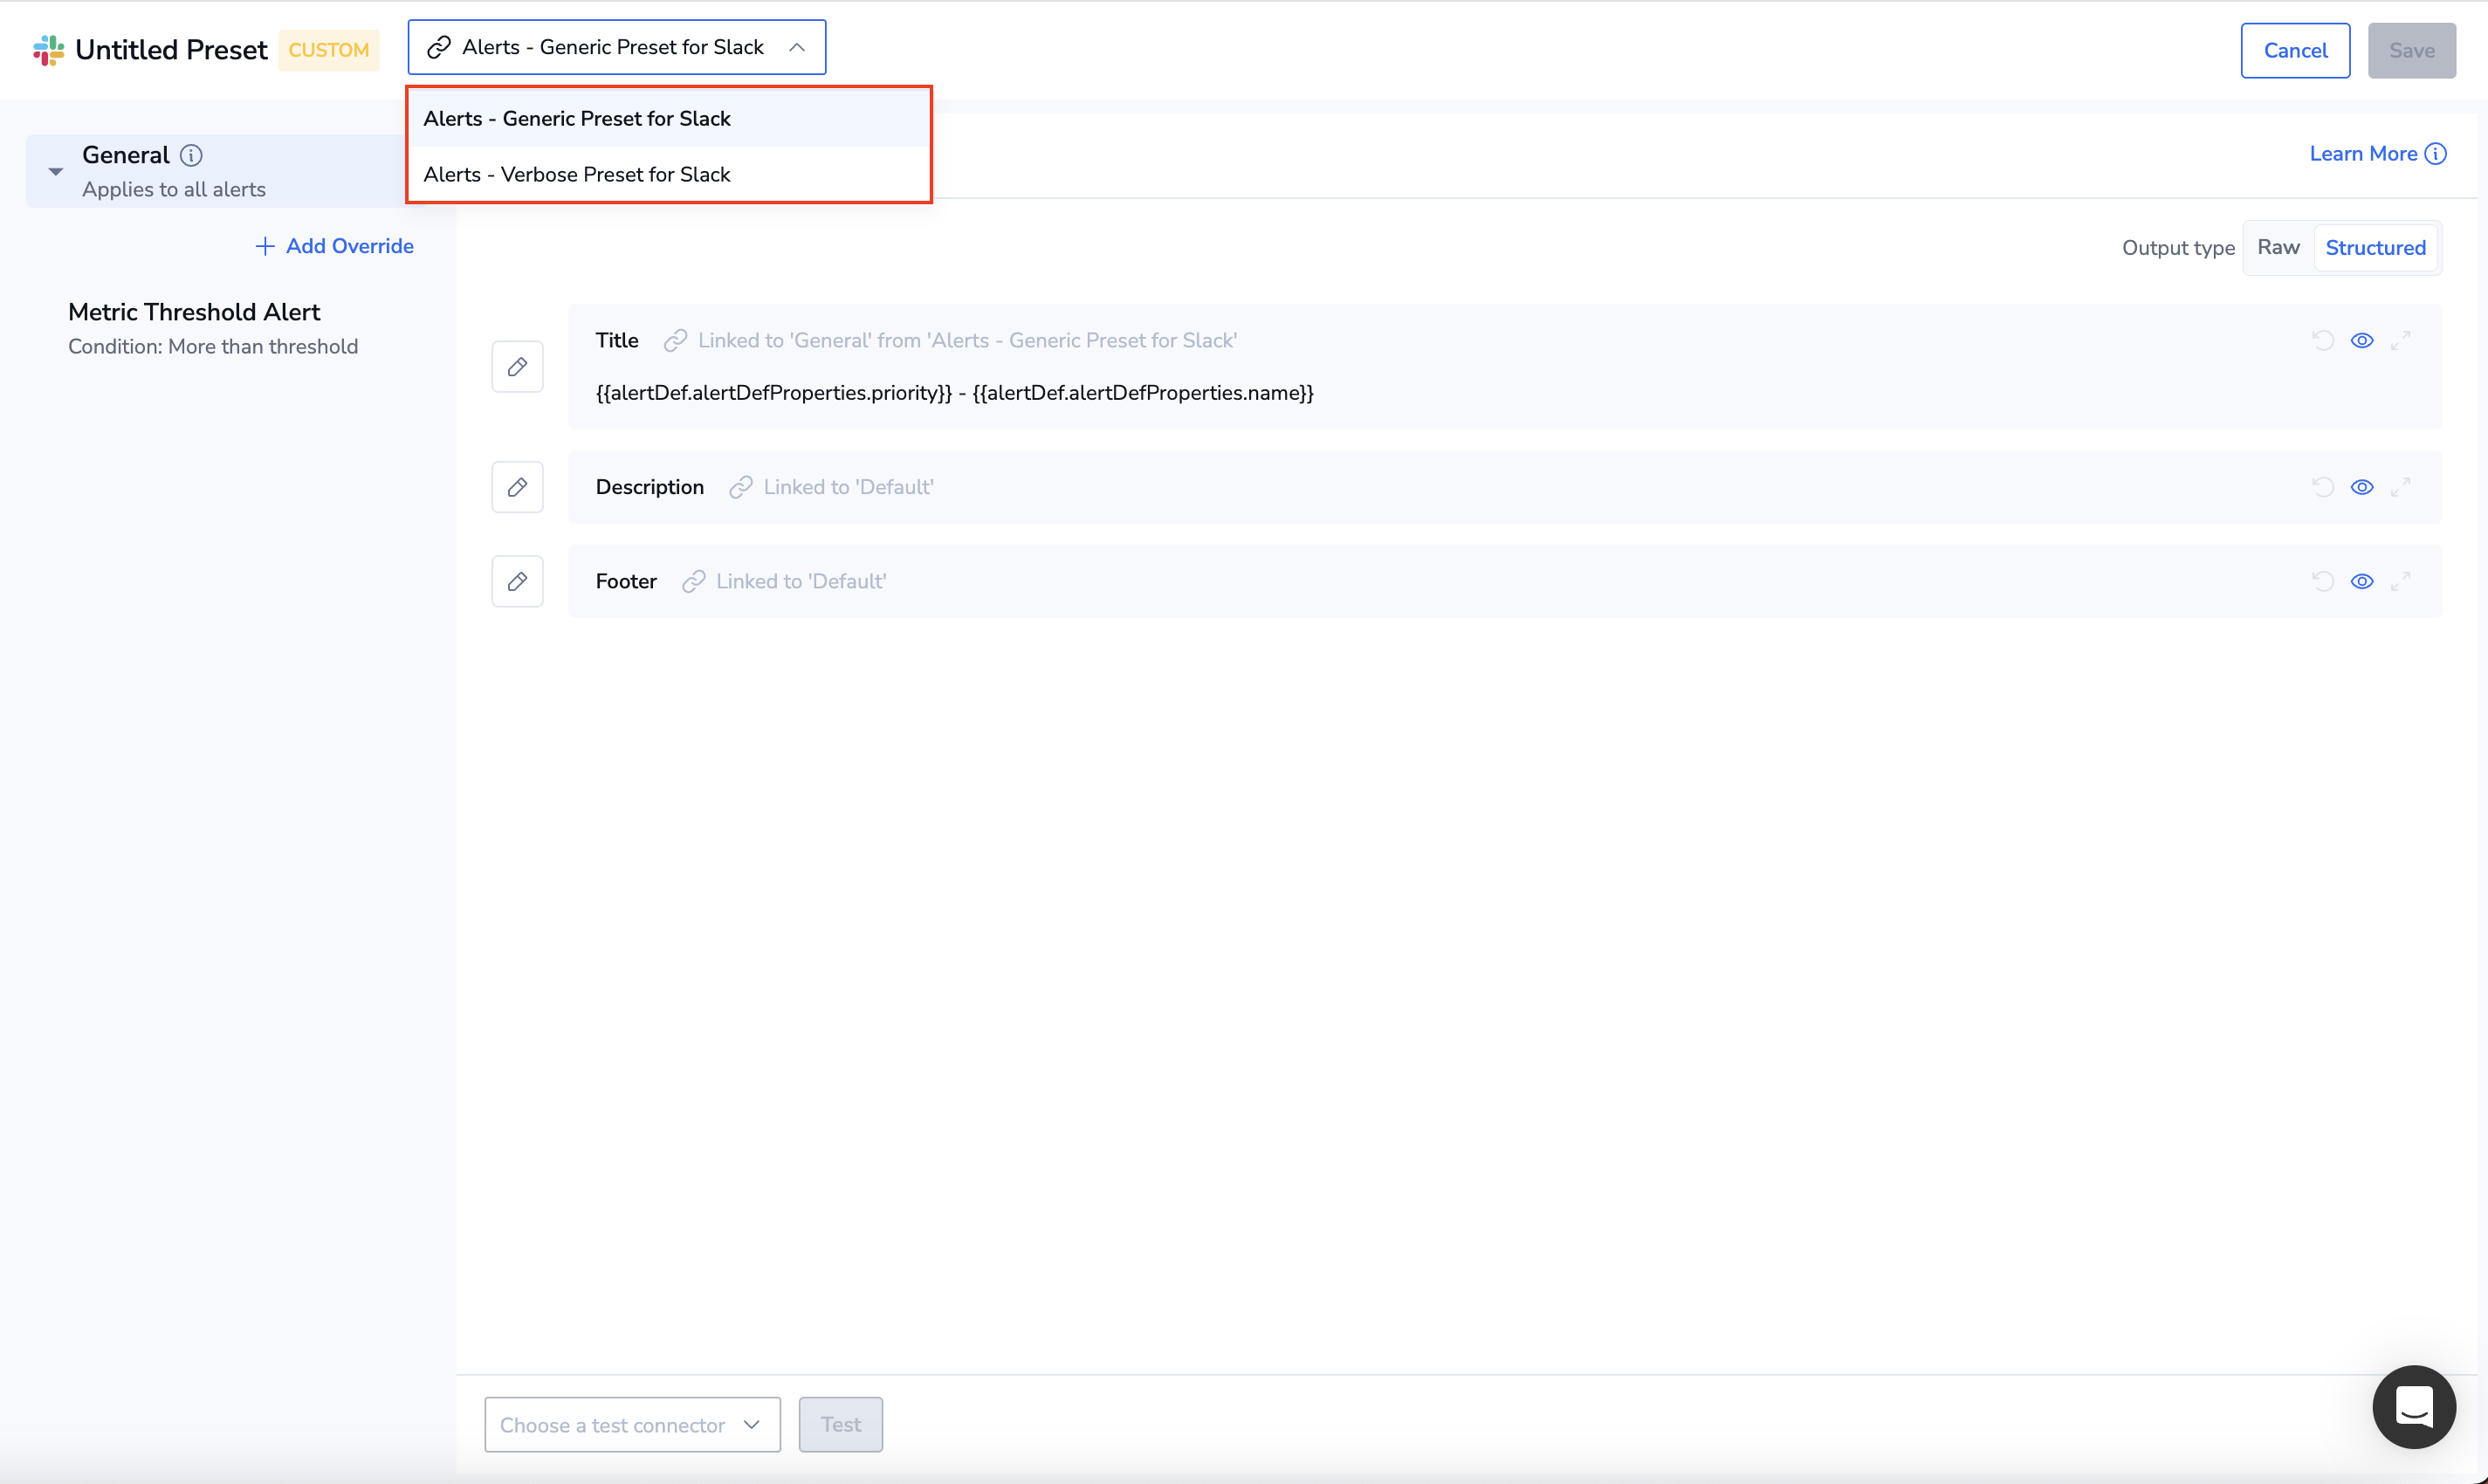
Select the System preset on which to base your custom preset.
The schema presented in the preset is determined by destination type, notification source type, and output type. In the example below, the user has chosen the Basic system preset for alert notifications sent to Slack. The ouput type is stuctured, consisting of Title, Description, and Footer.
Step 2: Configure the General preset layer
You’ll be presented with the General configuration layers for the selected destination type. You may choose to keep as-is or customize any fields to fit your needs. Add or remove functions and insert free text in any templates as desired.
Step 3: Configure the Override preset layer
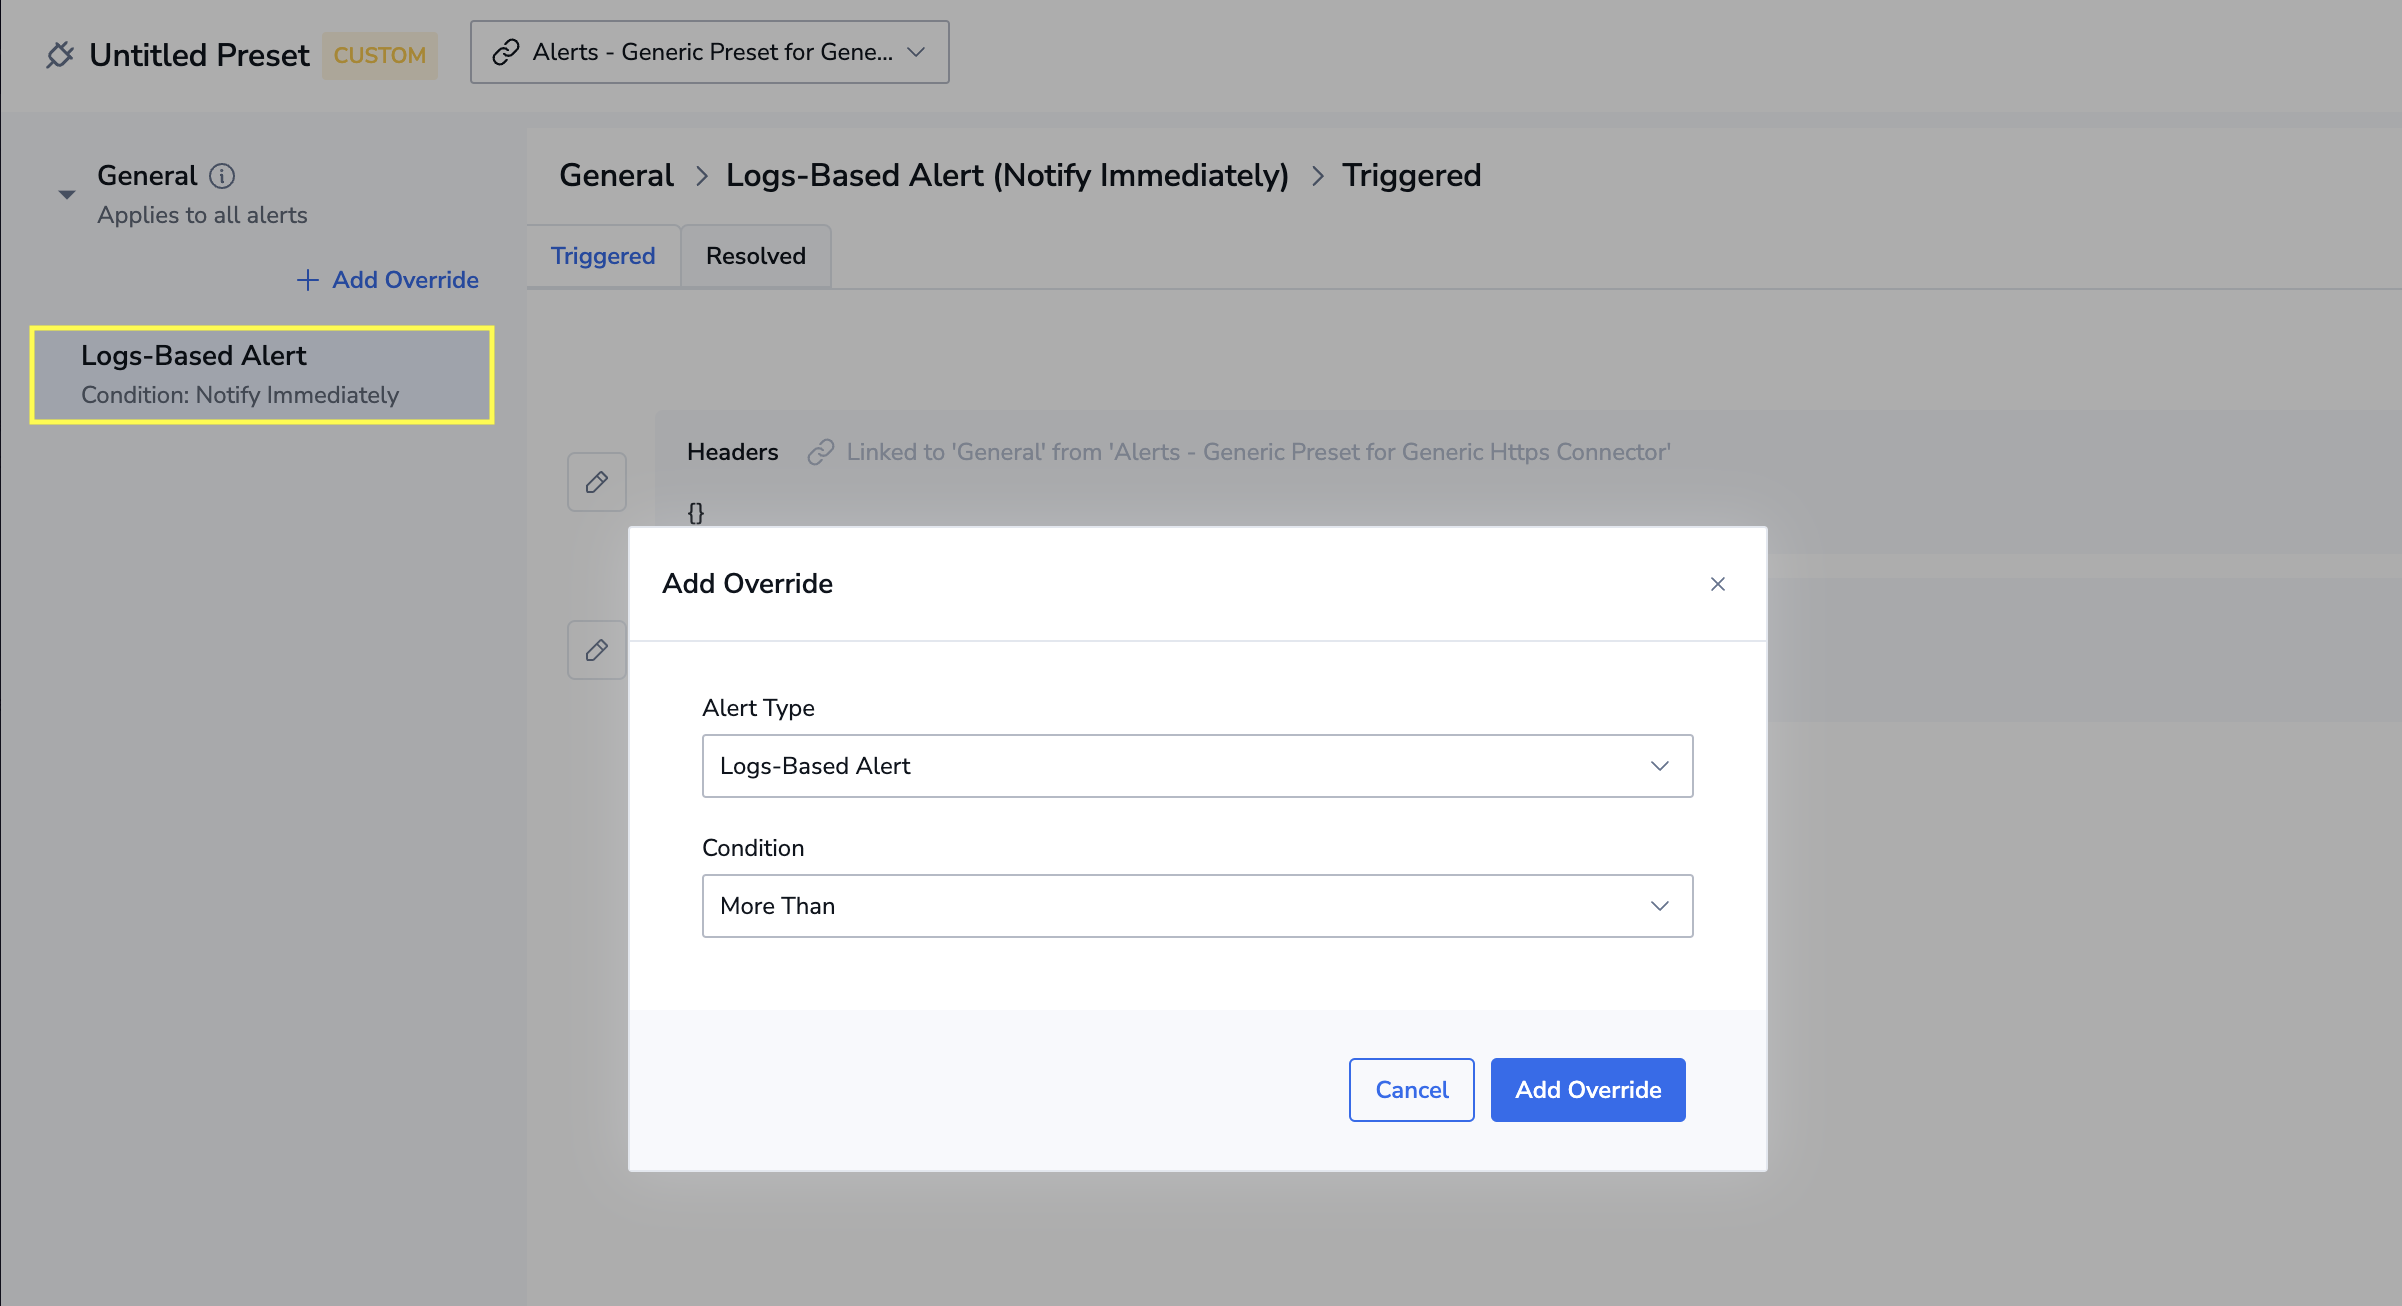
Configure the preset layer by first selecting an option from the left-hand panel. If your notification source subtype doesn't appear, click + Add override to select the desired subtype.
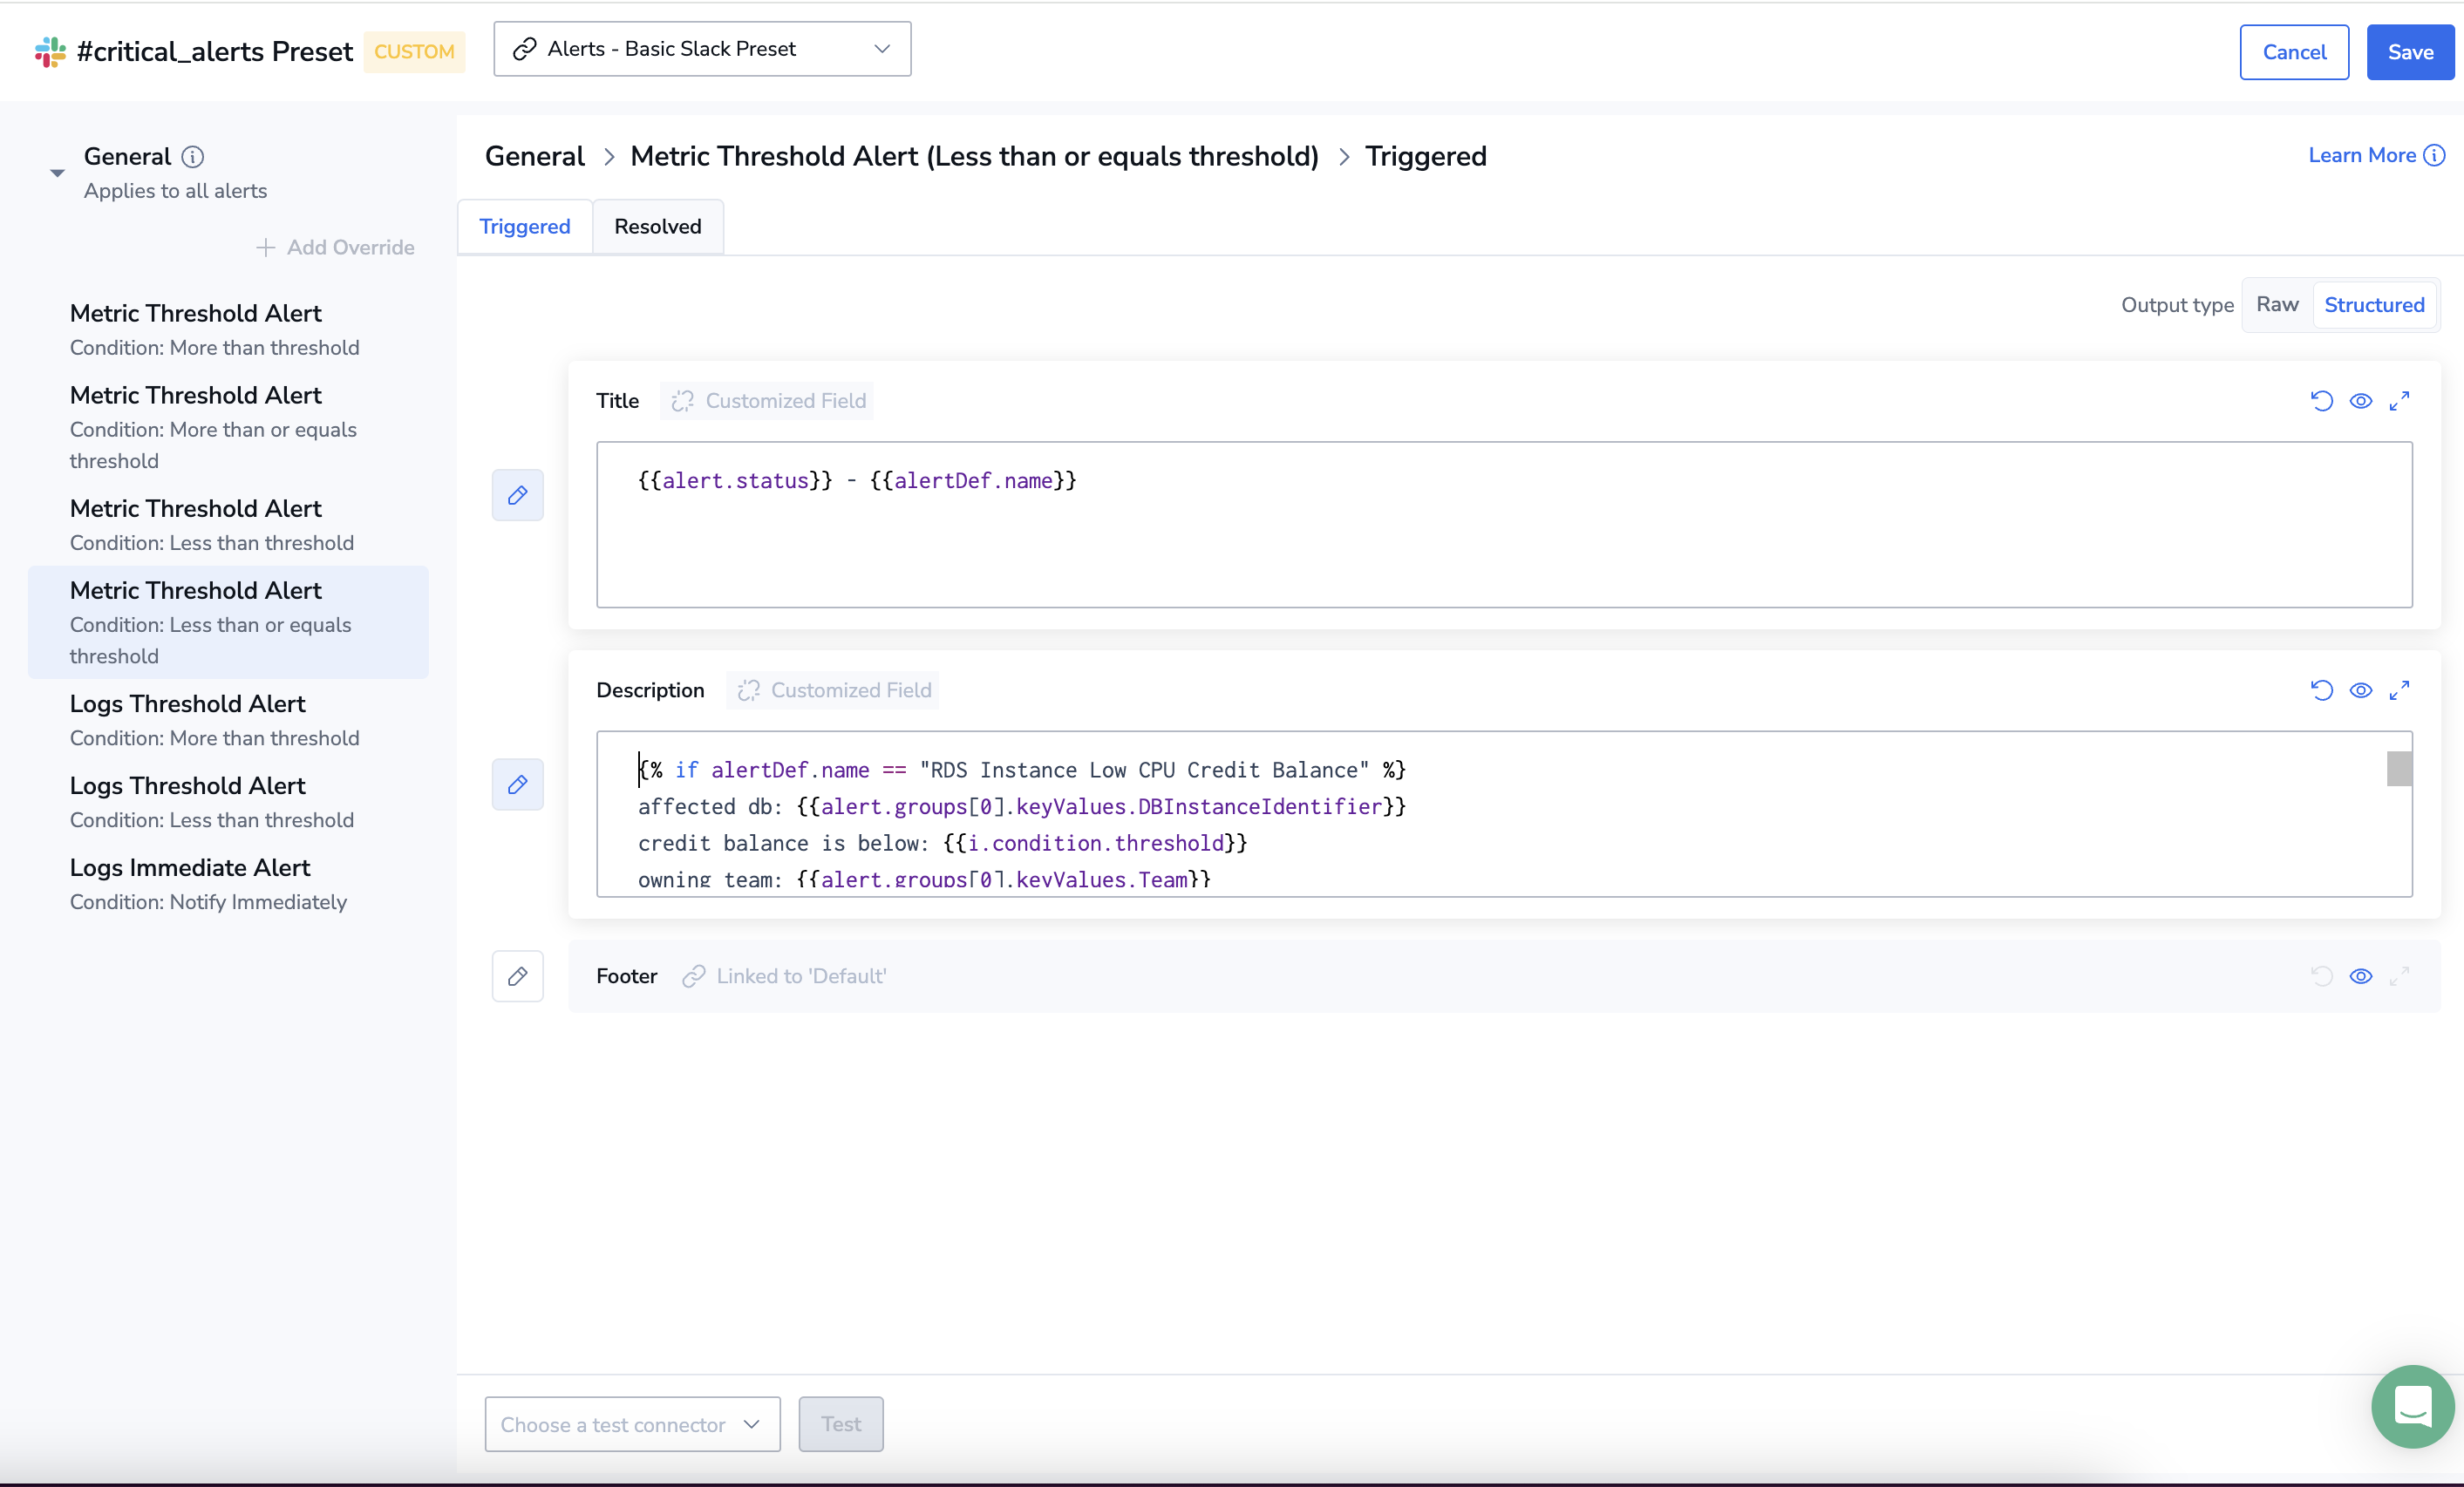
As with the General layer, you can then either keep the default configuration or customize it to suit your needs. To see hard-coded examples for any field, click the eye icon.
In the example below, the user configures the Override layer for the following alert source subtype: Metrics Threshold Alert/Condition: Less than threshold/Status: Triggered.
Note
Keep in mind that when a template is customized in either the General or Override layers of a Custom preset, it becomes independent of the system preset.
Here are the implications for the use-case above:
- Title has been customized. Future system updates to this field will not be inherited.
- Description has been customized. Future system updates to this field will not be inherited.
- Footer continues to inherit from the system preset. If Coralogix updates the Footer template in the system preset, the change will automatically apply to this custom preset.
For details on customizing your schema and examples, see Dynamic Templating.
Step 4: Define triggered and resolved configurations
For alerts, define message configuration versions for triggered and resolved notifications in the specific notification subtype. While both structures are similar, the templates differ slightly. Navigate between the Triggered and Resolved tabs to view and modify the respective configurations as necessary. Keep in mind that any customizations made to one version do not automatically carry over to the other version.
Step 5: Finalize the preset
Once you're done, click Test (optional) and then Done. The Test button sends a notification with hard-coded example values to the selected channel. The new preset will then appear in the Presets tab.
Final notification output
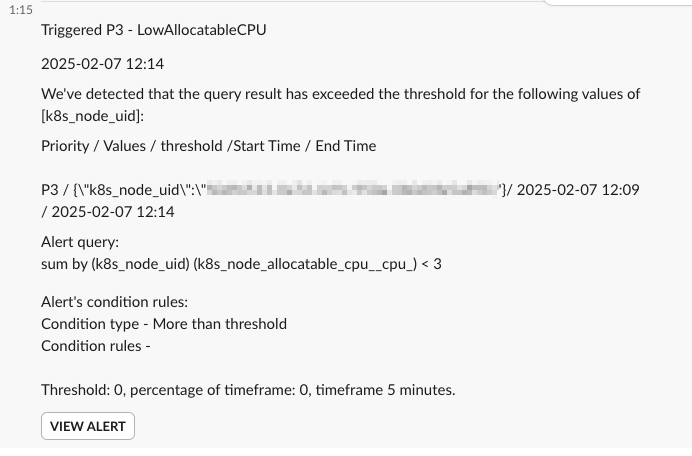
When an alert is triggered, the final notification is sent based on the preset configuration, with more specific, customized configurations taking precedence over more general, system configurations.
Here is an example of a notification resulting from a Basic preset for the Slack destination type:
Here is an example of a notification resulting from a Detailed preset for the Slack destination type:

Click on the View Alert button to view the alert in Incidents.