Generic incoming webhooks
A generic incoming webhook gives you a ready-made Coralogix URL that any application capable of sending an HTTP request can post to. Coralogix generates the URL, binds it to an API key, and stamps every event it receives with the application and subsystem names you pick, so you can start ingesting telemetry without writing shipper code or deploying an agent.
When to use an incoming webhook
Incoming webhooks suit low-volume, event-driven sources: CI pipelines, SaaS notifications, status feeds, and internal tools that already know how to post JSON.
Keep these constraints in mind before you point a source at one:
- Latency. Every request carries its own overhead. For high-traffic sources, send to a standard log endpoint such as singles instead.
- Payload size. 2 MB per request, measured uncompressed. Compressing the request body does not raise this limit.
- Rejected requests. Anything larger returns HTTP
413 Payload Too Large, and none of the events in that request are ingested.
What you need
- A Coralogix API key. You can create one while configuring the webhook.
- An application and subsystem name to route the incoming data.
- A source application that can send an HTTP request with a JSON or text body.
Create an incoming webhook
Navigate to Data Flow, then Contextual Data.
On the Generic Webhook card, select Add.
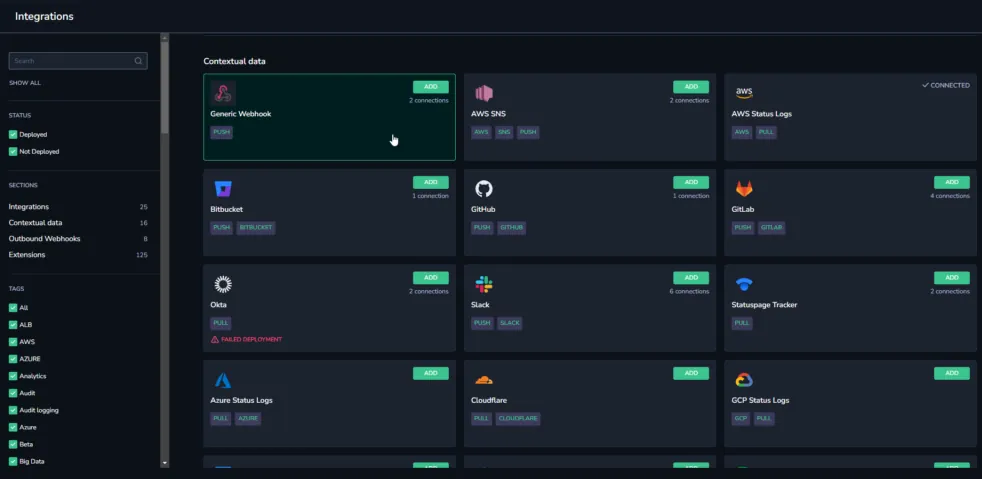
Shows the Contextual Data catalog filtered to push and pull integrations, with the Generic Webhook card highlighted.
Select Add new. The page lists every webhook already defined in the account, with its URL, application, subsystem, and creation date.

Shows the Generic Webhook integration page with the table of existing webhooks and the Add new button.
Complete every field in the Integration Details panel.
| Field | What to enter |
|---|---|
| Webhook Name | A name for the webhook. |
| Your API Key | Select Create new key to generate a key and name it, or supply an existing one. |
| App Name and Subsystem Name | The application and subsystem names applied to every event this webhook ingests. |
| Content Type | JSON or Text. JSON accepts request bodies with a content type of application/json or application/x-ndjson. |
| Timestamp | Generate on ingestion stamps each event with the system time at ingestion. Extract from the body reads the timestamp out of the event itself. Select Path (typical for JSON) or Regex (typical for text), then enter the path or expression to extract with. |

Shows the integration details form with the Create new key and Generate URL buttons.
Select Generate URL. Coralogix creates the webhook URL for you to copy into your application.
In Secure Mode you can download the URL only once, at the moment you generate it. Afterwards it appears masked in Coralogix.
Connect your application
Paste the generated URL into the webhook settings of the source application. In GitLab, for example, it goes in the URL field of the project's webhook settings.
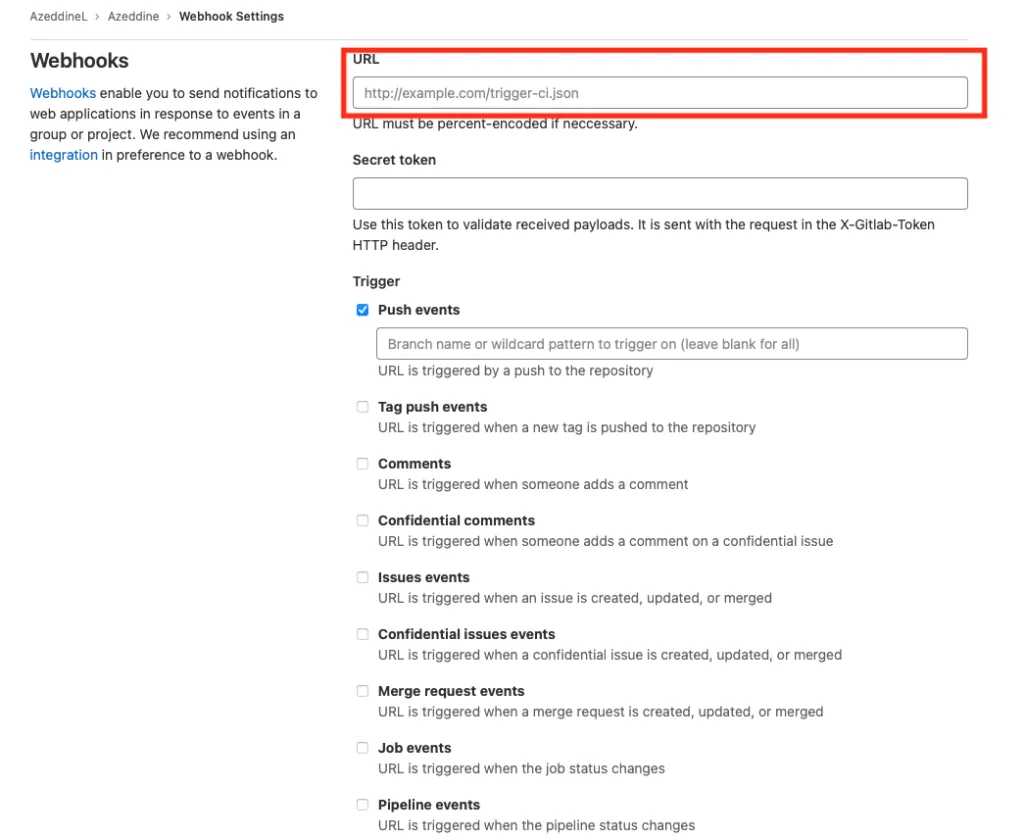
Shows GitLab's webhook settings with the URL field that receives the Coralogix webhook URL.