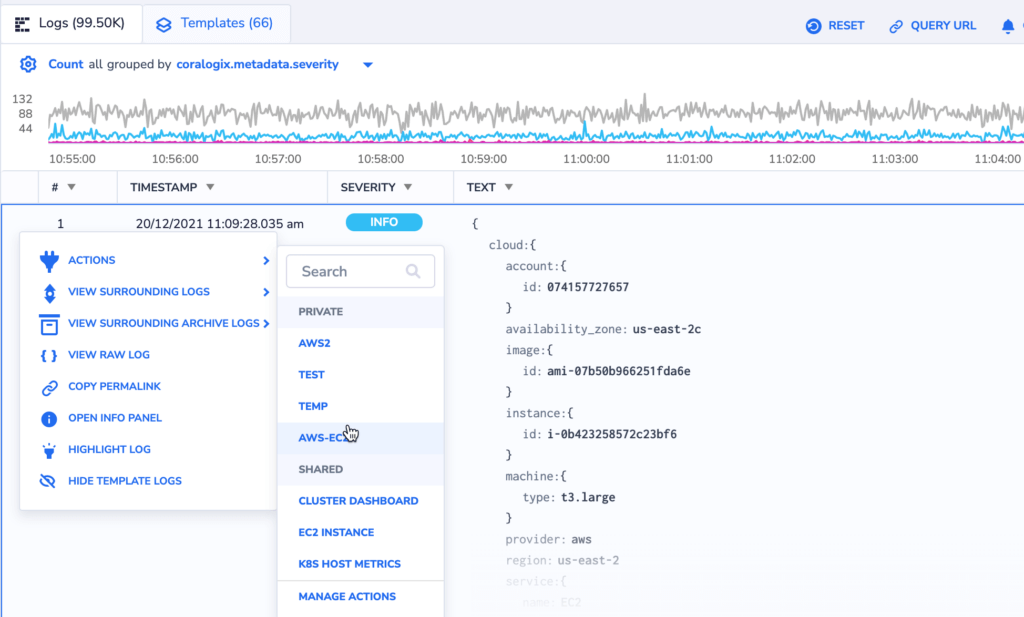
Coralogix Actions
Coralogix simplifies the triggering of third-party services based on specific search results and values under designated keys.
Creating an Action
Navigate to the Coralogix Explore > Logs screen.
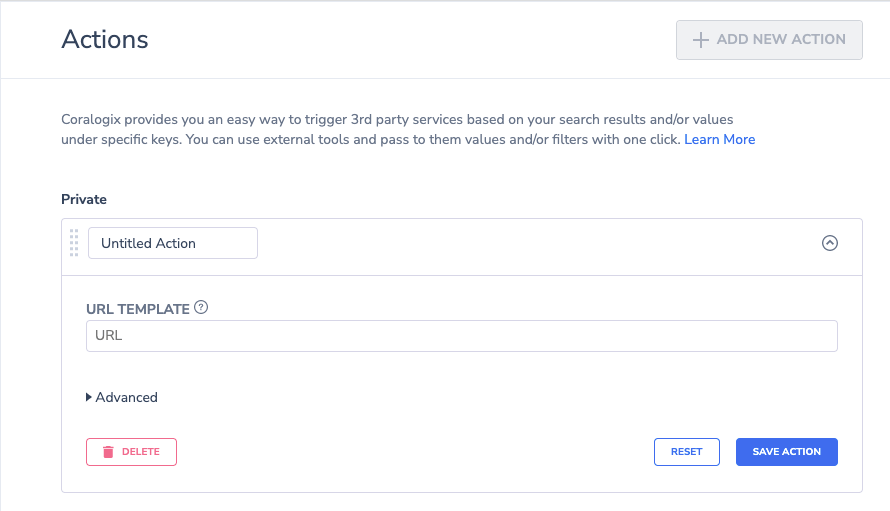
If this isn't your first Action, click + ADD NEW ACTION to create a new one.
Name the new Action in the Untitled Action pop-up.
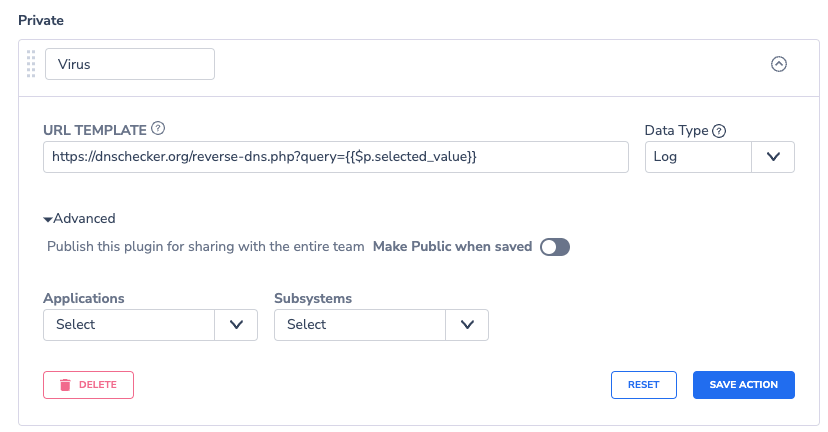
In the URL field, add the external tool's URL. For example: https://test-my-url.com?type={{ $m.subsystemName === "frontend" ? "Front" : "Back" }}.
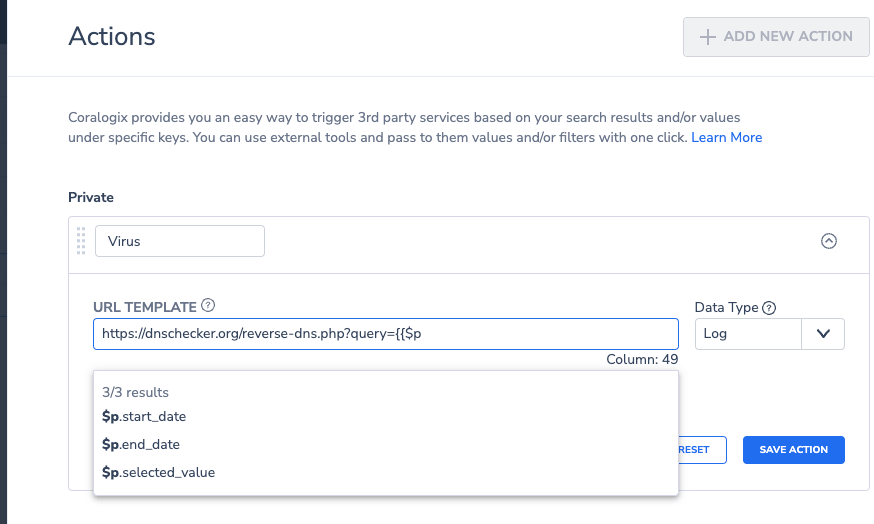
When using curly brackets {{}}, a dropdown menu with three variable types will appear: $p, $m, $d.
| Variable | Description |
|---|---|
| $p | Variables which can be used with any log (start_date, end_date, selected_value) |
| $m | Coralogix metadata fields (applicationName, subsystemName, severity, etc.) |
| $d | Selected log |
Notes:
- URLs must begin with 'http://' or 'https://'. Other URL structures trigger an instructional message.
- JavaScript syntax is supported for "Actions," allowing for conditions like
{{ condition ? "true value" : "false value" }}. - Nearly all JavaScript functions are supported.
- Variables that cannot be accessed using dot notation—such as those containing hyphens, spaces, or starting with a digit—should be referenced using bracket notation, e.g.,
$p/$m/$d["my-variable"]instead of$p/$m/$d.my-variable.
Click RESET to clear the entered data. To save, click SAVE ACTION.
Manage Custom Actions
In your Coralogix navigation pane, click on Explore > Logs screen page.
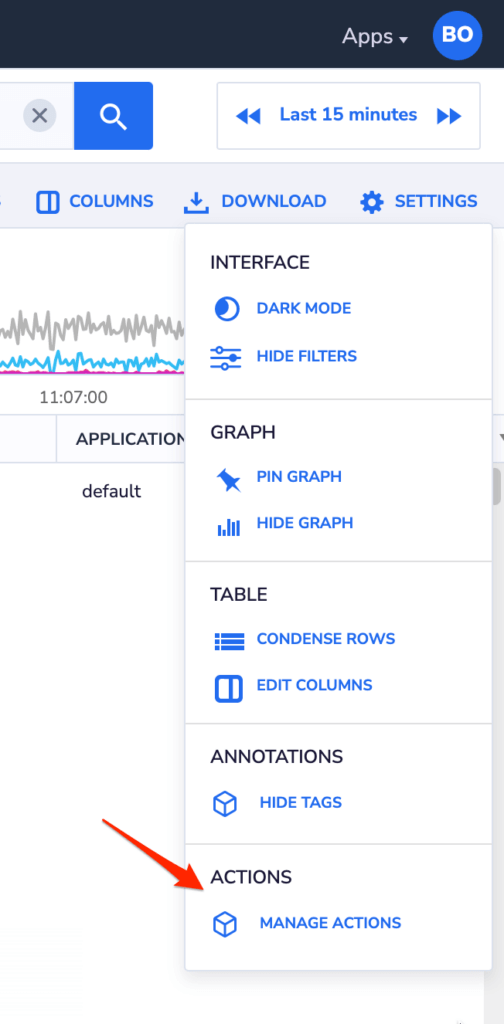
Click on Settings in upper right-hand corner. In the drop-down menu, select MANAGE ACTIONS.
A pop-up window, containing a list of defined Actions, will be displayed.
Take various actions:
- Click on the rectangle icon to clone an Action for easy editing and saving under a new name.
- Use the eye icon to disable/enable an Action.
- Click the arrow button to edit or delete an Action.
- Click + ADD NEW ACTION to define a new Action.
- Use the group of small gray rectangles on the left side of an Action name to move and set the order within Private/Shared sections.
Custom Action Usage
Access Coralogix Explore > Logs screen.
Define a query.
Trigger the action by:
- Clicking on (…) next to a specific log or JSON key. Only Actions without "$p.selected_value" in the URL are visible.
- Clicking on a value lists all defined Actions, including those with "$p.selected_value" in the URL. If defined with "$p.selected_value," the value from that JSON key is passed.
Once an Action is chosen, the defined URL opens in a new tab.
Usage Examples
Common Usage
Jira bug action
http://<your_atlassian_domain>.atlassian.net/secure/CreateIssueDetails!init.jspa?pid=<jira_pid>&issuetype=<jira_issue_type>&description={{$d.logRecord.body}}&summary={{$d.msg}}
Query logs based on a key in the logs
https://<your_coralogix_domain>/#/query-new/logs?query=<key>%3A%22{{$d.<key>}}%22&time=from:{{$p.start_date}},to:{{$p.end_date}}
Query spans based on a key in the logs
https://<your_coralogix_domain>/#/query-new/tracing?query=<spans_key>:%22{{$d.<logs_key>}}%22&time=from:{{$p.start_date}},to:{{$p.end_date}}&page=0&onlyRootSpans=false&tracingTableView=spans
Jump to Grafana dashboard with filter from a key in the log
https://<your_coralogix_domain>/#/grafana/d/WhANBmU4k/<grafana_dashboard_name>?orgId=342&var-<grafana_filter_name>={{$d.<log_key>}}
Open Trace from a log
https://<your_coralogix_domain>/#/tracing/{{$d.trace_id}}?start={{$m.timestamp*1000 - 3000000000}}&end={{$m.timestamp*1000 + 3000000000}}
Support
Need help?
Our world-class customer success team is available 24/7 to answer any questions that may come up.
Feel free to reach out to us via our in-app chat or by sending us an email at support@coralogix.com.
