Setup a Connector
This tutorial describes how to set up a connector as part of Notification Center and manage existing connectors.
STEP 1. Navigate to Data Flow > Notification Center. Select the destination type as the basis for your notification.
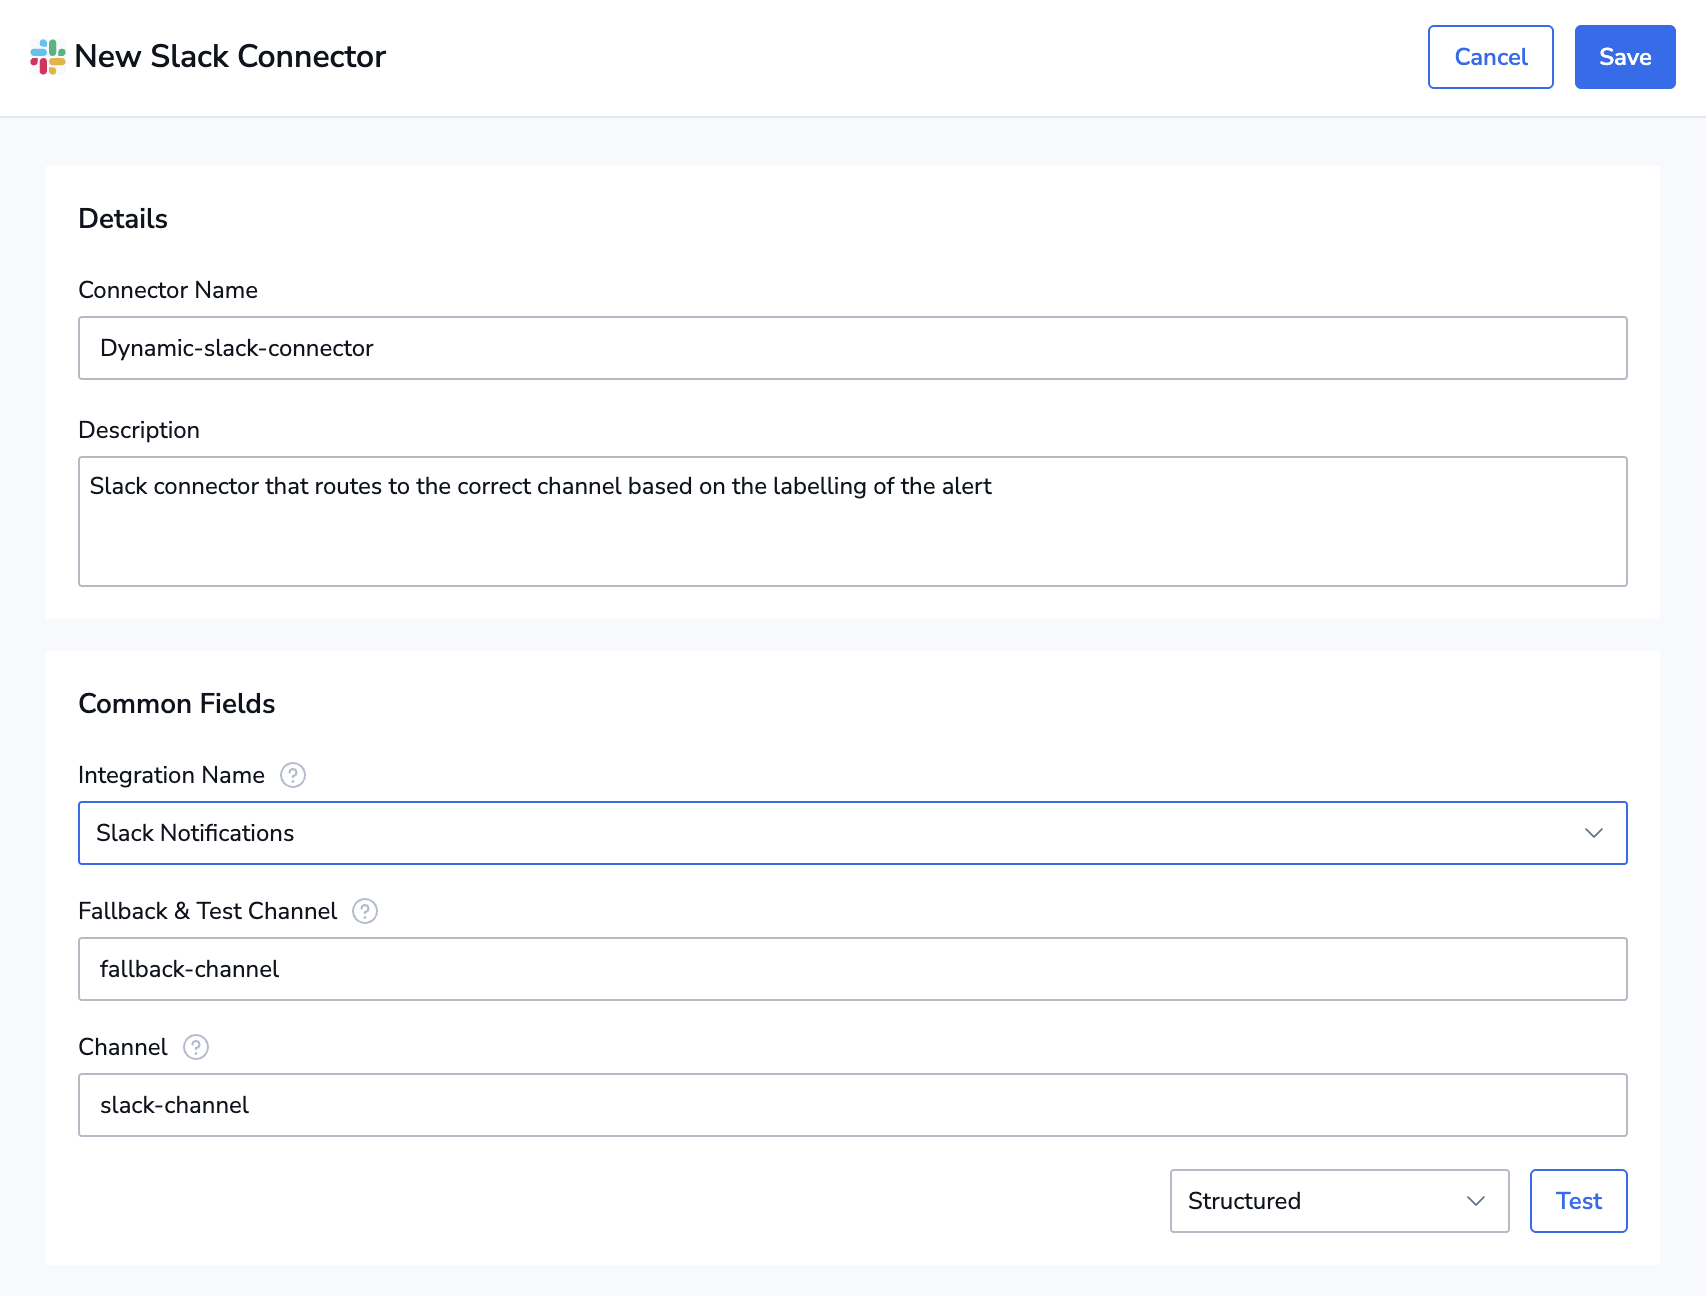
STEP 2. In the Connectors tab, click + Create new connector.
STEP 3. Define the connector configuration in the popup modal that appears.
STEP 4. [optional] To enjoy dynamic templating, define the notification source type (referred to as Entity) for which the connector is being configured. Click + Entity type and then select the source type from the dropdown menu. If defined, this allows you to use dynamic templating with Tera to configure certain fields in the schema. If you do not define the source type, you may input only static values in the connector configuration.
STEP 5. Once complete, click Test connector. This will send a test notification to the channel selected.

