Preset creation flow
Notification Center supports both system-generated and user-created presets. Each flow defines how message templates are created, extended, and customized for notification delivery. The sections below show how presets are built and modified in Notification Center.
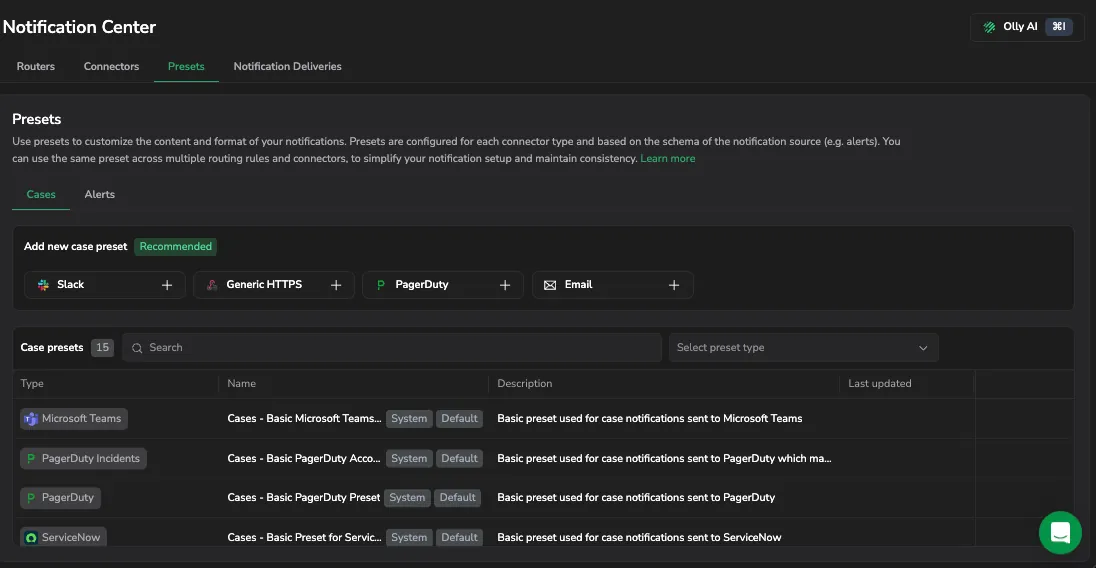
Displays the Presets tab with the case presets list and the connector types you can add a preset for.
Understand preset creation paths
Two preset creation paths are available: basic and advanced.
| Flow type | Description |
|---|---|
| Basic flow | Uses a system-provided preset with default message templates. |
| Advanced flow | Creates a new custom preset that can modify or extend existing templates. |
View preset creation flow
Flow summary: How users create and customize presets
- Basic flow: Use the built-in system preset without editing. The message follows the predefined template for the selected destination type.
- Advanced flow: Create a custom preset to edit message content or add override templates.
- Define a general message template as the base for all notifications using this preset.
- Add override templates for specific entity subtypes such as metric threshold or logs immediate alerts.
- Notification Center merges the general and override layers when rendering messages.
- Basic flow: use a system preset
- Advanced flow: create a custom preset
System presets are available by default for each destination type. They use preconfigured message templates aligned with the entity type and destination type schema. System presets work for most use cases. Use a system preset when you do not need to customize notification messages.
Use a custom preset when you need to modify or extend message content.
- Select Integrations, then Notification Center, then Presets.
- Open the tab for the entity type you want to configure (Alert or Case).
- Select the destination type for the new preset.
- Select Create new preset.
- Edit the message. General holds the template every notification from this preset uses, and Add override template adds a variant for one entity, such as Case, that takes over whenever that entity is the one notifying.
- Within a template, edit each lifecycle trigger separately (Activated, Resolved, and Updated) so a Case that reopens does not read like a Case that just closed.
- Fill in the fields for the destination type. Each field takes a Tera template, so a subject of
{{ case.priority }} {{ case.title }}renders the priority and title of the Case that triggered it, and a details field can loop over labels or emit a table. A subject you write is appended to the prefix the system supplies rather than replacing it. - Save the preset.
The new preset becomes available and can be reused across multiple connectors.
Aim for one variation per preset to keep routing simple and reduce template maintenance.
Attach context to the notification
A preset can send supporting context alongside the message, so a responder can judge severity from the channel before opening the Case. Three attachment types are available:
- Alert graphs: The alert evaluation chart, rendered when the Case opens, so it shows the behavior that triggered the Case rather than the state at the time someone reads the message.
- Log samples: A sample of the logs behind the Case.
- Enrichment query results: The results of a DataPrime query you define on the preset, so the notification carries context the Case itself does not hold.
Use the attachments toggle under Settings, then Attachments, to control this per preset. With attachments on, select one of two policies:
| Option | What it attaches |
|---|---|
| Default | Alert graphs and log samples |
| All | Every supported attachment type, so a preset picks up new types as they are added |
Because the setting lives on the preset, one destination can carry full context while another stays terse, without touching the connector or the router.
Next steps
Use Tera expressions to enrich and personalize notification content in Dynamic templating.