Ship OpenTelemetry Data to Coralogix via Reverse Proxy (Caddy 2)
It is commonplace for organizations to restrict their IT systems from having direct or unsolicited access to external networks or the Internet, with network proxies serving…

Are you looking for information on how to install Jenkins for Mac OS? Before we get started, there are (at least) two ways to install Jenkins on your macOS system that we’ll review in this article: using the Homebrew package manager or using Docker.
If you don’t already have the Homebrew package manager installed, you will first need to follow the installation steps from https://brew.sh/.
You can check if Homebrew is already installed by opening a terminal window and typing:
brew --version
You should get back the Homebrew version if already installed.

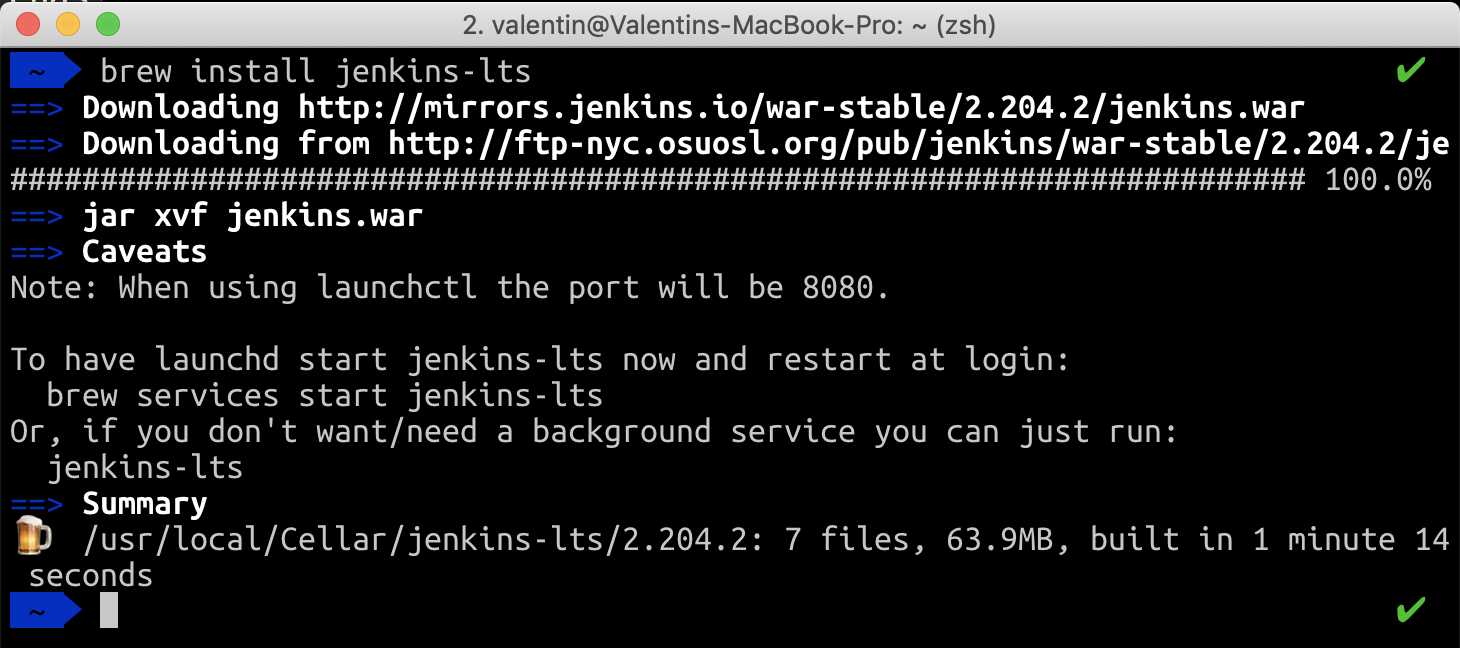
Once Homebrew is installed, you can run the following command which will download and install the current Long-term support (LTS) version of Jenkins.
brew install jenkins-lts
The next step is to actually start the Jenkins server. You can do that with this command:
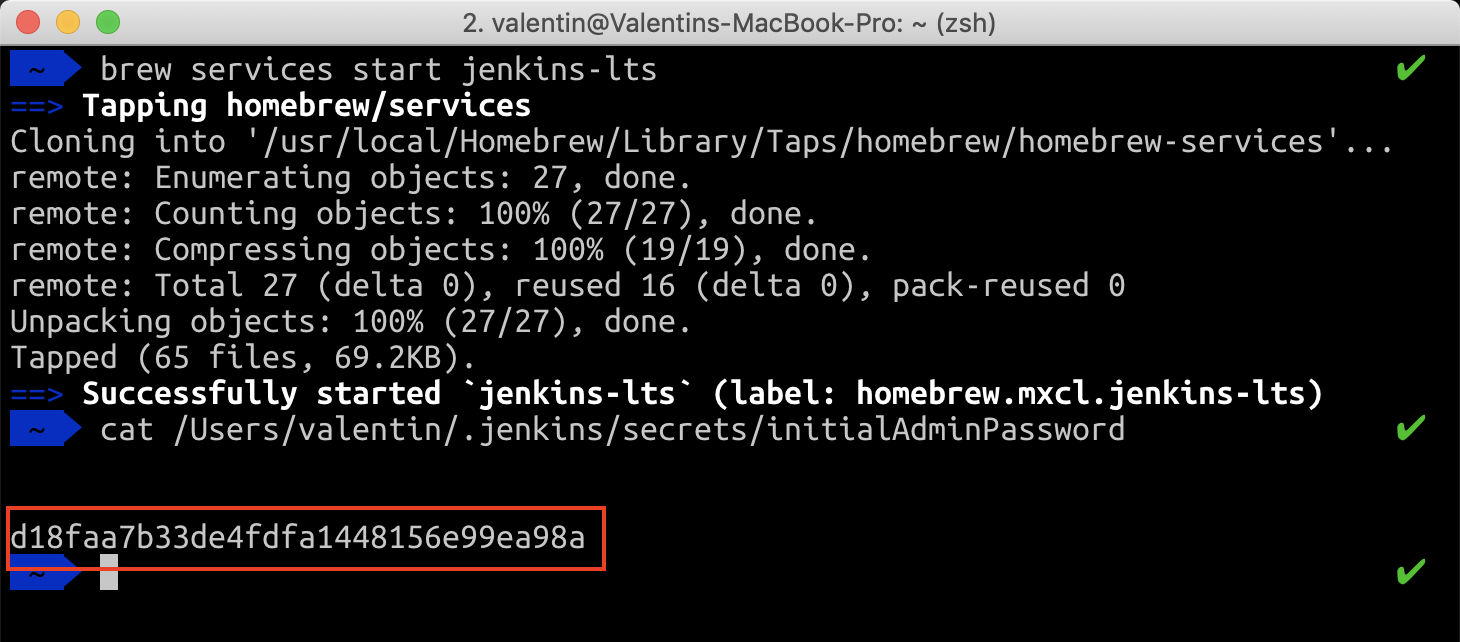
brew services start jenkins-lts
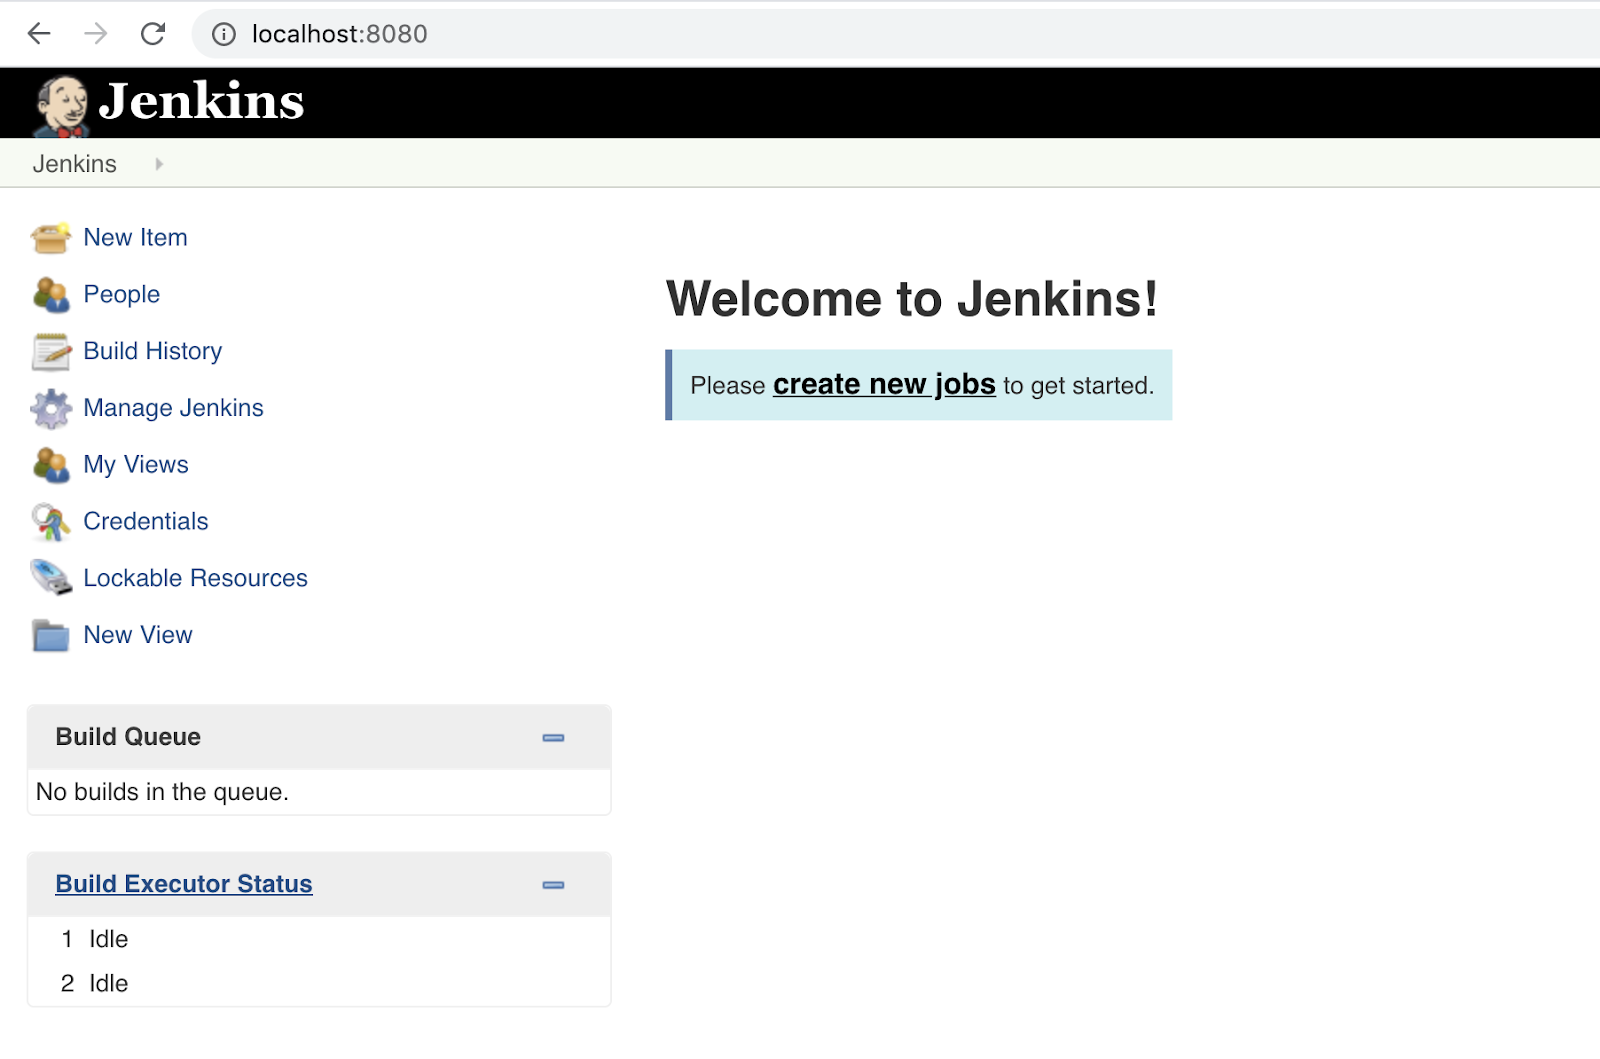
This will start the Jenkins server in a few seconds. You can check if it is properly working by visiting http://localhost:8080/
To get the password needed to run the installation process, just check the content of the file mentioned on the screen.
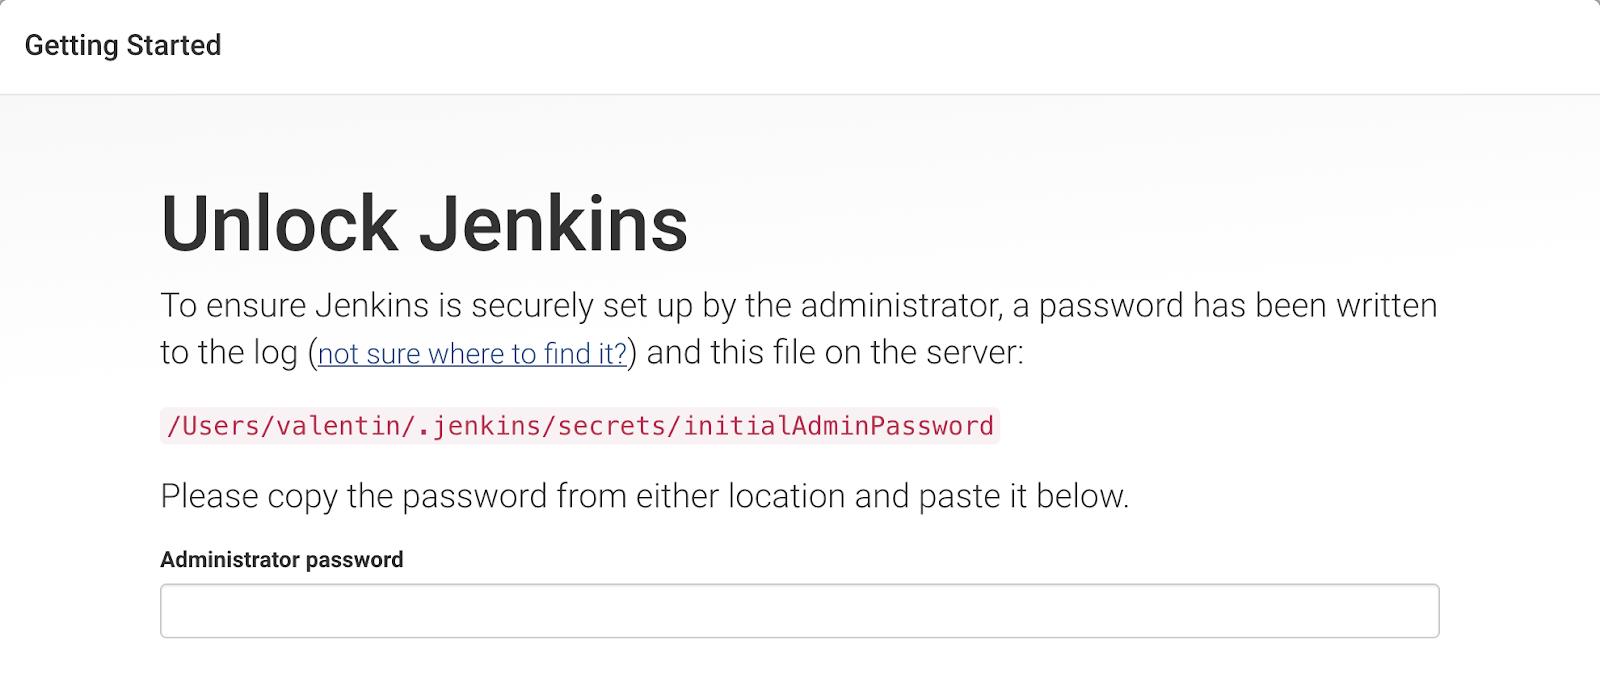
Now, let’s use the cat command directly in the terminal, for example (replace with your own file path):
cat /Users/valentin/.jenkins/secrets/initialAdminPassword
Check the last section of this article on how to complete the setup process.
To stop the Jenkins server, open any terminal window and enter the command:
brew services stop jenkins-lts
To start the Jenkins server again, use the command:
brew services start jenkins-lts
This step requires that you have Docker installed on your system. If this is not the case, make sure you download and install Docker Desktop
Once Docker is up-and-running, you can open a new terminal window and paste the following command:
docker run -p 8080:8080 -p 50000:50000 -v ~/jenkins_home:/var/jenkins_home jenkins/jenkins:lts
This command will download the current Long-term support (LTS) version of Jenkins and will spin-up a new Docker container. You can learn more about the different options available at the official Jenkins Docker documentation page.
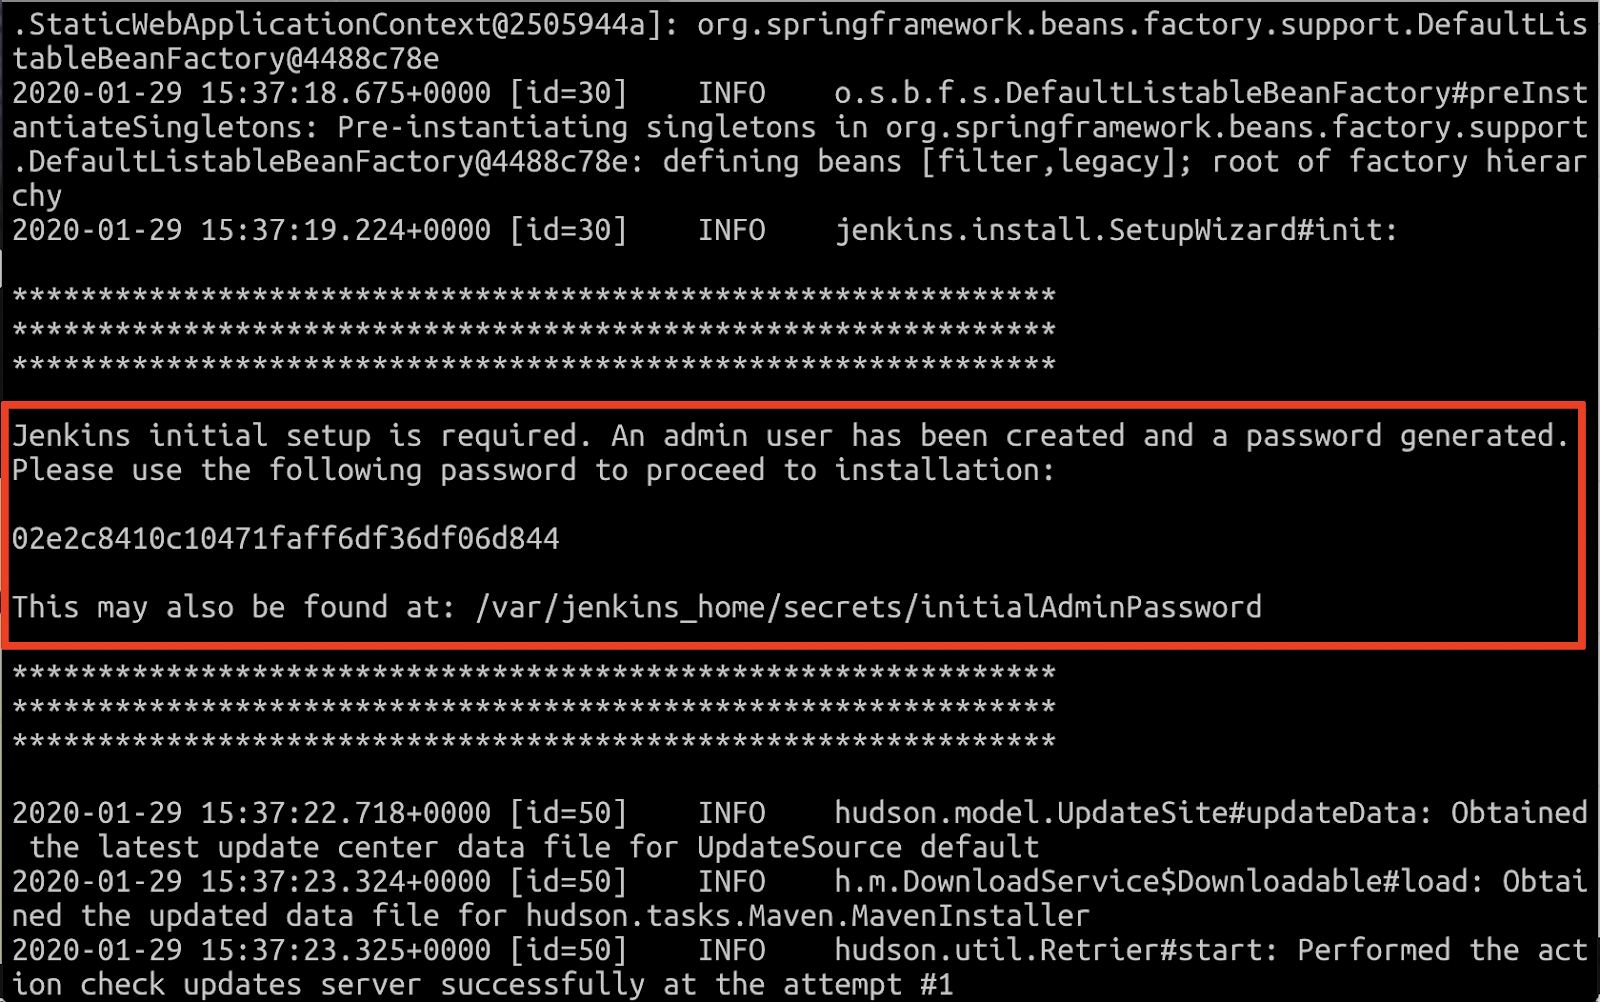
Initially, it should take a few minutes to download and install, but you should soon see in the terminal no longer displaying anything new.
This indicates that the container is now working and waiting for you to complete the Jenkins installation.
Open a new browser window and go to http://localhost:8080/.
You will be asked to input the installation password that should still be visible in the terminal.
To stop Jenkins, you can go to the terminal window where you started the Docker container and hit Command + C. This will stop the process running the Docker container thus stopping Jenkins.
If you need to start Jenkins again, run the exact same command as when you have installed Jenkins.
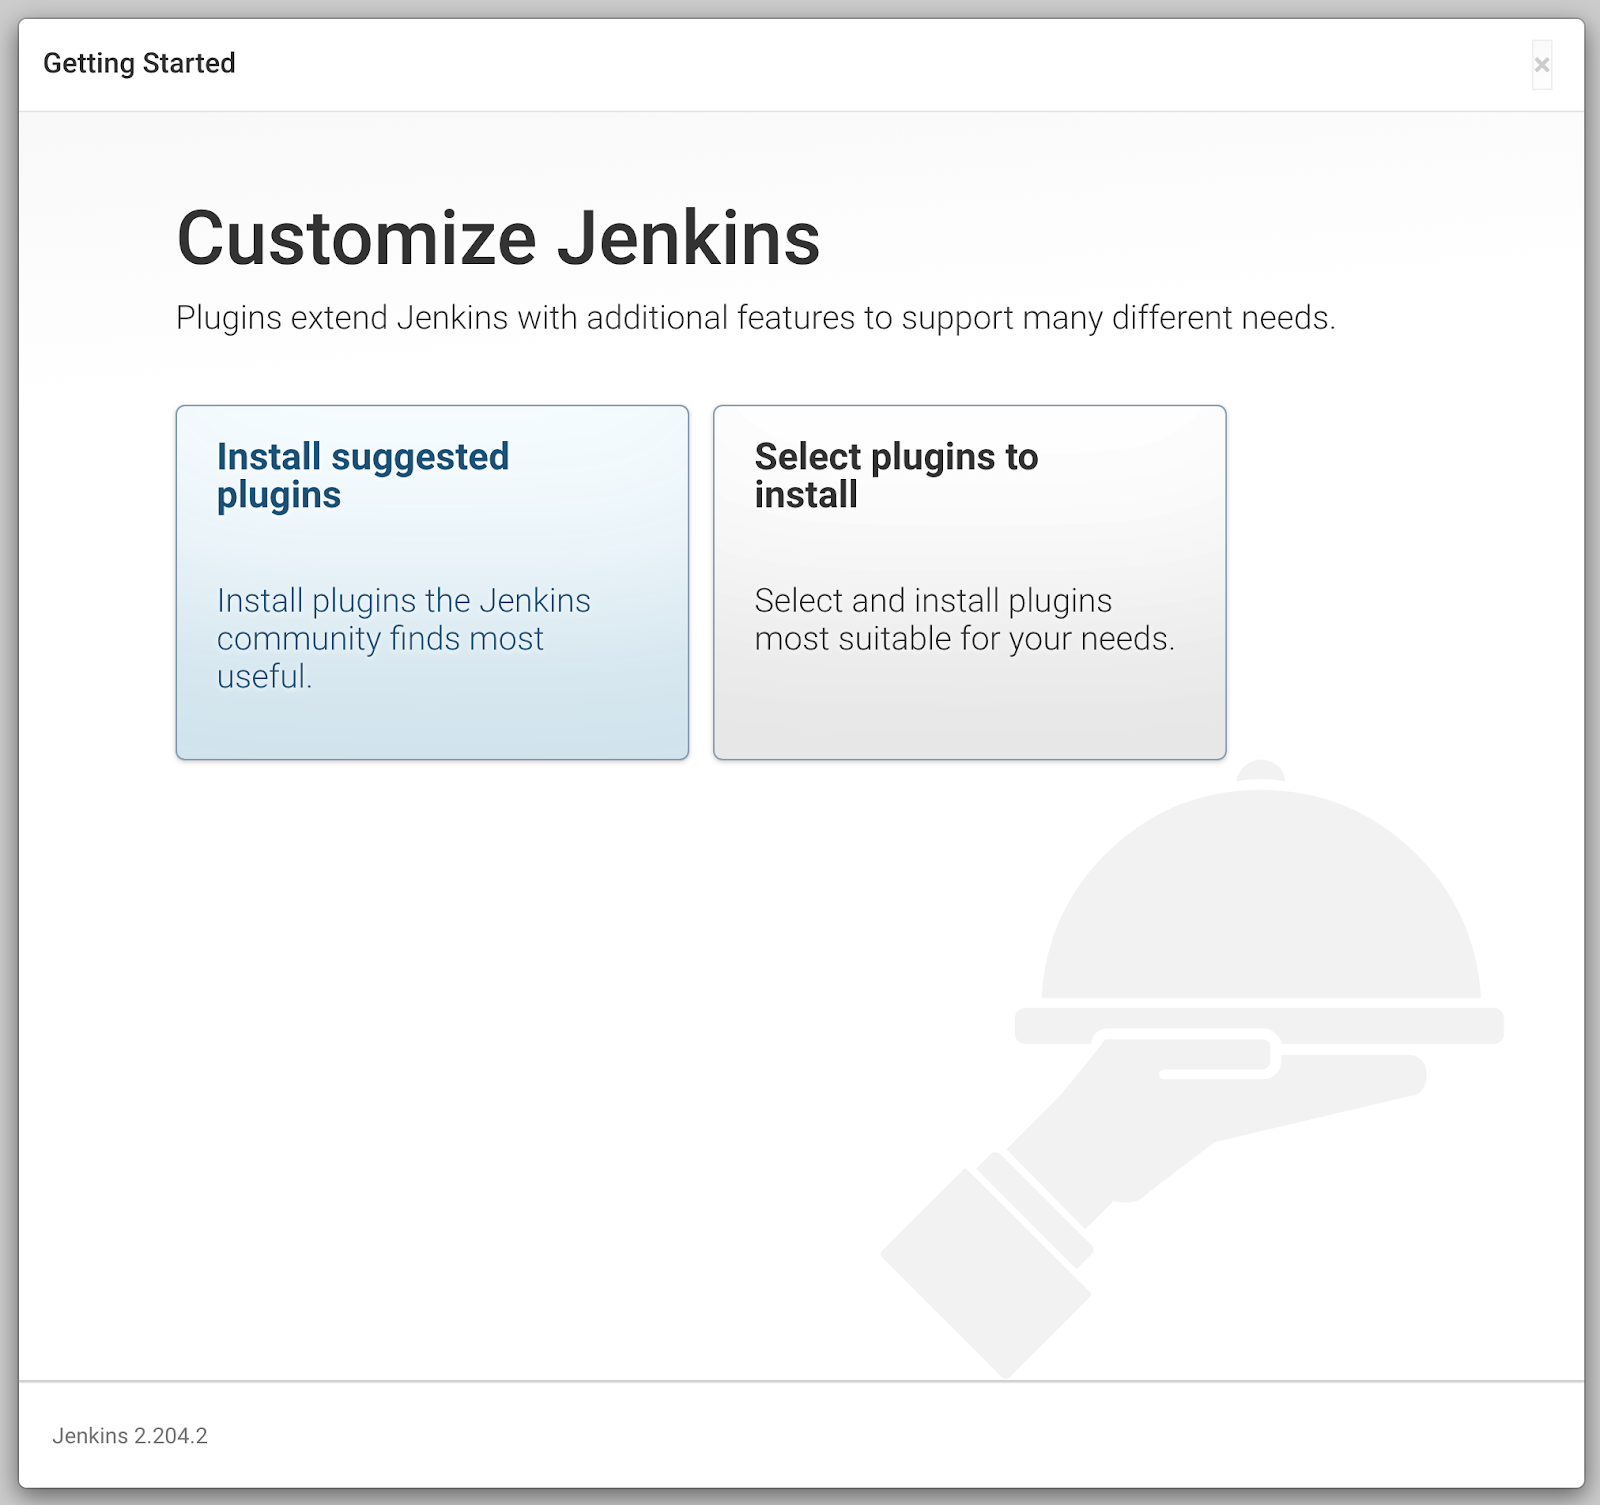
Once you have installed Jenkins in any of the ways presented, it is time to do the final setup.
Jenkins is composed of multiple components called plugins. The next step asks you which plugins you would like to install. Just install the suggested plugins. Don’t worry about this – you can easily add or remove plugins later. Just install the suggested plugins.
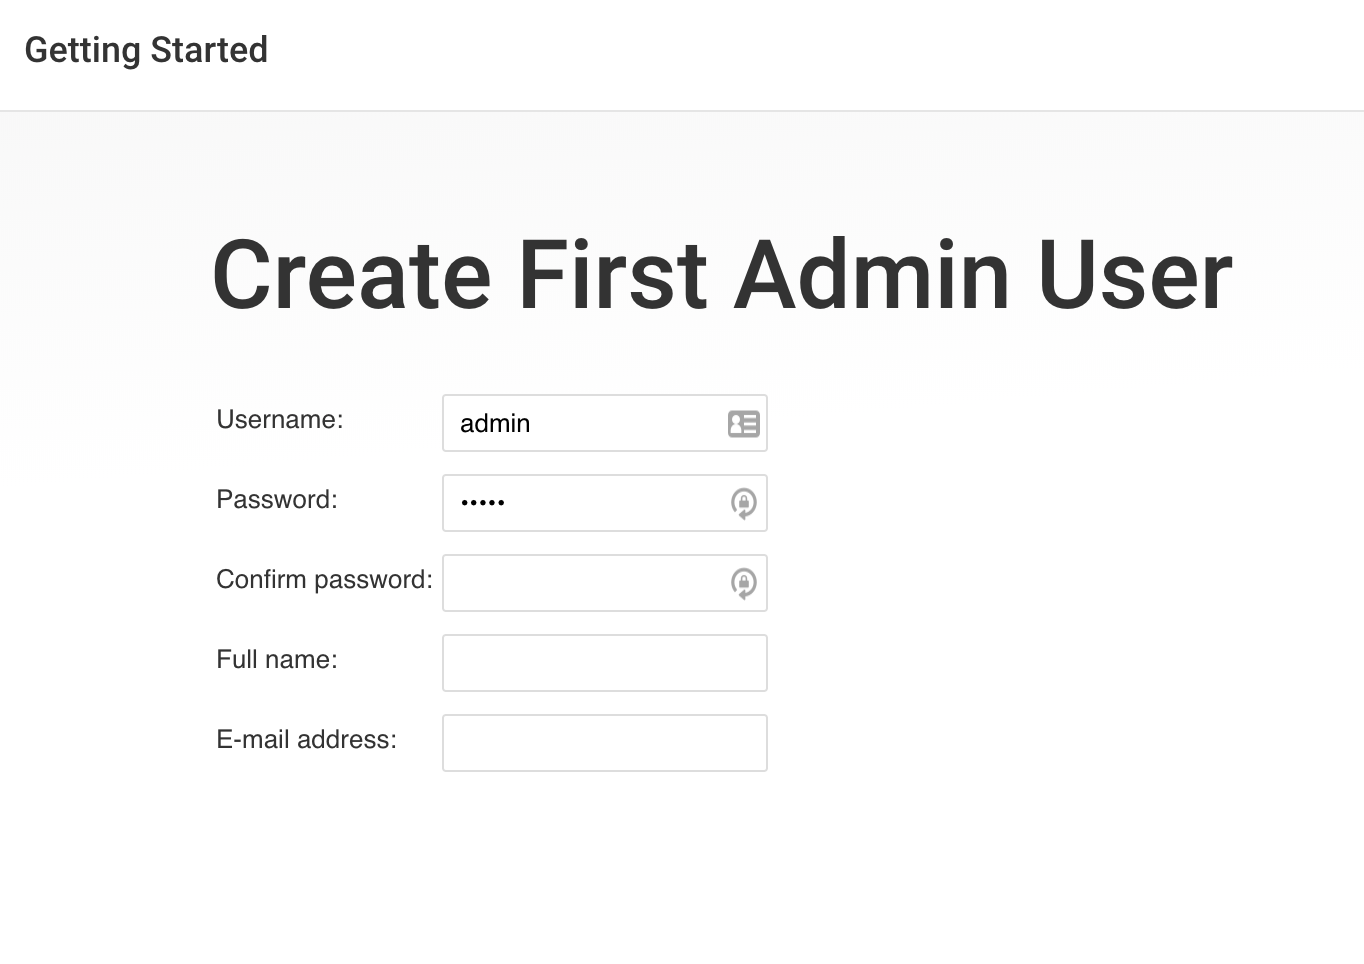
The next step is to create a Jenkins admin user. Make sure you write down the username and password as you will need them later.
The final step is to configure the URL for the Jenkins server. This would be prefilled for you. So all you need to do is to click “Save and continue“.
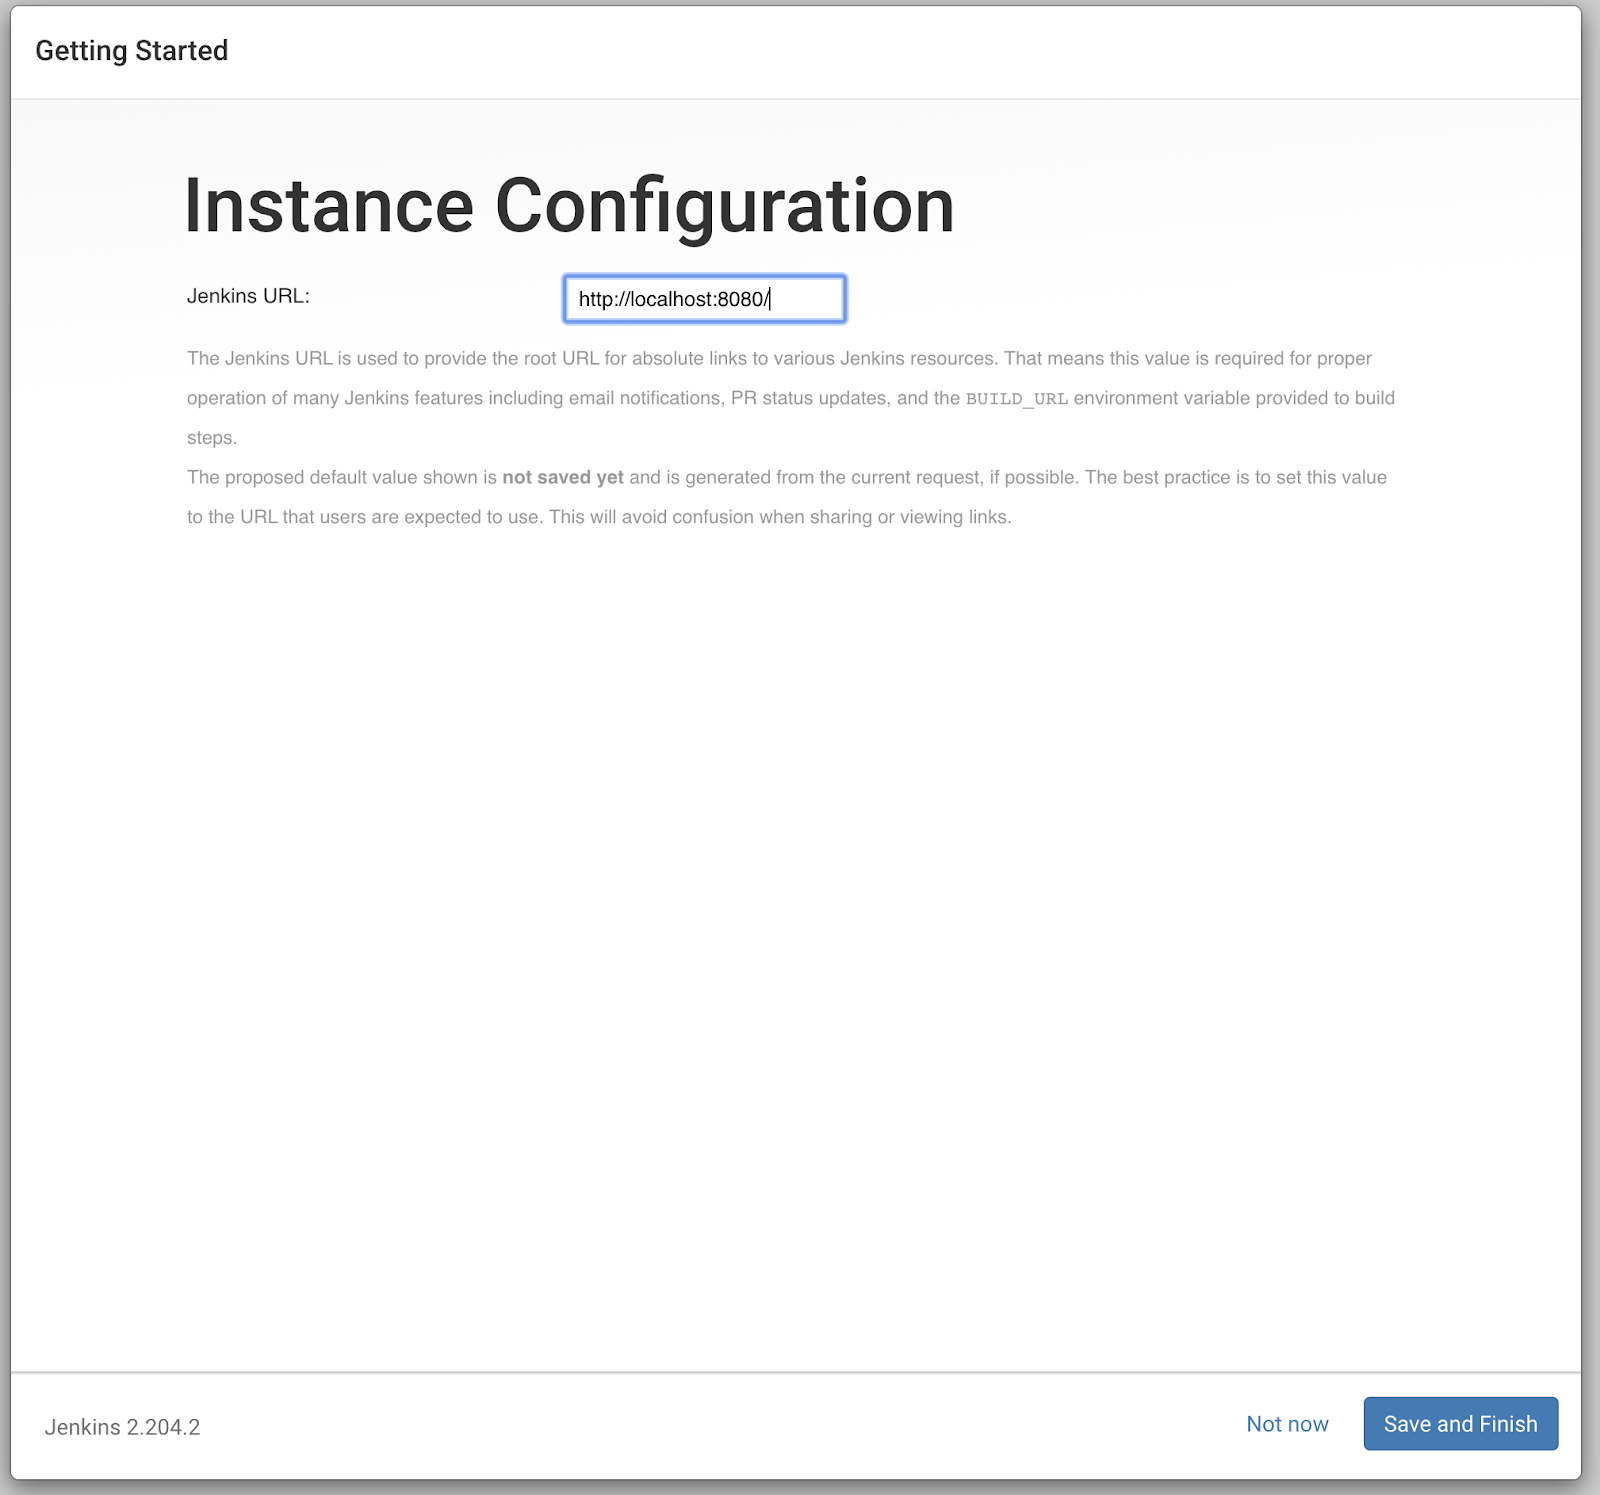
Soon the server will be configured and ready for action.
It is commonplace for organizations to restrict their IT systems from having direct or unsolicited access to external networks or the Internet, with network proxies serving…

What is AWS Systems Manager Before we jump into this, it’s important to note that older names, and still in use in some areas of AWS,…

Infrastructure as Code is an increasingly popular DevOps paradigm. IaC has the ability to abstract away the details of server provisioning. This tutorial will look at…