How to Install and Configure Jenkins on Windows 10


If you’re looking for information on how to install Jenkins on Windows 10 this is the tutorial for you. We’ll also discuss how to configure it to get your going quickly.
Part 1: Installing Jenkins using the Jenkins installer for Windows
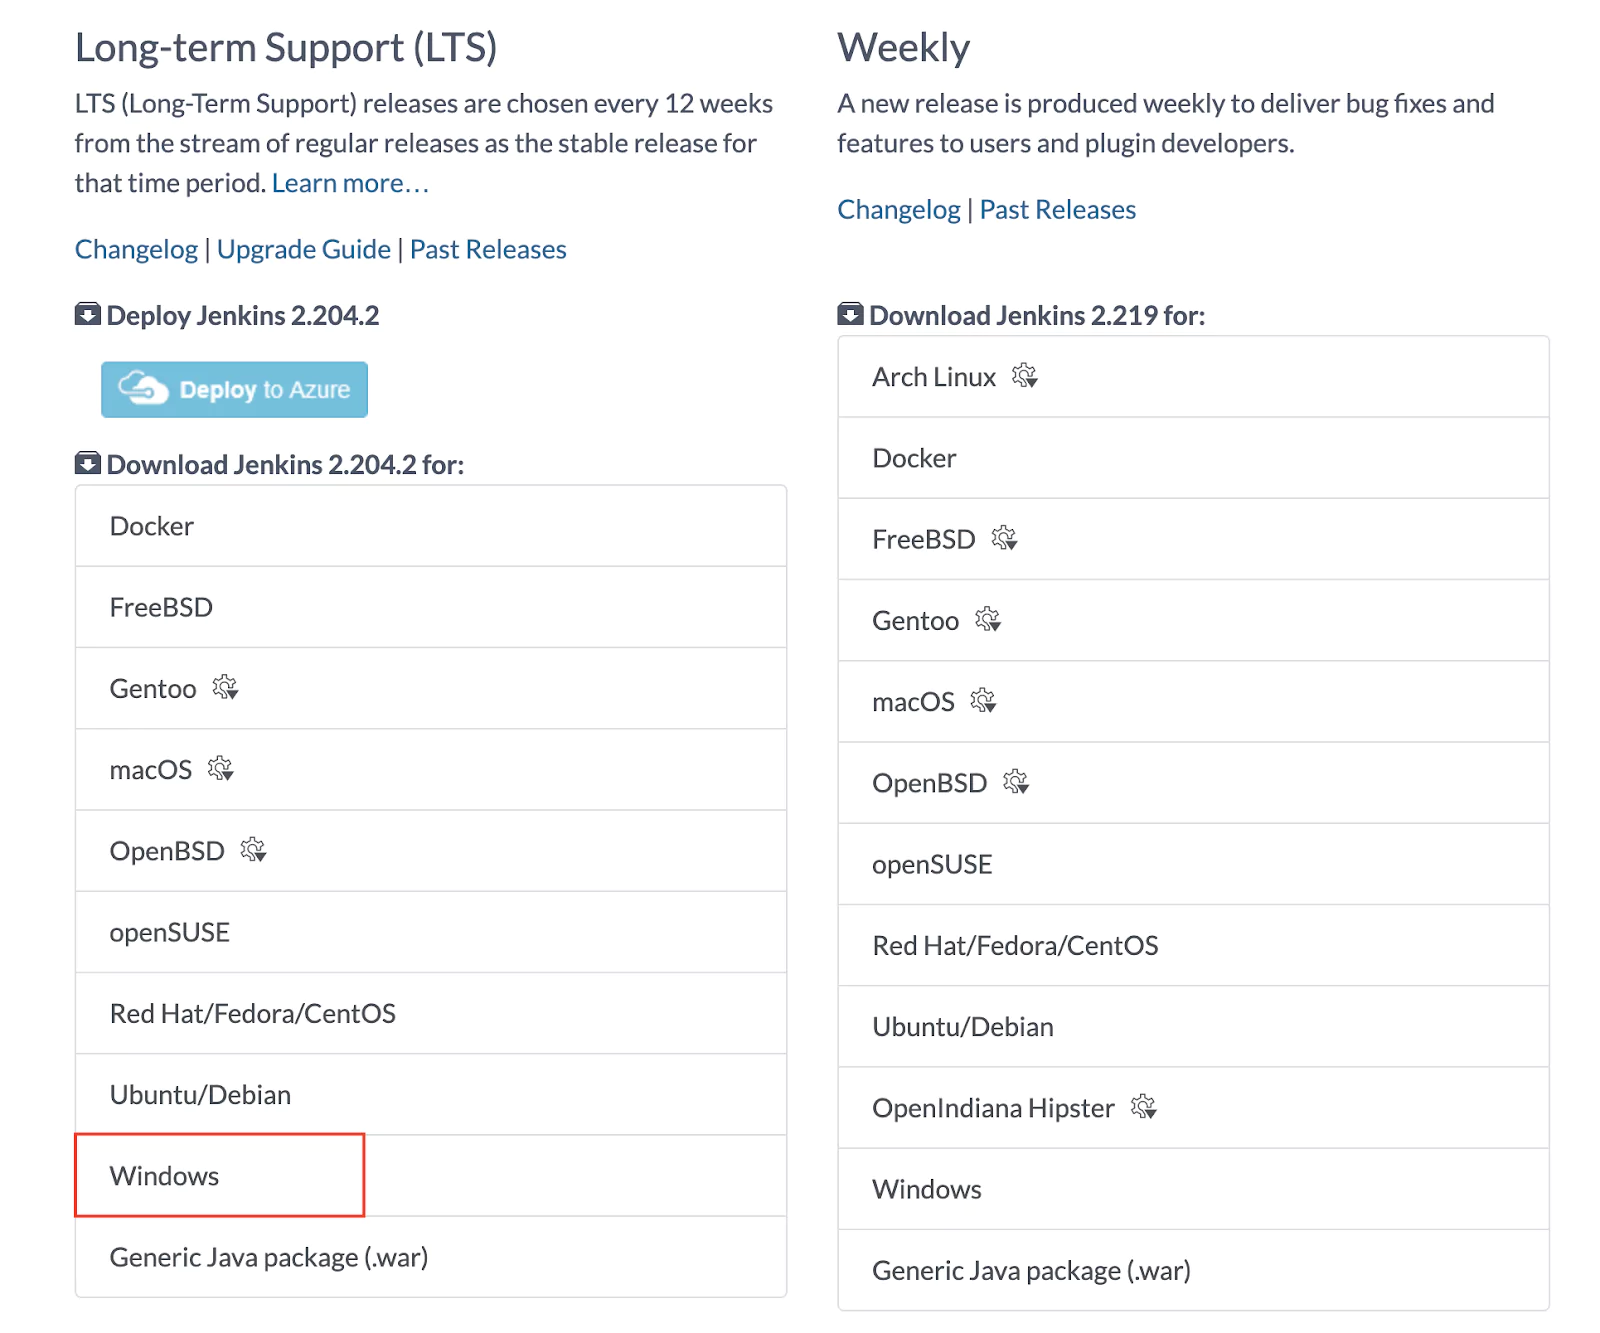
Step 1: Download Jenkins
The first step is to go to the Jenkins download page and to download the Windows version.
Step 2: Extract the ZIP archive
The Jenkins installer comes packed in a ZIP file. You need to extract the ZIP file before you can run the installer.
Step 3: Run the installer
Double-click the installer to start the installation wizard.

The installation process is straightforward, and you can just use the default settings.
Step 4: Get the installation password
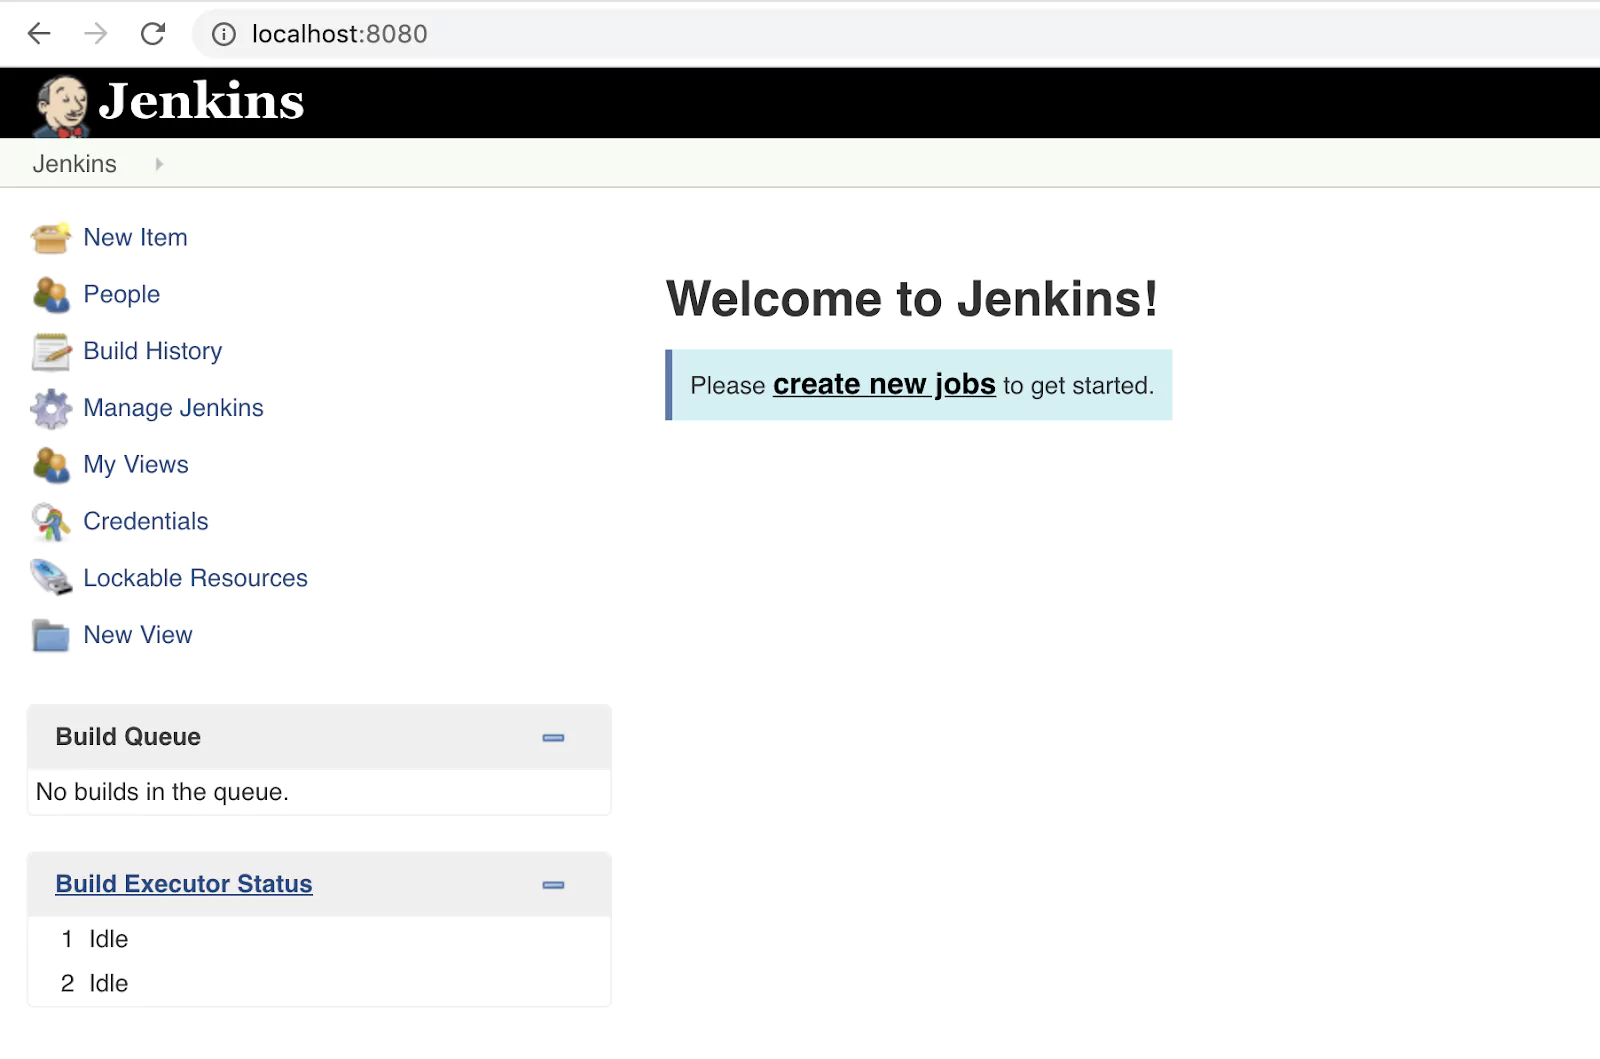
As soon as the installation wizard is complete, it will open a new browser page pointing you to this URL: https://localhost:8080/
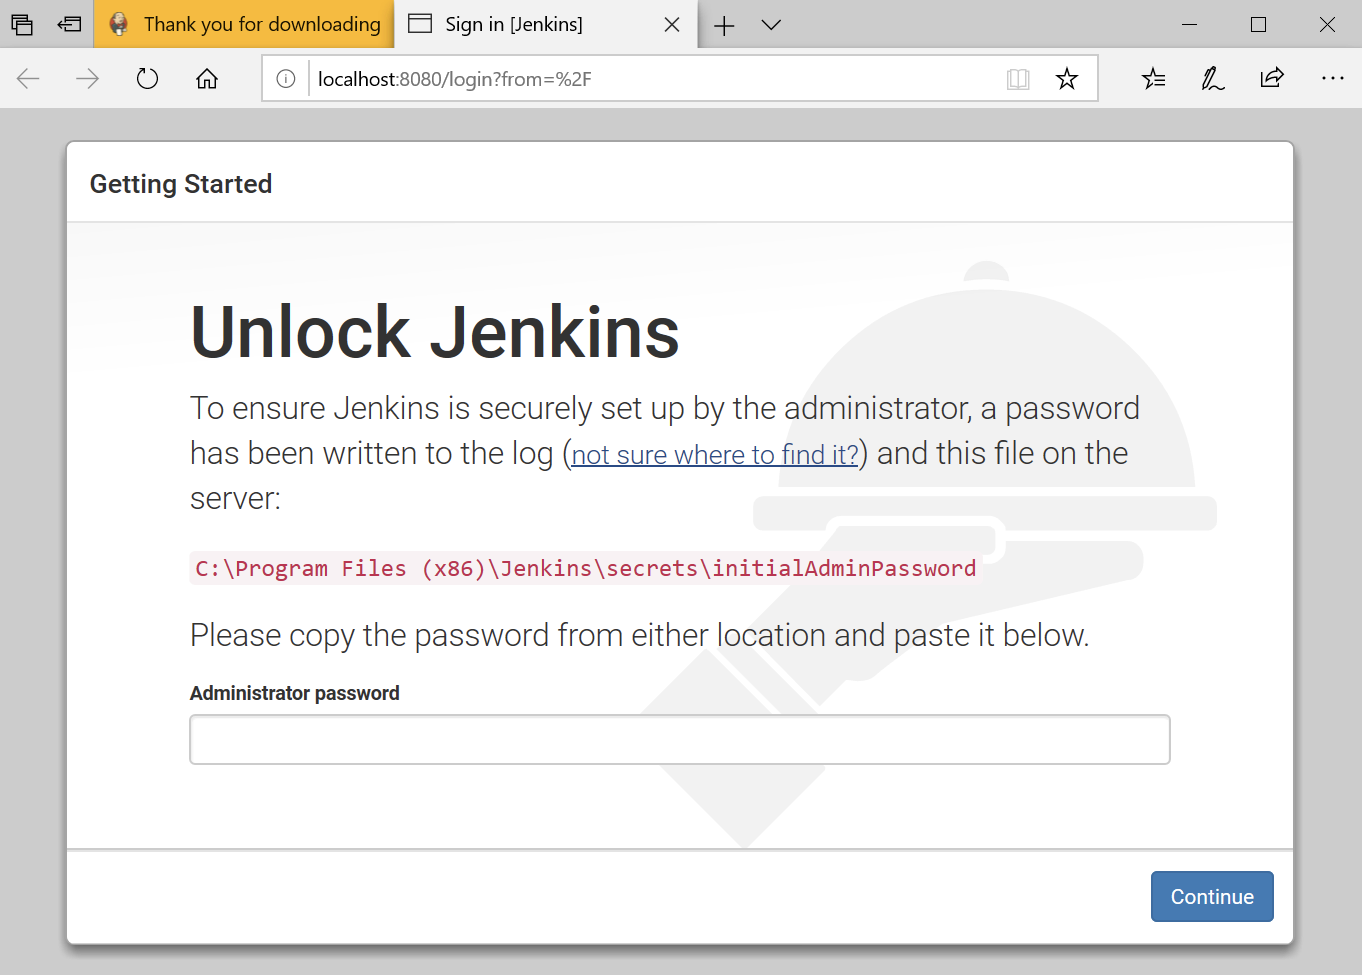
Next, you need to open the file mentioned (initialAdminPassword) with Notepad or any other text editor and copy the password.
Starting and stopping Jenkins
Jenkins was installed as a service and will start automatically when Windows starts. To start/stop Jenkins manually, use the service manager from the Control Panel.
Part 2: How to Configure Jenkins
Once you have installed Jenkins in any of the ways presented, it is time to do the final setup.
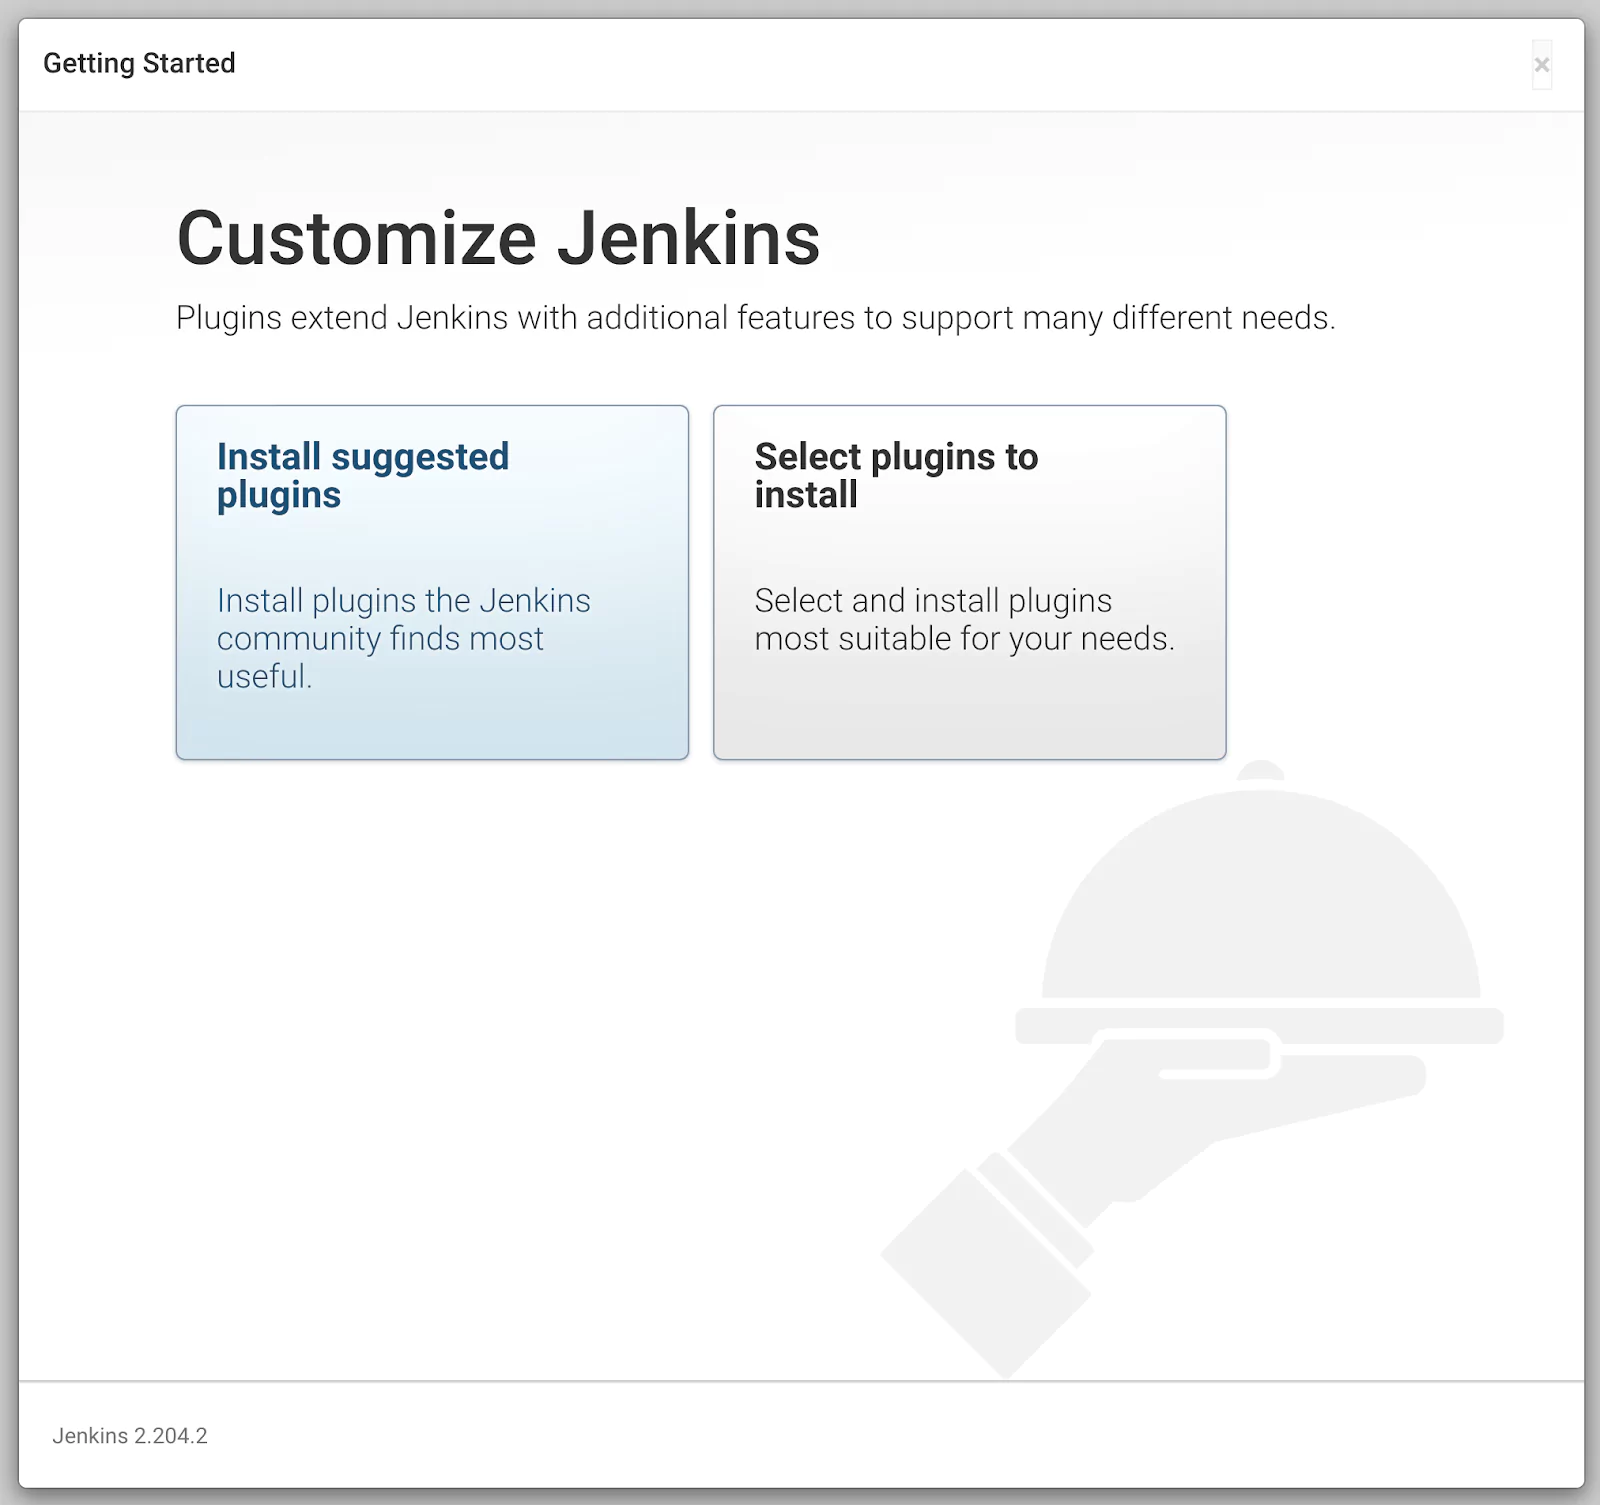
Step 1: Install plugins
Jenkins is composed of multiple components called plugins. The next step asks you which plugins you would like to install. Just install the suggested plugins. Don’t worry about this – you can easily add or remove plugins later. Just install the suggested plugins.
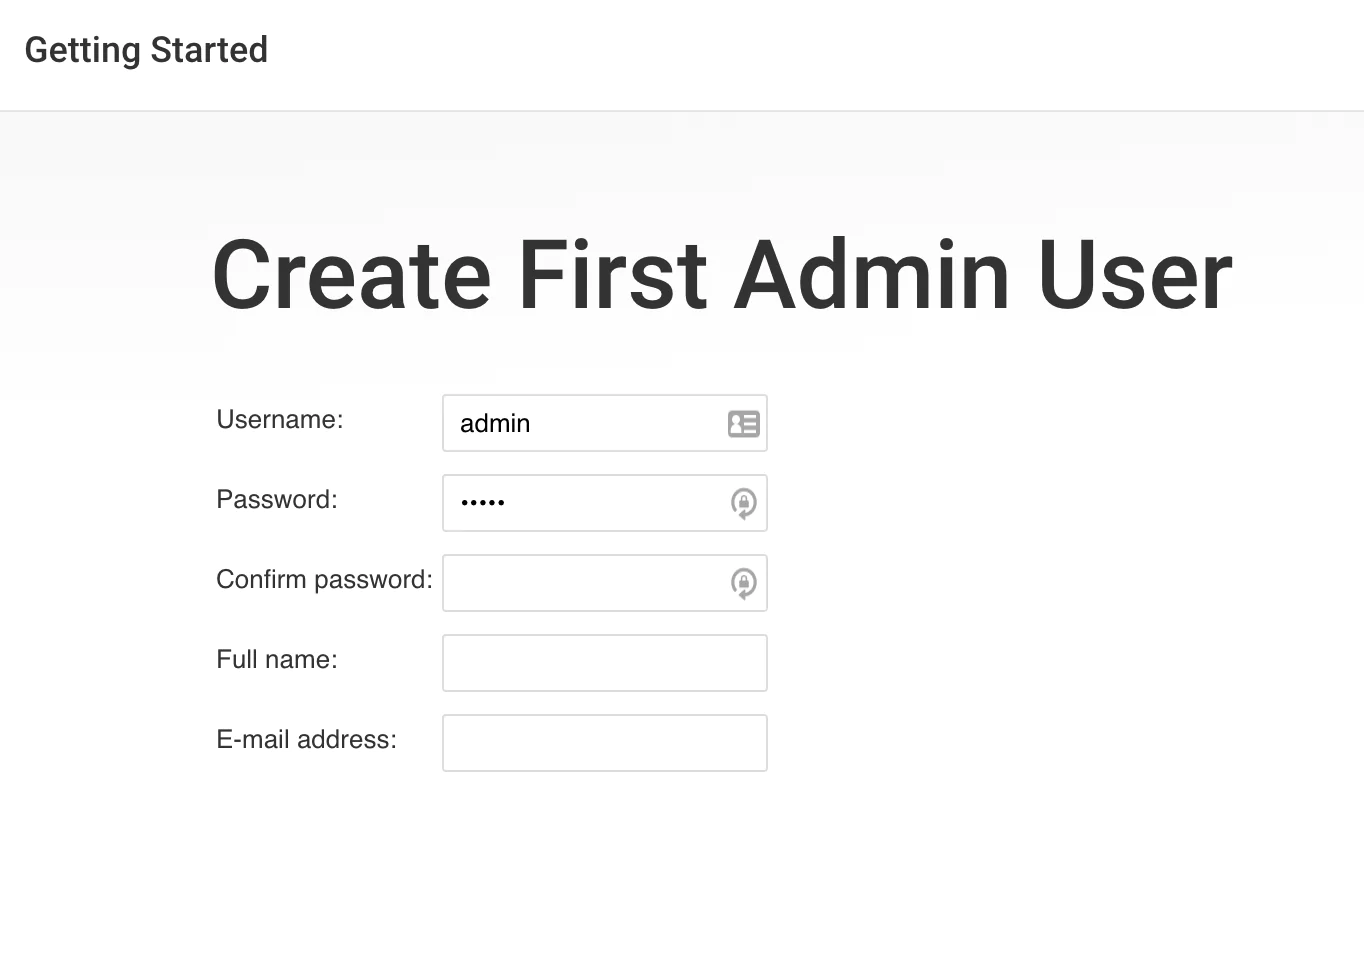
Step 2: Create a Jenkins User
The next step is to create a Jenkins admin user. Make sure you write down the username and password as you will need them later.
Step 3: Configure the Jenkins URL
The final step is to configure the URL for the Jenkins server. This would be prefilled for you. So all you need to do is to click “Save and continue“.

Soon the server will be configured and ready for action.
Part 3: Installing Git
Git is a version control system that is the defacto standard today. If you don’t already have Git installed, you will most likely need it as Jenkins will need to work with Git repositories.
If Git is not already installed on your system and configured in Jenkins, please check the following installation guide.
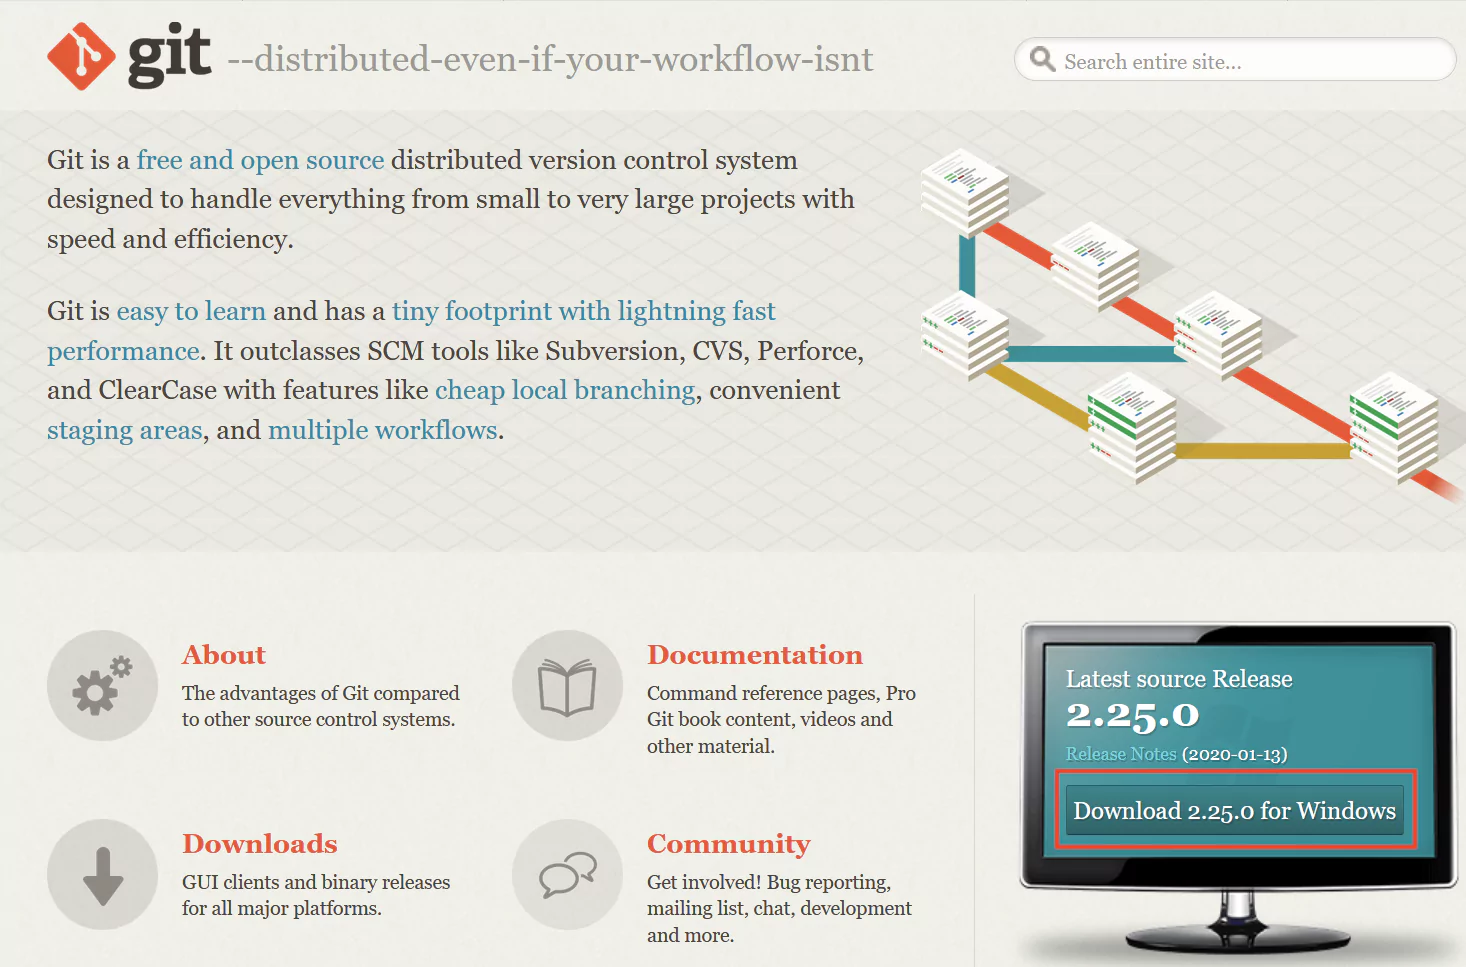
Step 1: Download Git
Download the latest Git version for Windows.
Step 2: Run the Installer
Start the installation process for Git and keep the defaults.
Step 3: Configure Jenkins
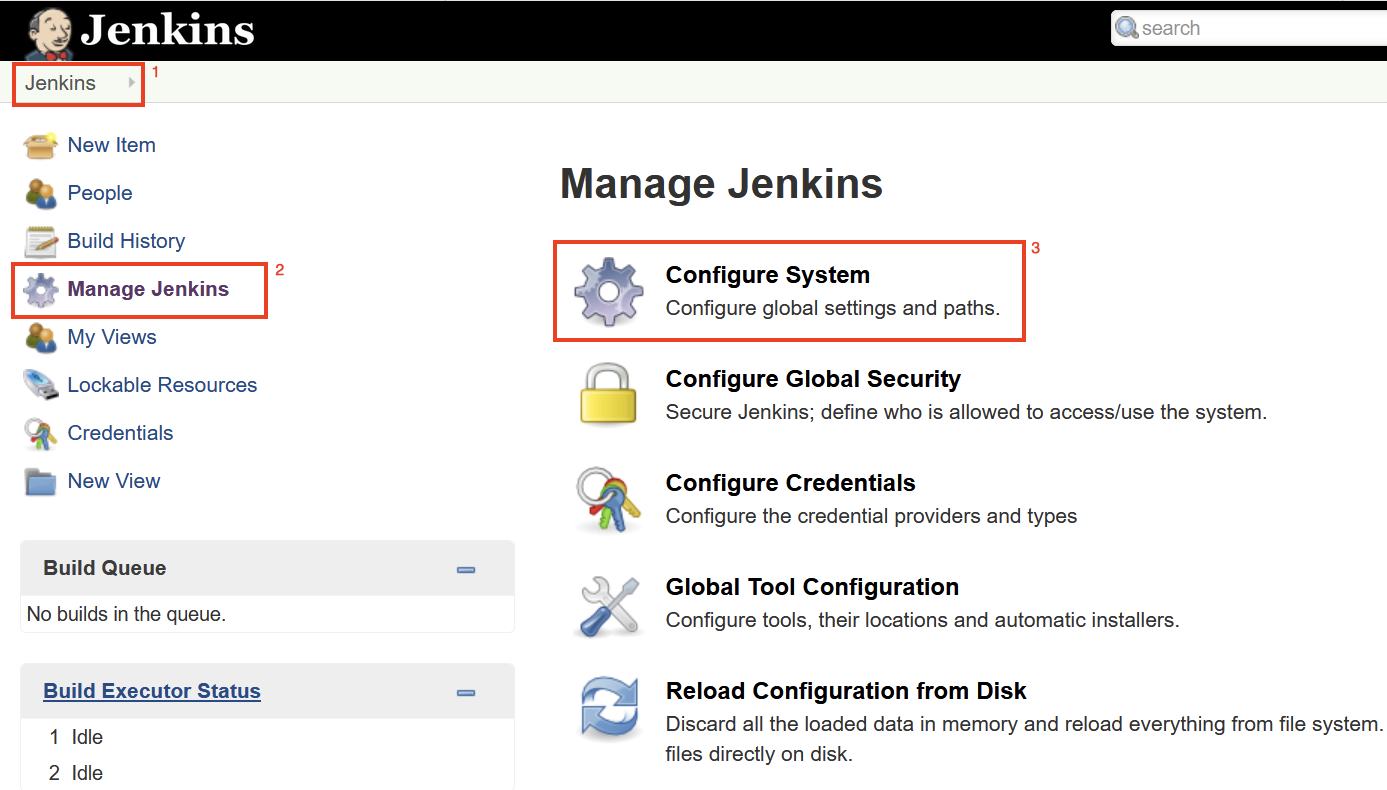
Jenkins needs to know where Git is installed in order to use it. Open Jenkins and go to Manage Jenkins from the left menu and then to Configure System.
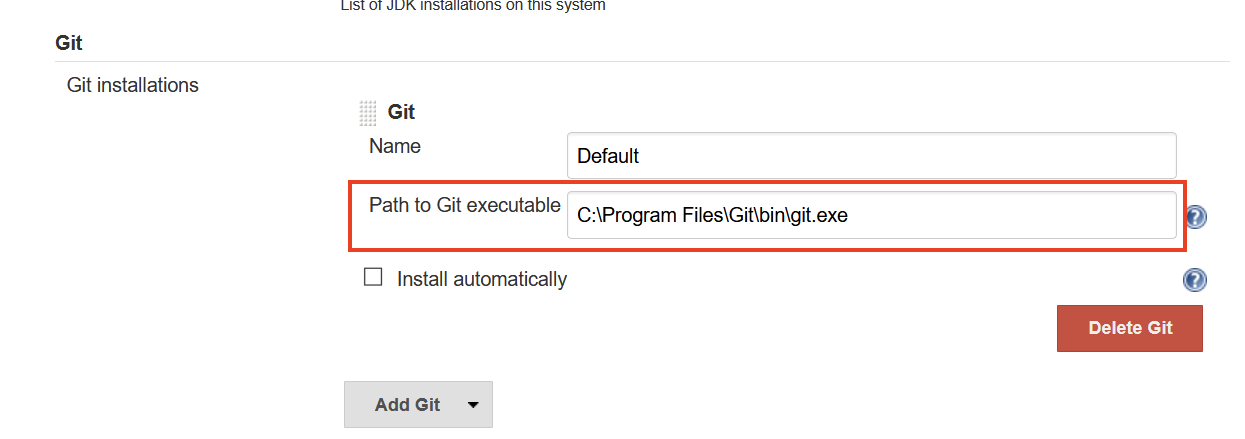
Scroll down and locate the Git section. Set the path to where Git was installed (most likely C:Program FilesGitbingit.exe). Make sure you save this new path by clicking the Save button.
Jenkins is now ready to work with Git repositories.
Part 3: Cygwin
Cygwin is a collection of Linux utilities ported for Windows. Cygwin provides functionality similar to a Linux distribution, and this may be useful when building pipelines.
While it is not necessary to install Cygwin to use Jenkins, it makes it easier to create scripts and pipelines that are supposed to work on Linux systems.
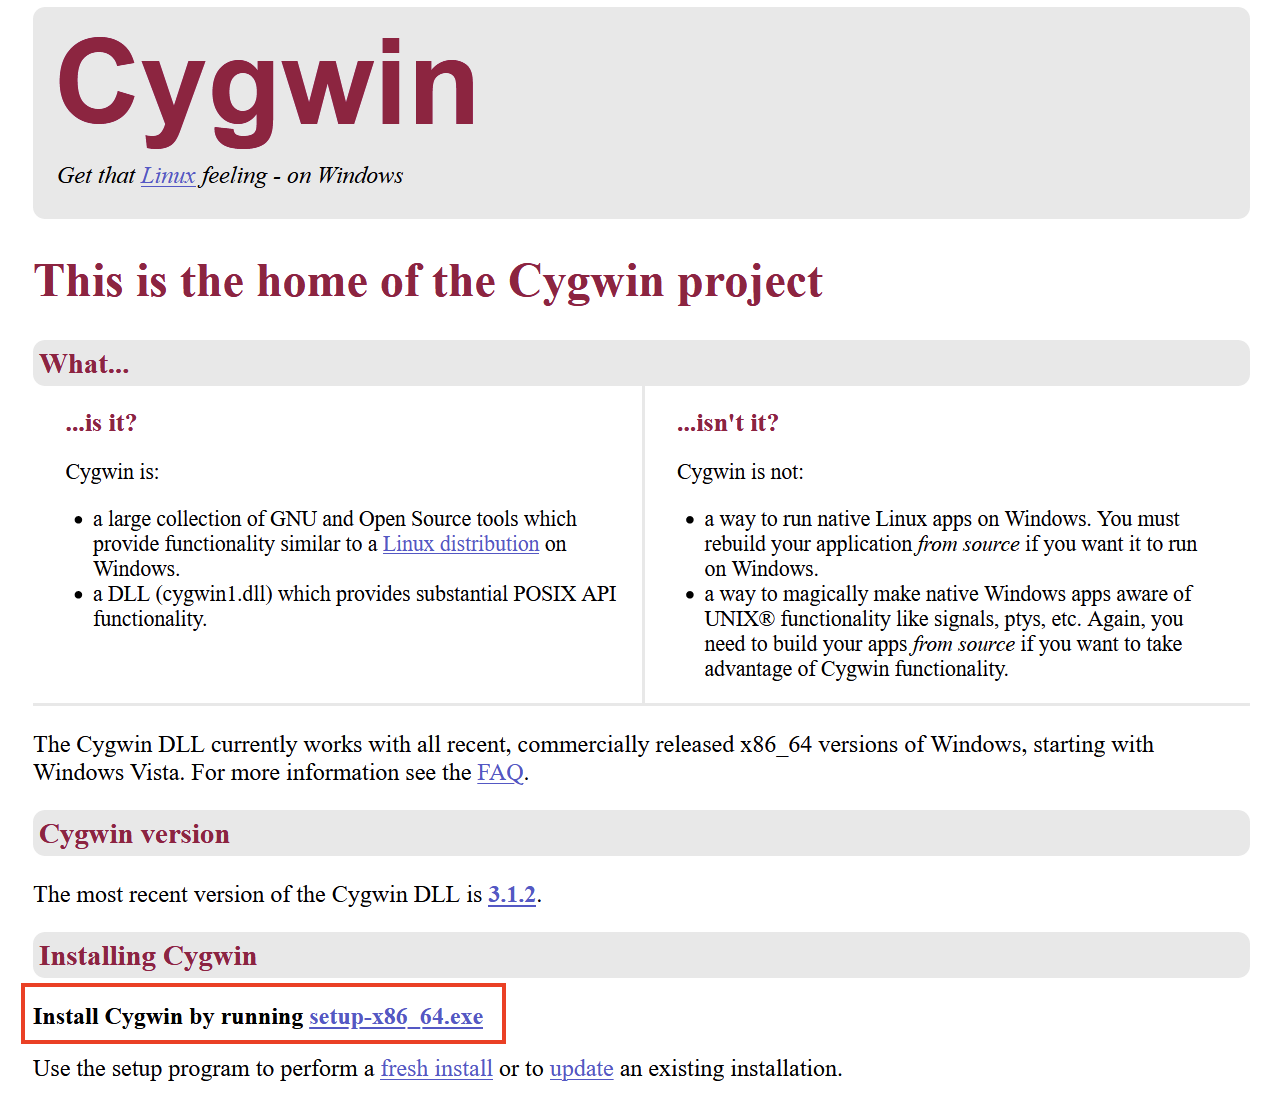
Step 1: Download Cygwin
To download Cygwin you need to download the setup-x86_64.exe installer.
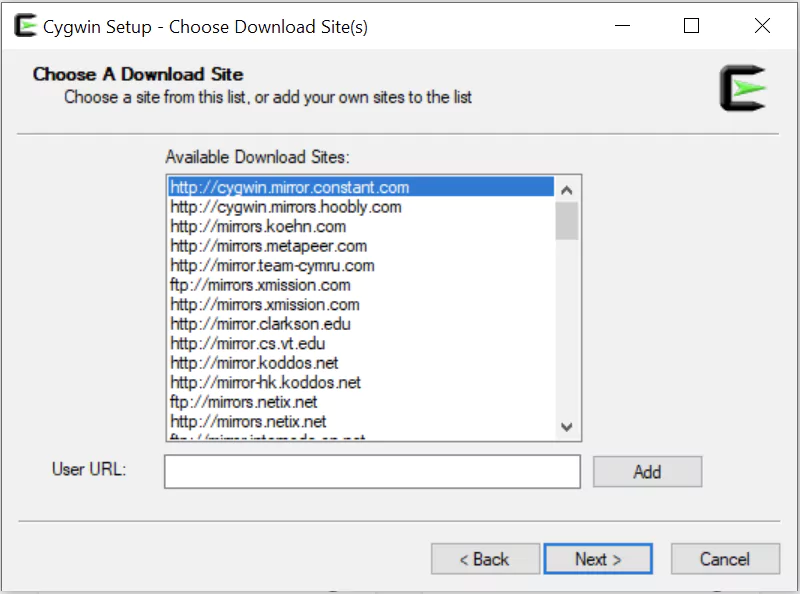
Step 2: Run the installer
The installation process is relatively easy and you can keep all the default settings.
When asked about the download site, make sure you select one from the list and click on Next.
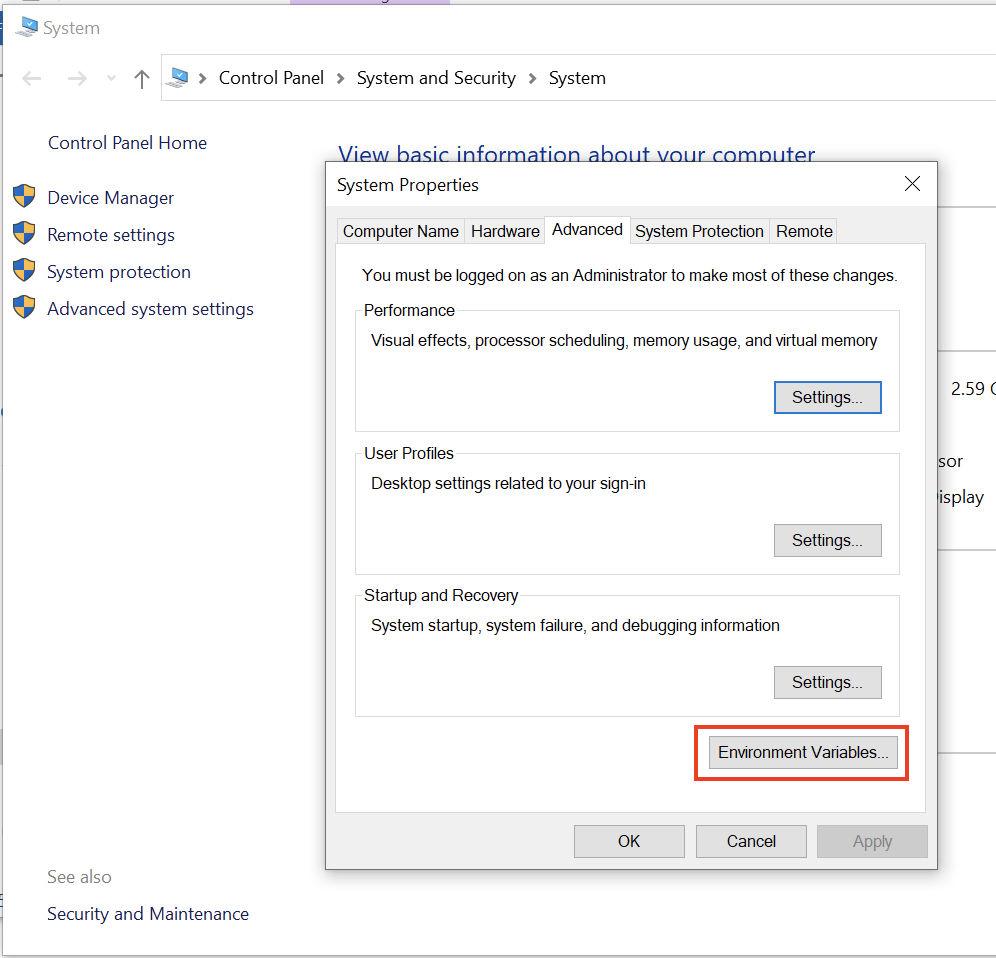
Step 3: Add Cygwin to the Path Environment Variable
To let Windows know about all the Linux utilities that Cygwin has installed, we need to add the path to the Cygwin bin folder to the Path environment variable.
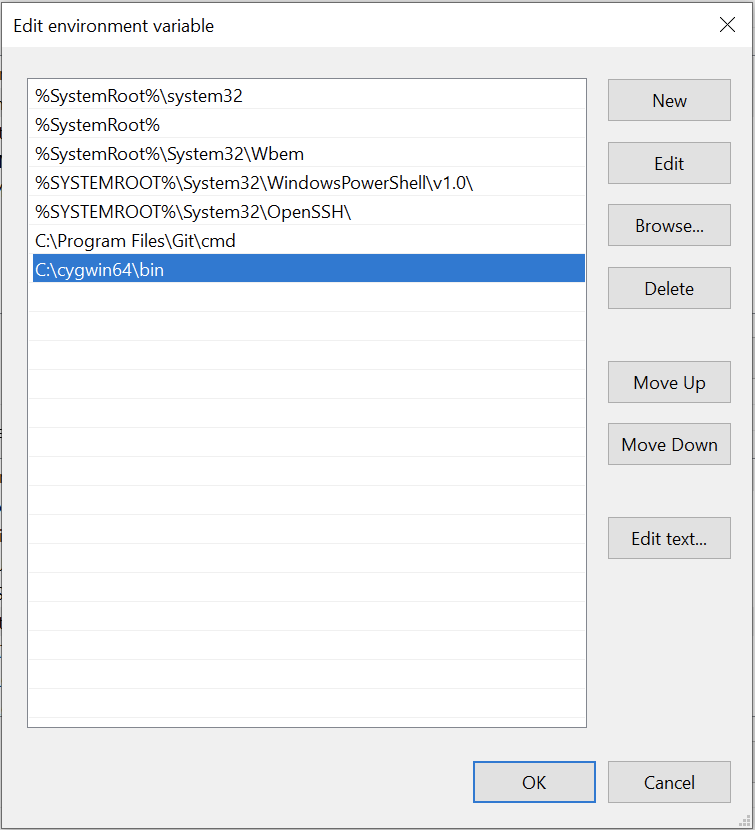
Select the Path variable and click on Edit.
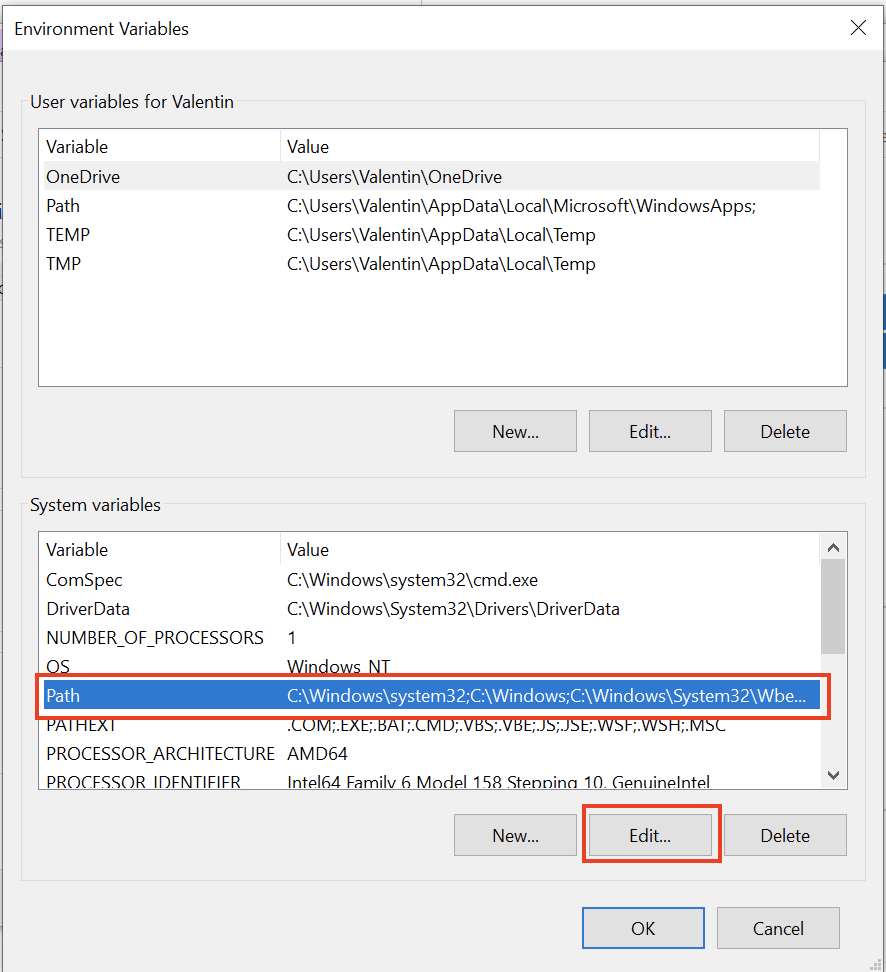
Add a new entry with the path to the Cygwin bin folder (typically C:cygwin64bin)
Step 4: Restart Windows
The final step involves restarting Windows. This ensures that the new value for the Path variable is begin used by Windows.