Azure CDN and Front Door: The Basics and How to Get Started

Azure CDN vs. Azure Front Door: Key Differences
Azure CDN and Azure Front Door both serve the purpose of optimizing and accelerating content delivery across global networks. However, their approaches and capabilities differ.
Azure CDN is primarily focused on delivering static files quickly by caching them at edge locations closer to users. This makes it an appropriate choice for websites and applications that need to distribute content such as images, videos, scripts, and stylesheets with high efficiency. While Azure CDN provides basic DDoS protection and custom domain HTTPS support, its feature set is more tailored towards static content delivery.
Azure Front Door is designed to manage dynamic content delivery and global HTTP load balancing. It offers advanced routing capabilities, allowing for intelligent distribution of traffic across various application backends based on factors such as latency or health. Azure Front Door includes built-in DDoS protection, SSL offloading, URL-based routing, multiple-site hosting, session affinity, and custom forwarding paths right out of the box.
Getting Started with Azure CDN
To get started with Azure CDN, you need an active Azure account. If you don’t have one, you can create an account for free. You also need an Azure Storage account, please use an existing one or create using the Azure Portal. Ensure you are signed in to the Azure portal with your Azure account.
Create a CDN Profile
The CDN profile acts as a container for CDN endpoints and specifies the pricing tier. To create a new CDN profile, follow these steps:
- In the Azure portal, choose Create a resource from the upper left corner.
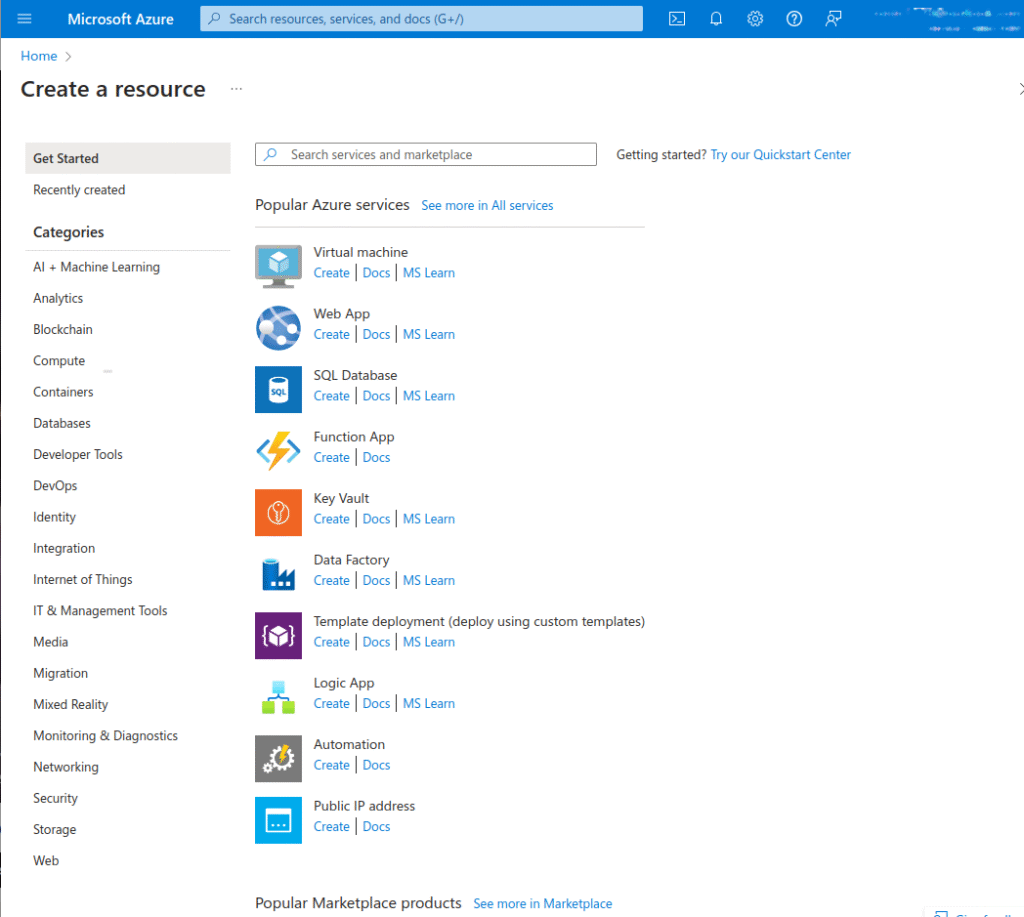
2. In the Create a resource portal, search for Front Door and CDN profiles. Select it and then click Create.
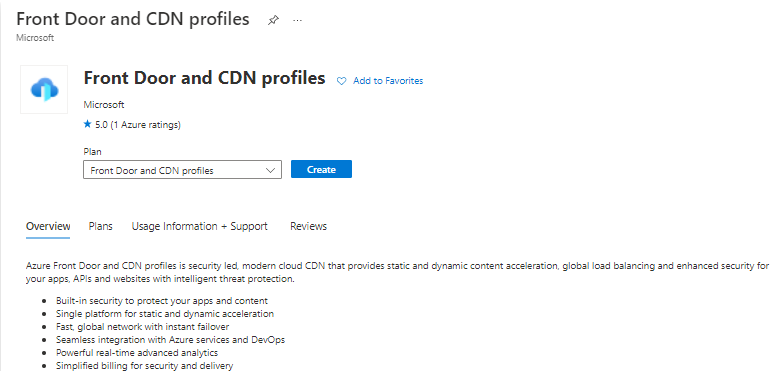
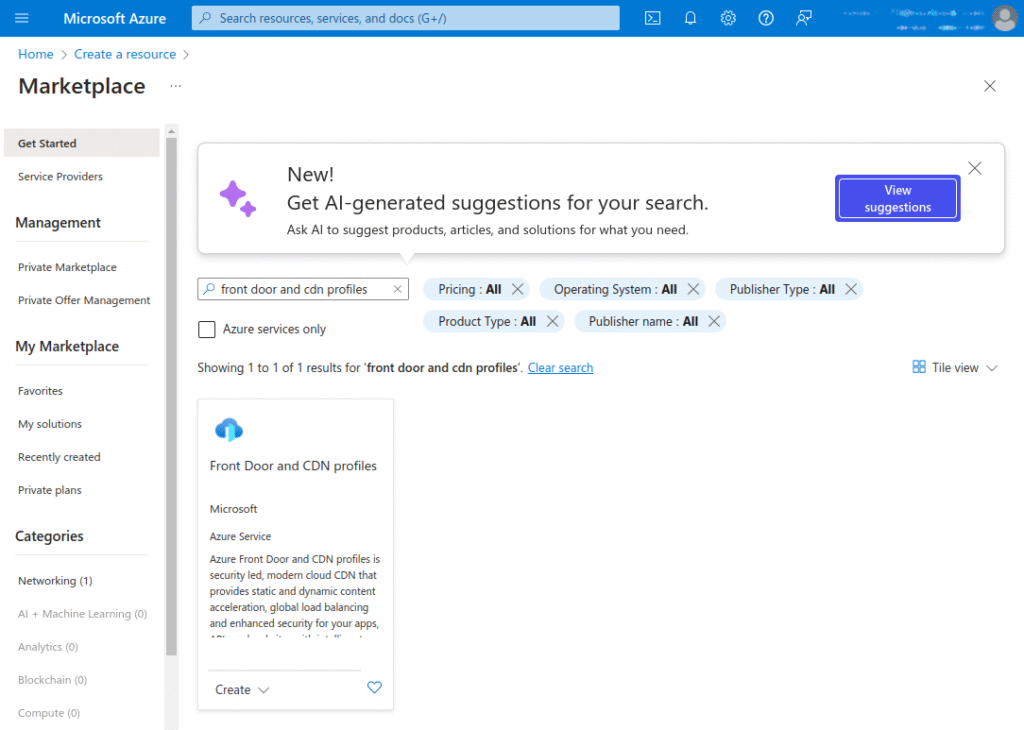
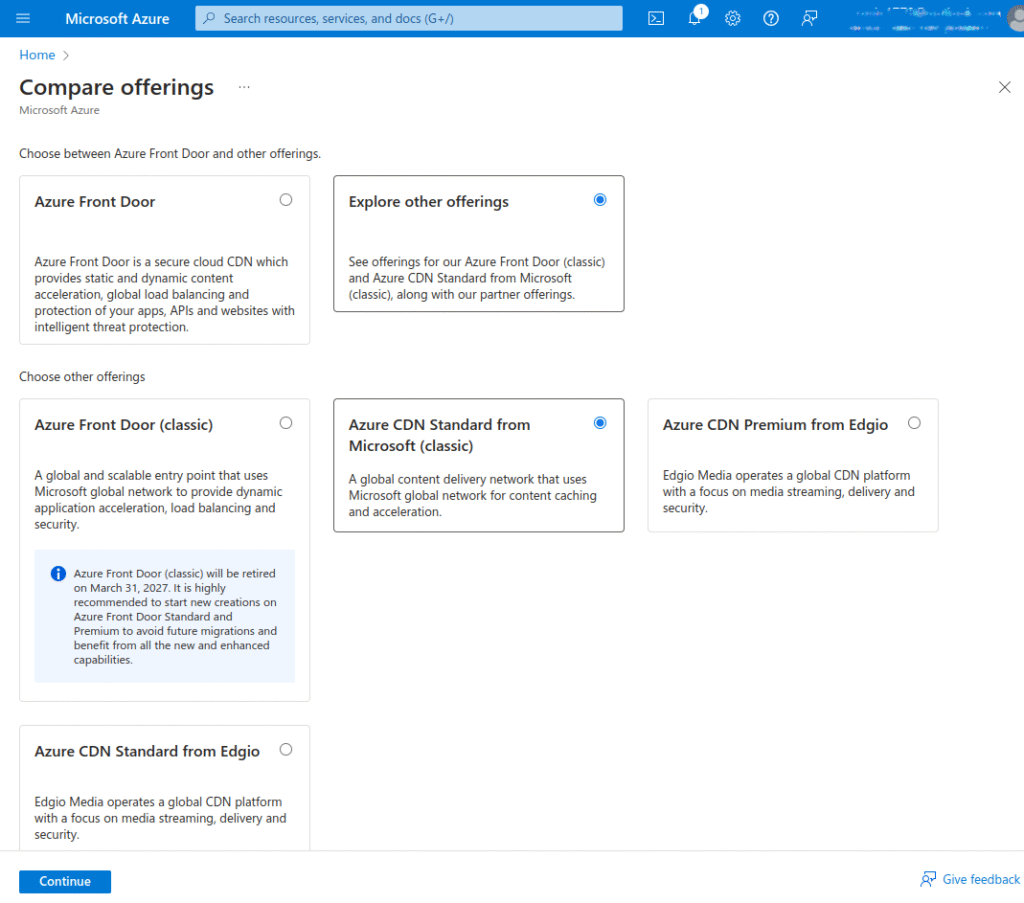
3. In the Compare offerings pane, select Explore other offerings, then choose Azure CDN Standard from Microsoft (classic) and click Continue.
- In the Basics tab, fill in the following details:
- Subscription: Select an Azure subscription from the drop-down list.
- Resource group: Choose Create new and enter CDNQuickstart-rg or select an existing resource group named CDNQuickstart-rg.
- Resource group region: If you are creating a new resource group, select a nearby location from the drop-down list.
- Name: Enter your profile name, such as cdn-profile-123.
- Region: Leave as default.
- Pricing tier: Select an Azure CDN option from the drop-down list. Deployment time varies by tier.
- Create a new CDN endpoint now: Leave unselected.
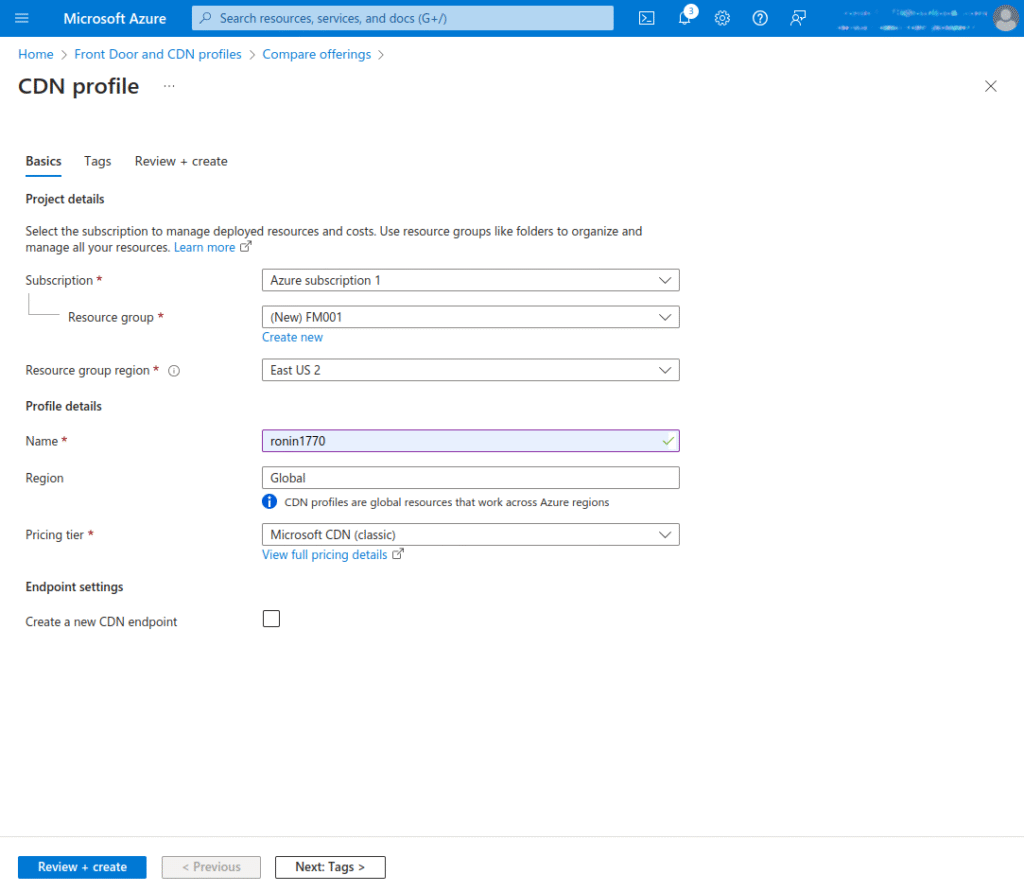
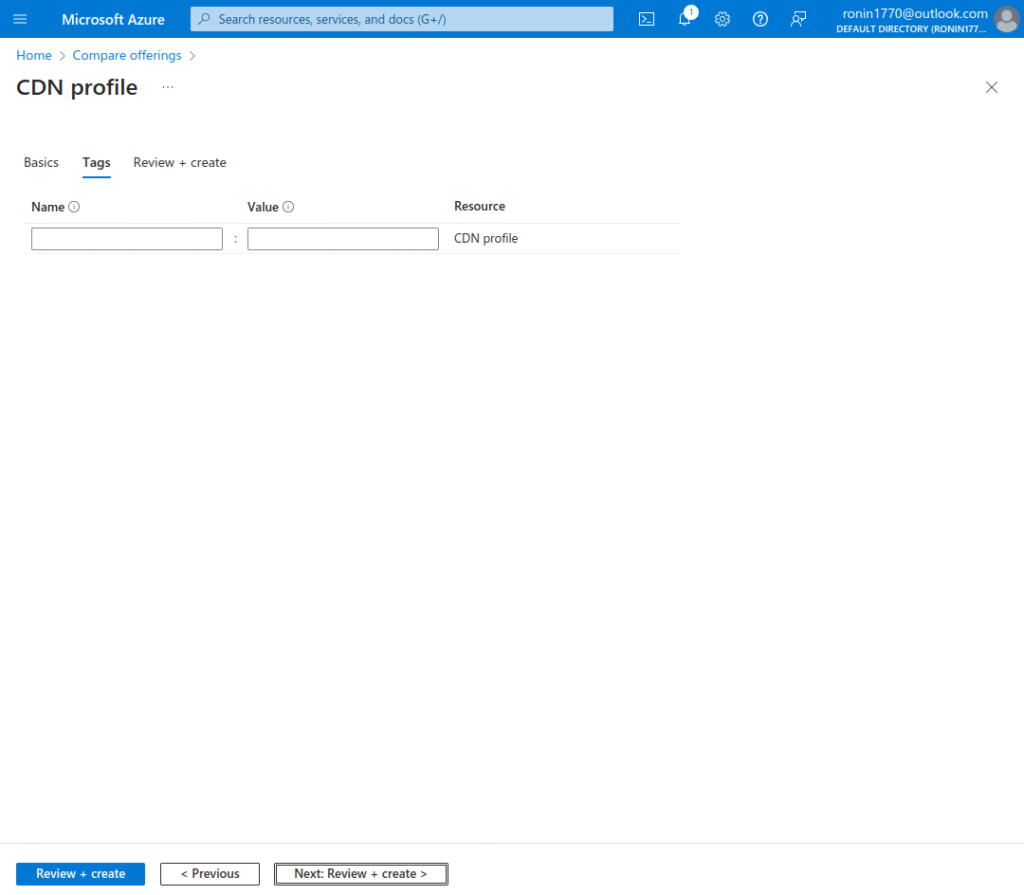
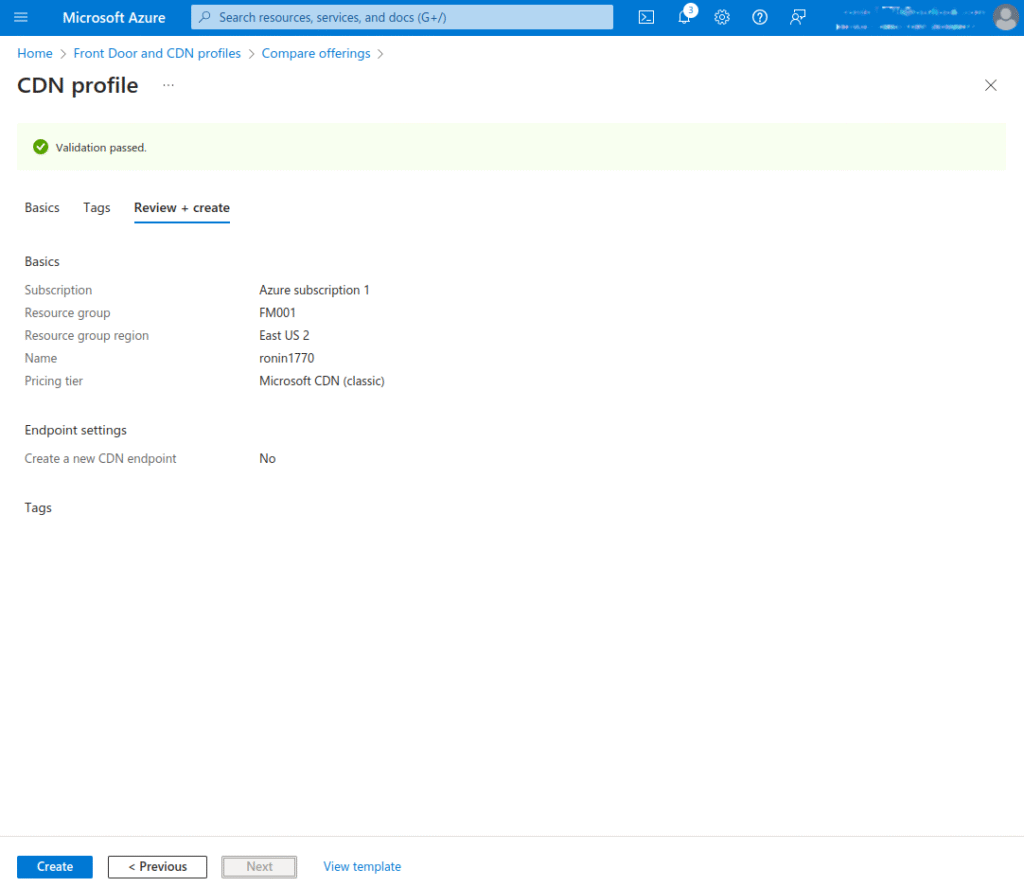
5. Click on Review + Create, then again on Create, to create the profile.
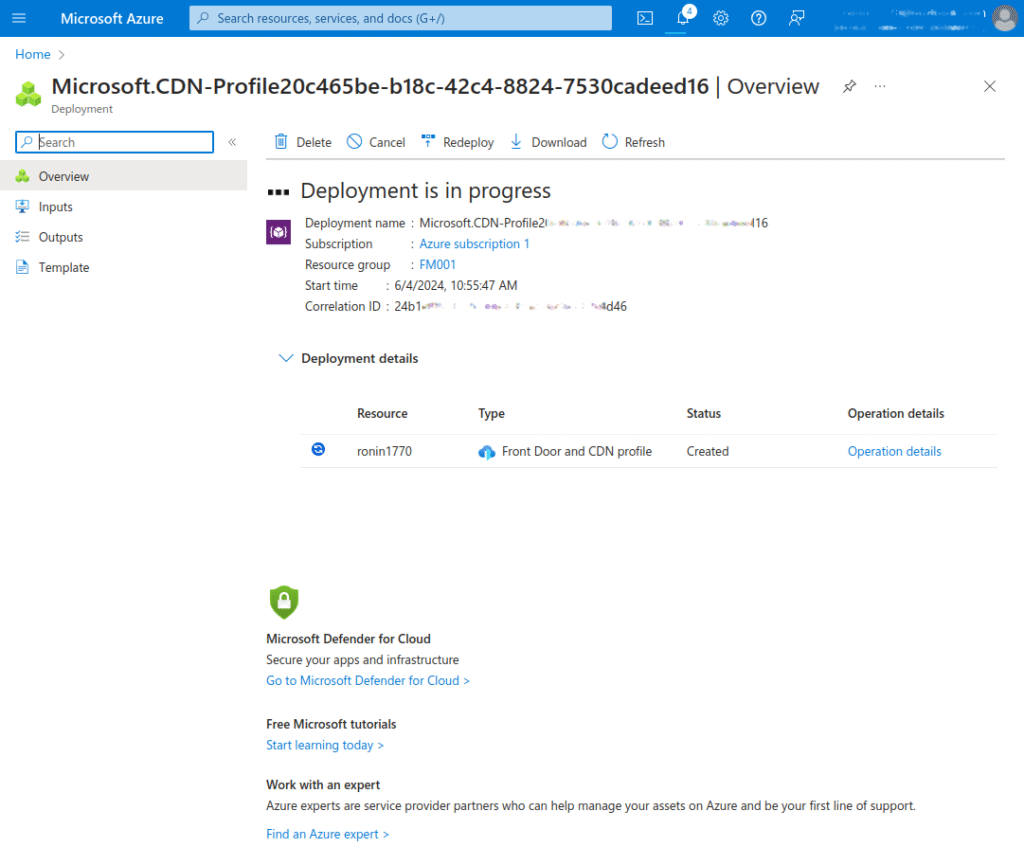
Create a CDN Endpoint
Once the CDN profile is created, you can use it to create an endpoint:
- In the Azure portal, navigate to the content delivery network profile you created. If you can’t find it, locate it through the resource group or use the search bar. On the profile page, choose + Endpoint.
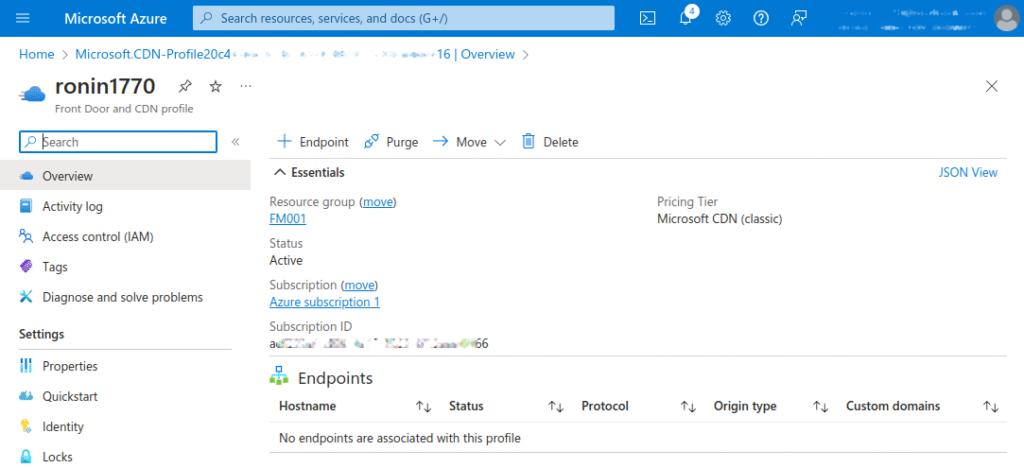
- In the Add an endpoint pane, enter the following details:
- Name: Enter cdn-endpoint-123 for your endpoint hostname. Ensure it is unique across Azure.
- Origin type: Choose Storage.
- Origin hostname: Choose the hostname of the Azure Storage account you’re using. Otherwise you will need to create it
- Origin path: Leave blank.
- Origin host header: Leave the default value.
- Protocol: Leave the default HTTP and HTTPS options selected.
- Origin port: Leave the default port values.
- Optimized for: Select General web delivery.
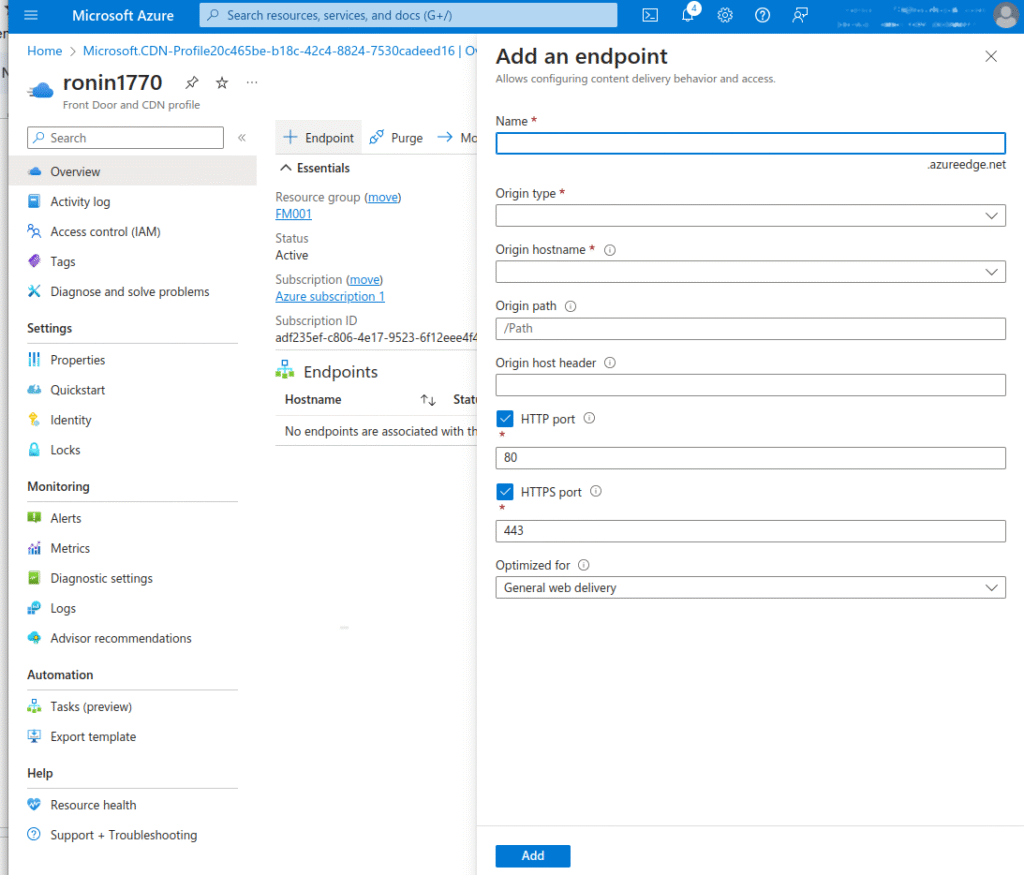
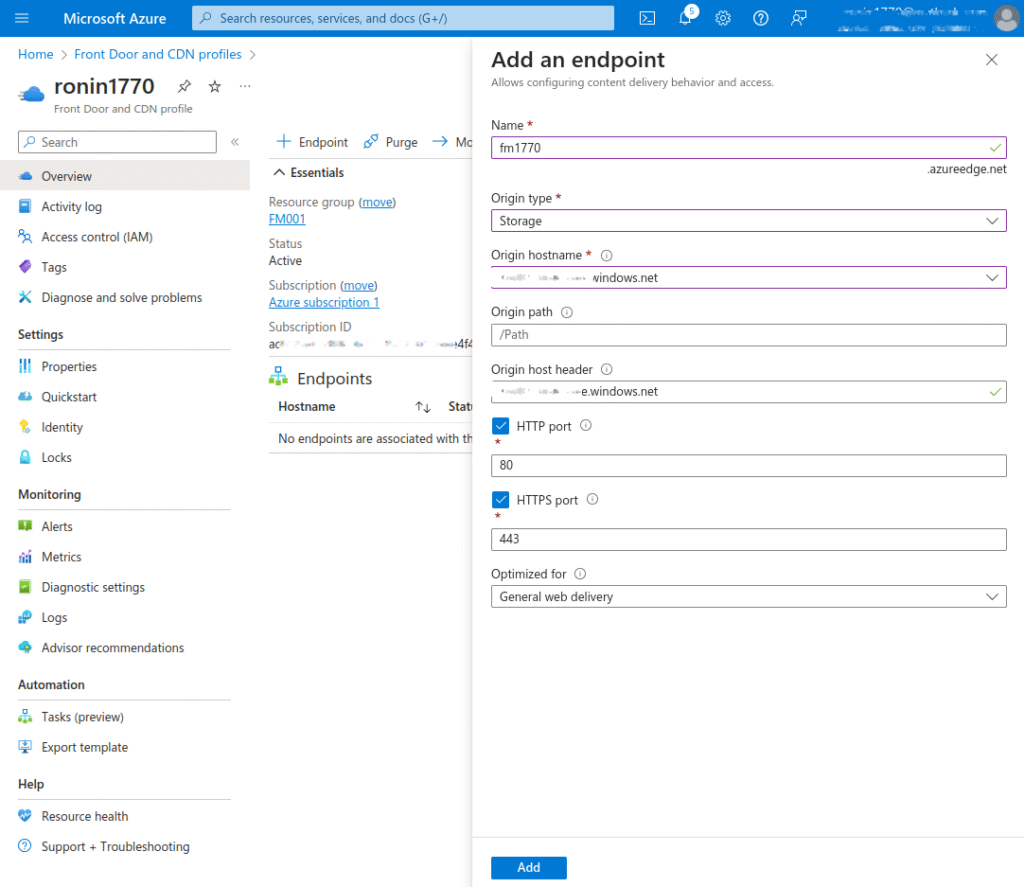
3. Click Add to create the endpoint. It will appear in the list of endpoints for the profile.
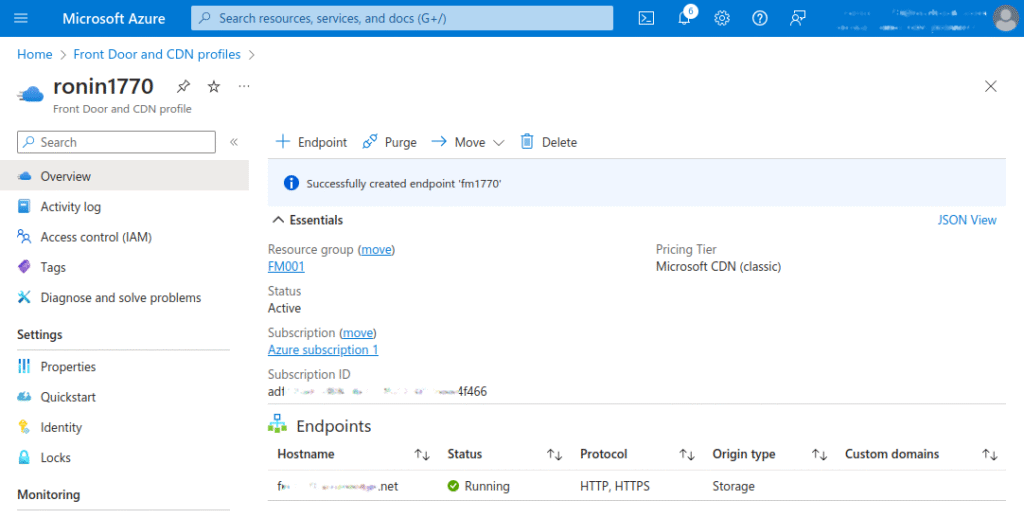
The time required for the endpoint to propagate depends on the selected pricing tier. The Standard Microsoft tier typically completes within one to ten minutes, while Standard Edgio and Premium Edgio can take up to 30 minutes.
Getting Started with Azure Front Door
To get started with Azure Front Door, you need an active Azure account with a subscription. If you do not have one, you can create an account for free.
Create a Front Door Profile
To create a new resource for Front Door and CDN profiles, sign in to the Azure portal:
- Navigate to the home page or the Azure menu and click on + Create a resource. Enter Front Door and CDN profiles in the search box and choose Create.
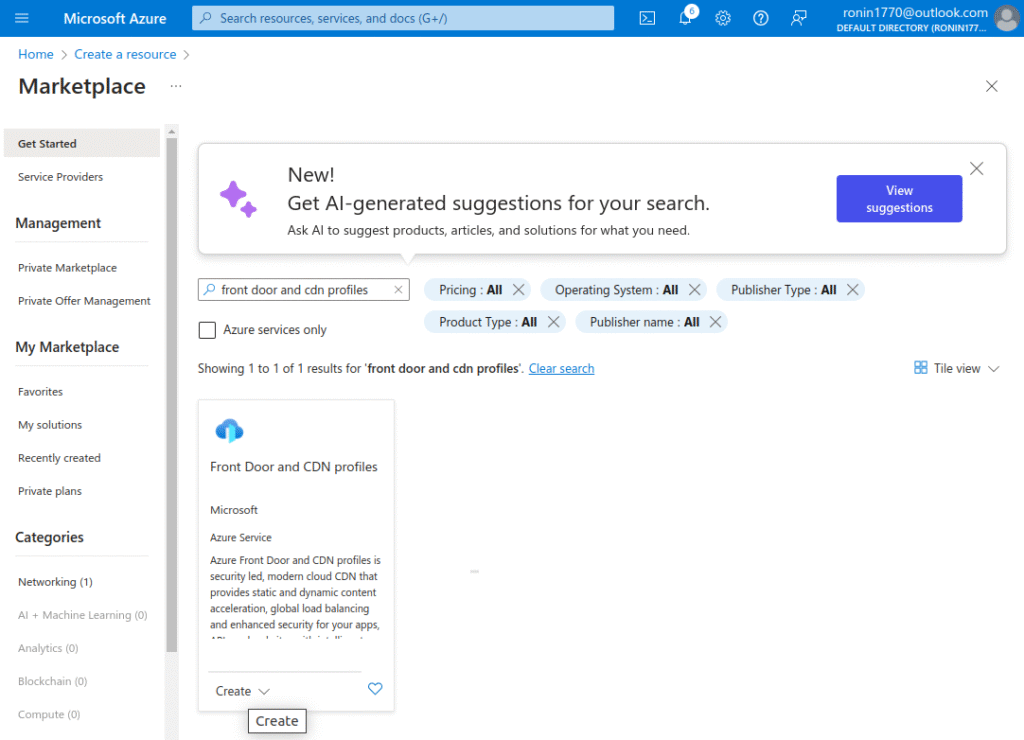
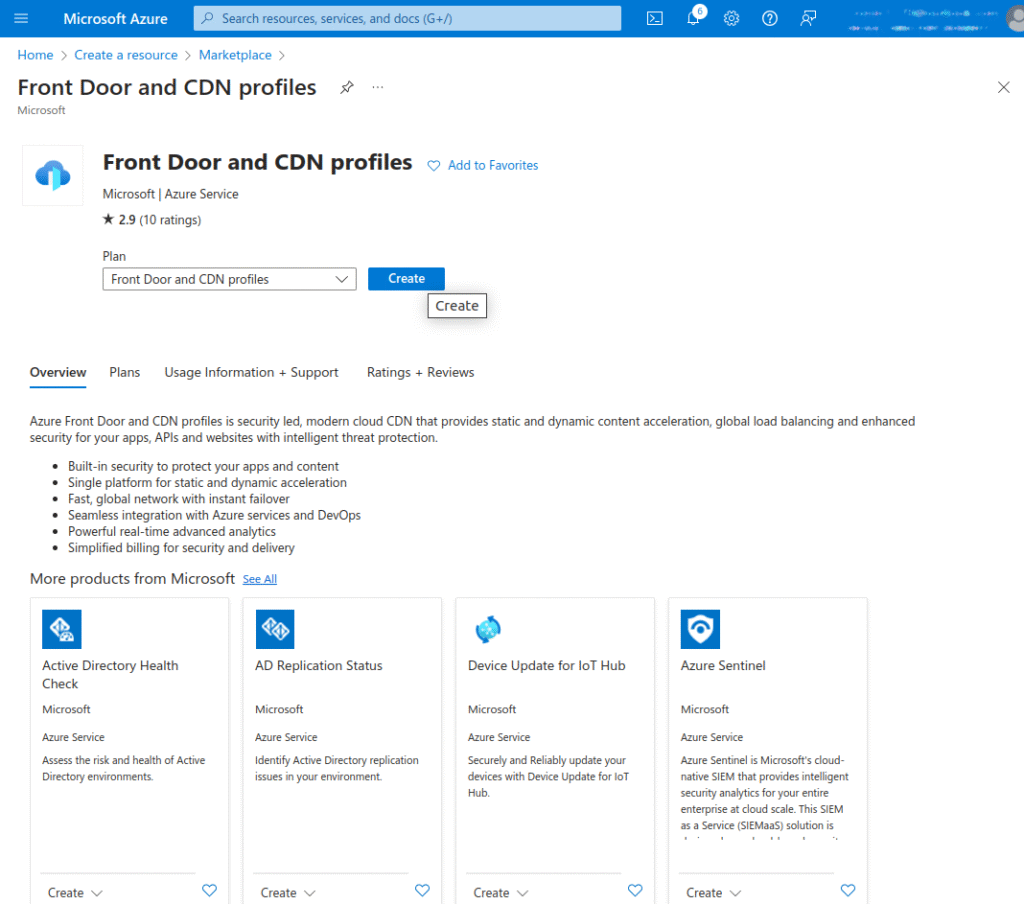
2. On the Compare offerings page, select the Quick create option, then click Continue to create a Front Door.
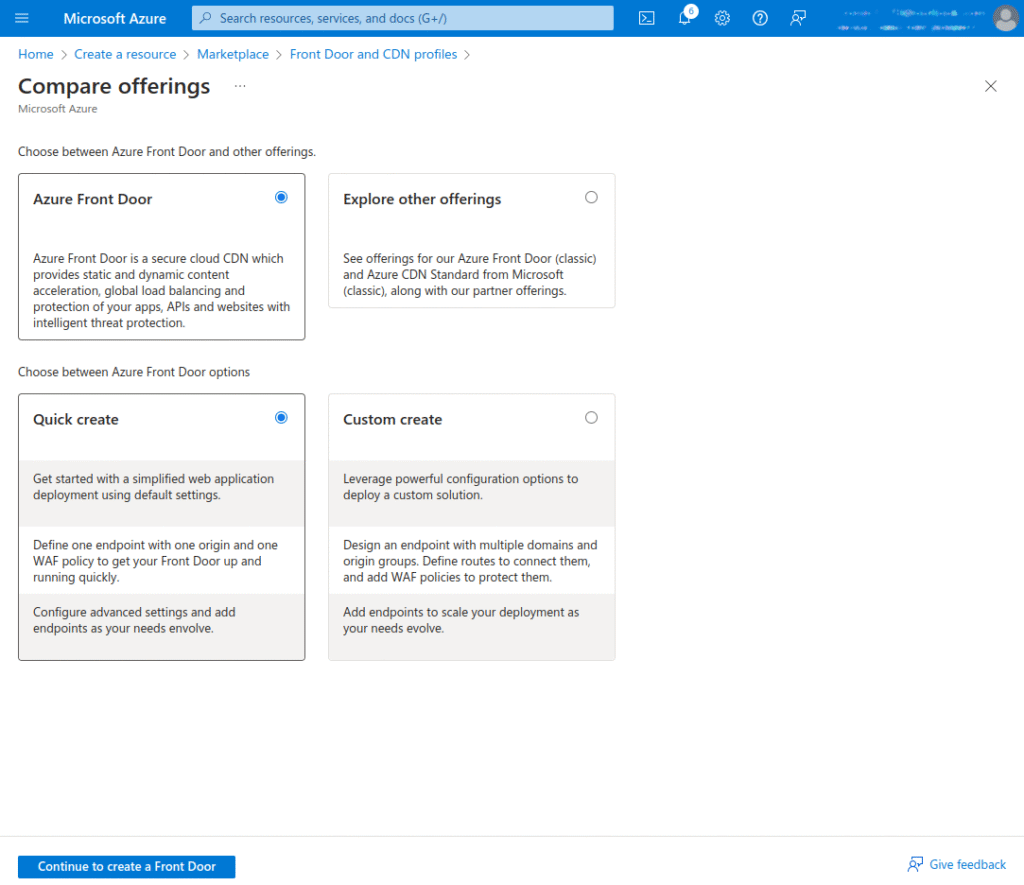
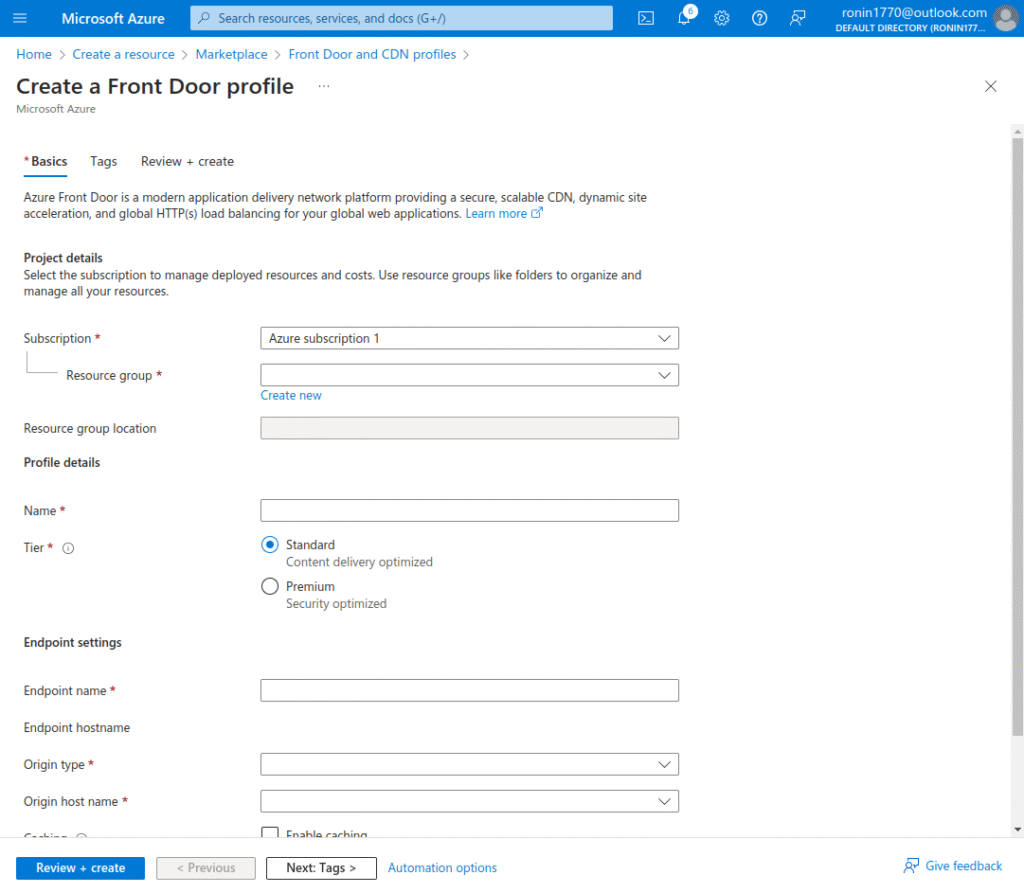
- On the Create a Front Door profile page, provide the following information for the required settings:
- Subscription: Select your subscription.
- Resource group: Choose Create new and enter myAFDResourceGroup in the text box.
- Name: Give your profile a name. For example, myAzureFrontDoor.
- Tier: You can choose the Standard or Premium tier. The Standard tier is optimized for content delivery, while the Premium tier builds on the Standard tier with an added focus on security.
- Endpoint name: Enter a globally unique name for your endpoint.
- Origin type: Select the type of resource for your origin. In this example, choose an app service as the origin with Private Link enabled.
- Origin host name: Enter the hostname for your origin.
- Private link: Enable the private link service if you want a private connection between your Azure Front Door and your origin. Only internal load balancers, storage blobs, and app services are supported.
- Caching: Select the checkbox to indicate that you want to cache content closer to your users via Azure Front Door’s global edge points of presence (POPs) and the Microsoft network.
- WAF policy: Click on Create new or choose an existing WAF policy from the dropdown if you want to enable this feature.
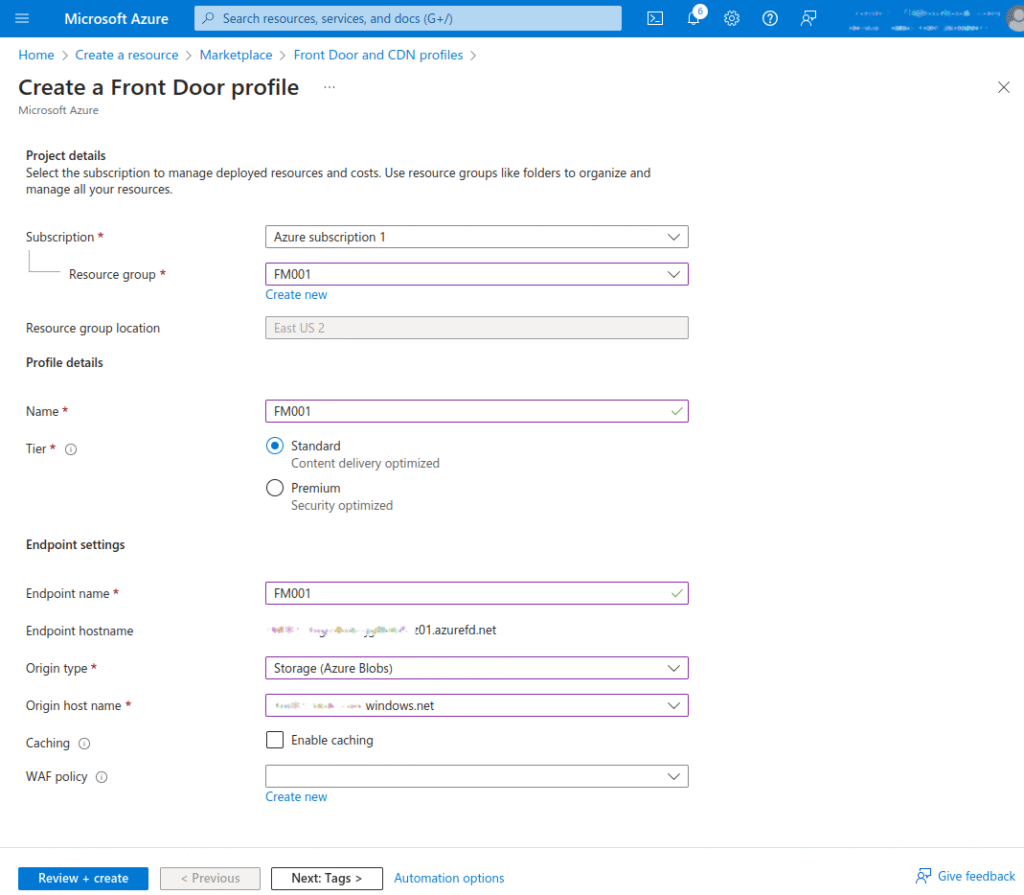
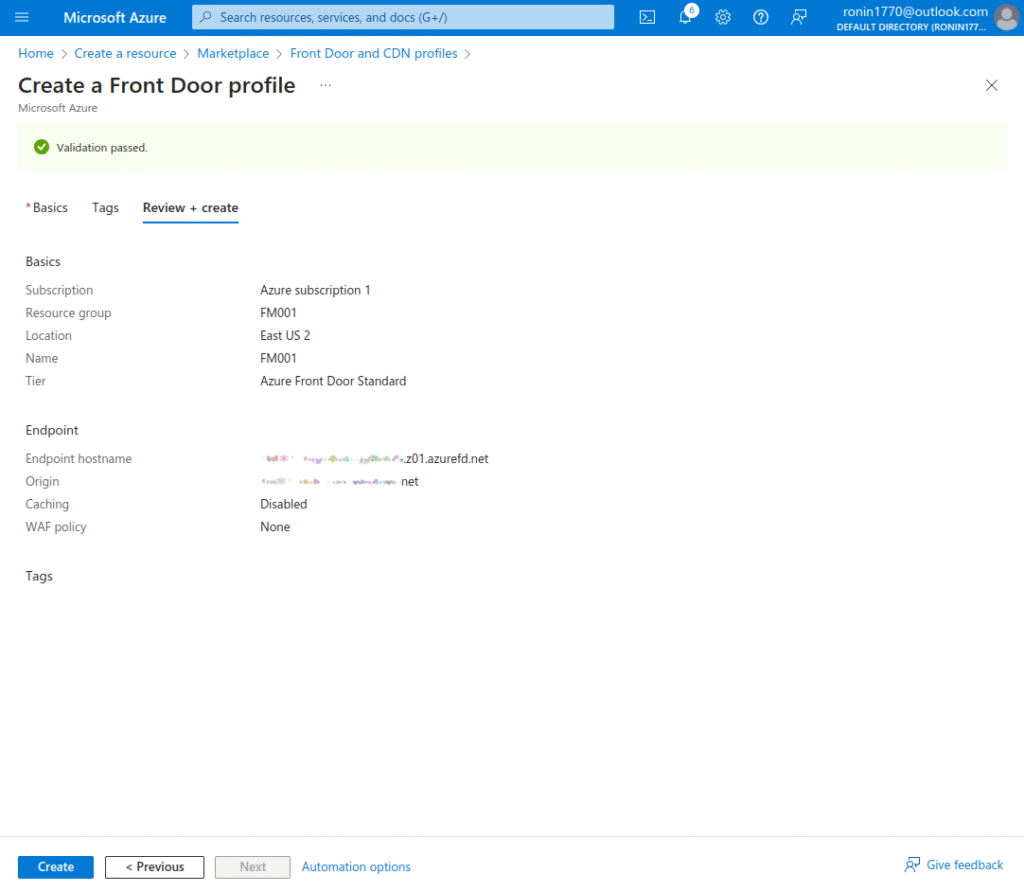
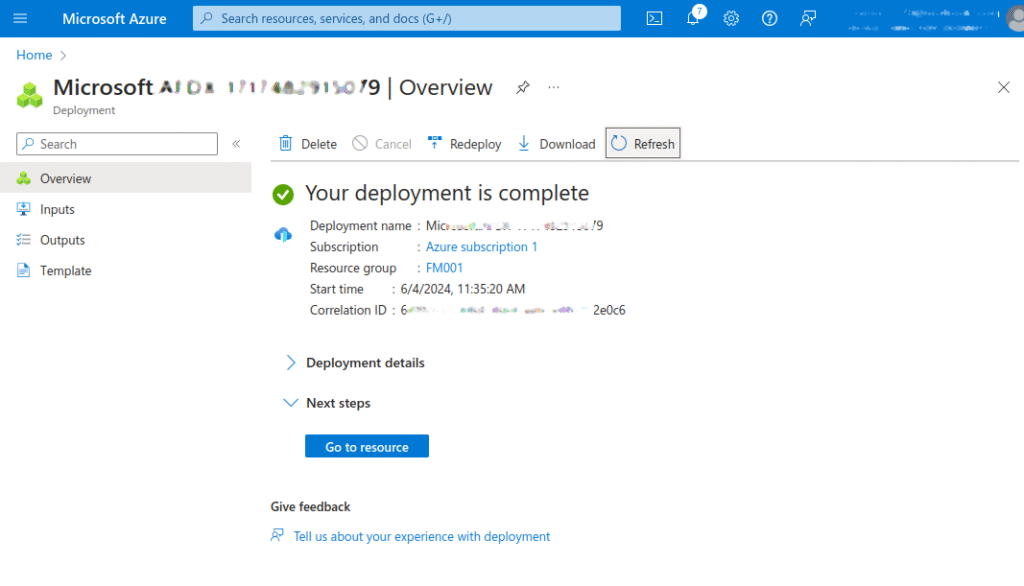
After completing the process, you should see the following message:
Coralogix and Azure CDN
Coralogix sets itself apart in observability with its modern architecture, enabling real-time insights into logs, metrics, and traces with built-in cost optimization. Coralogix’s straightforward pricing covers all its platform offerings including APM, RUM, SIEM, infrastructure monitoring and much more. With unparalleled support that features less than 1 minute response times and 1 hour resolution times, Coralogix is a leading choice for thousands of organizations across the globe.


