Threat Intelligence Feeds: A Complete Overview

Cybersecurity is all about staying one step ahead of potential threats. With 1802 data compromises impacting over 422 million individuals in the United States in 2022, threat intelligence feeds are a key aspect of cybersecurity today.

These data streams offer real-time insights into possible security risks, allowing organizations to react quickly and precisely against cyber threats. However, leveraging threat intelligence feeds can be complicated. 

This article will explain threat intelligence feeds, why they’re important, describe different types of threat intelligence feeds and how organizations use them to protect against cyber attacks.

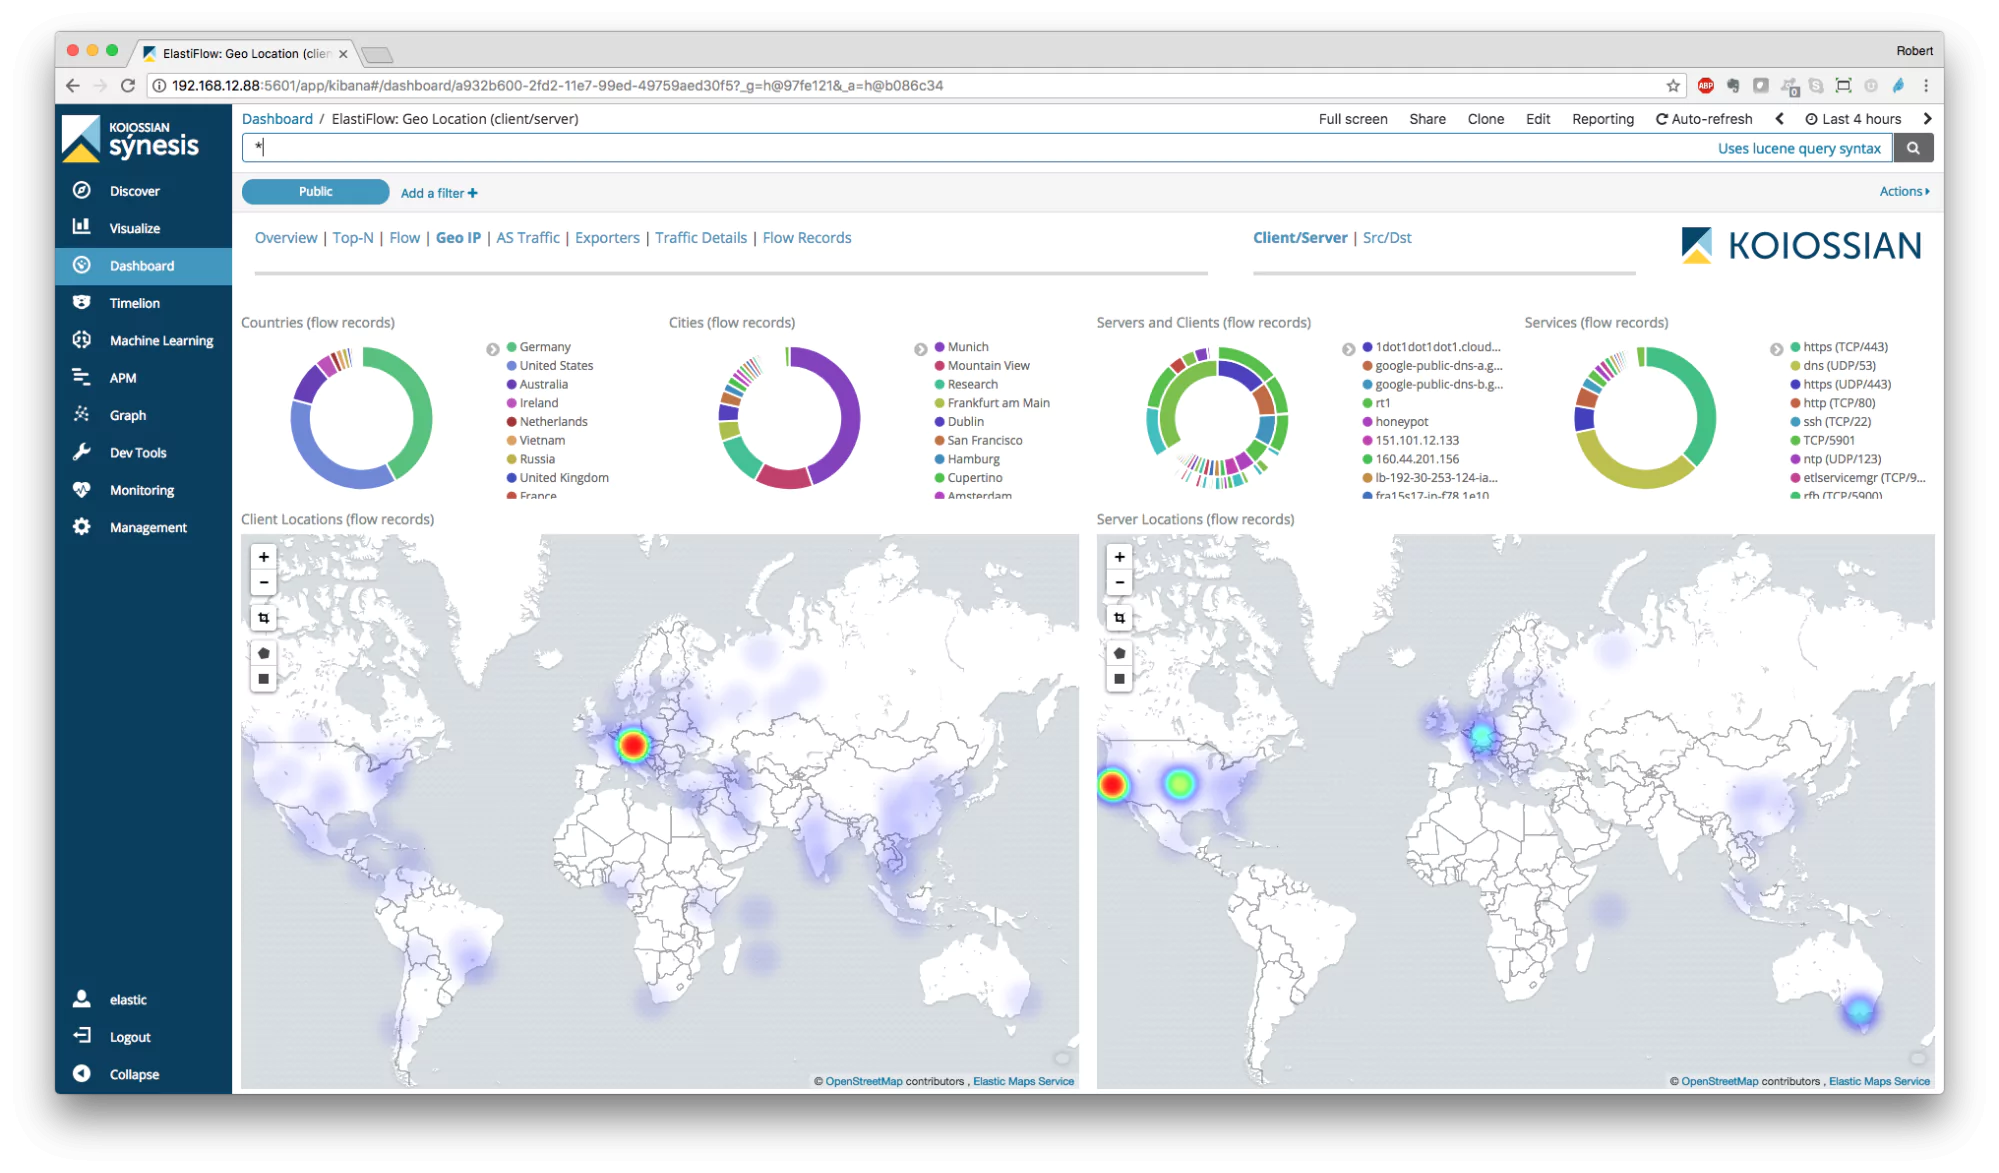
Coralogix security offers a seamless and robust way to enrich your log data and more easily protect against a wide array of cyber threats.

What is a threat intelligence feed?

A threat intelligence feed is a comprehensive flow of data that sheds light on potential and existing cyber threats. It encompasses information about various hostile activities, including malware, zero-day attacks and botnets.

Security researchers curate these feeds, gathering data from diverse private and public sources, scrutinizing the information, and compiling lists of potential malicious actions. These feeds are not just a critical tool for organizations, but an essential part of modern security infrastructure.

Threat intelligence feeds assist organizations in identifying patterns related to threats and in modifying their security policies to match. They minimize the time spent gathering security data, provide ongoing insights into cyber threats, and supply prompt and accurate information to security teams.

By seamlessly integrating threat intelligence feeds into their existing security structure, organizations can preemptively tackle security threats before they evolve into significant issues.

Why are threat intelligence feeds important?

Threat intelligence feeds are pivotal in contemporary cybersecurity efforts. Let’s break down their significance:

  1. Real-time awareness: Threat intelligence feeds provide instantaneous updates on emerging threats. This timely intel equips security teams to act fast, curbing the potential fallout of an attack.
  2. Bolstered security measures: Gaining insights into the characteristics and behaviors of threats lets organizations adjust their security protocols. Threat intelligence feeds are the key to optimizing these measures for specific threats.
  3. Informed strategic choices: Offering essential insights and threat intelligence feeds to aid in crafting informed decisions about security investments, policies, and strategies. They guide organizations to focus on the most pressing vulnerabilities and threats, ensuring the optimal allocation of resources.
  4. Synergy with existing tools: Threat intelligence feeds can mesh with existing security technologies, prolonging their effectiveness and enhancing their ROI. This synergy is part of a broader strategy where observability and security work together to provide comprehensive protection.
  5. Anticipatory response: Supplying real-time threat data, these feeds allow security teams to nip threats in the bud before they balloon into significant issues. This foresight can translate into substantial cost savings by preventing major data breaches and reducing recovery costs.
  6. Industry-specific insights: Threat intelligence feeds can cater to specific industries, delivering unique insights pertinent to certain business domains. This specialized information can be invaluable in guarding against threats that loom larger in specific sectors.

Threat intelligence feeds are more than a mere information repository; they are a tactical asset that amplifies an organization’s prowess in threat detection, analysis, and response. By capitalizing on threat intelligence feeds, organizations can fortify their security stance, consistently staying a stride ahead of potential cyber dangers.

Types of threat intelligence

Organizations must understand the various kinds of threat intelligence, allowing them to opt for the feeds that suit their unique needs and objectives. Here’s a look at seven key types of threat intelligence:

  1. Tactical threat intelligence: Focusing on imminent threats, this type delivers detailed insights about specific indicators of compromise (IoCs). Common among security analysts and frontline defenders, tactical intelligence speeds up incident response. It includes IP addresses, domain names and malware hashes.
  1. Operational threat intelligence: This type is concerned with understanding attackers’ tactics, techniques, and procedures (TTPs). By offering insights into how attackers function, their incentives, and the tools they employ, operational intelligence lets security teams foresee possible attack approaches and shape their defenses accordingly.
  2. Strategic threat intelligence: Providing a wide-angle view of the threat environment, strategic intelligence concentrates on extended trends and burgeoning risks. It guides executives and decision-makers in comprehending the overarching cybersecurity scenario, aiding in informed strategic choices. This analysis often includes geopolitical factors, industry dynamics and regulatory shifts.
  1. Technical threat intelligence: Technical intelligence focuses on the minute details of threats, such as malware signatures, vulnerabilities, and attack paths. IT professionals utilize this intelligence to grasp the technical facets of threats and formulate particular counteractions, employing various cybersecurity tools to safeguard their businesses.
  1. Industry-specific threat intelligence: Some threat intelligence feeds are tailored to particular sectors such as finance, healthcare, or vital infrastructure. They yield insights into threats especially relevant to a defined sector, enabling organizations to concentrate on risks most applicable to their industry. This customized intelligence can be priceless in safeguarding against targeted onslaughts.
  1. Local threat intelligence: This type involves gathering and scrutinizing data from an organization’s individual environment. Organizations can carve out a tailored perspective of the threats peculiar to their setup by analyzing local logs, security happenings, and warnings. It assists in pinpointing and thwarting threats that bear direct relevance to the organization.
  1. Open source threat intelligence: Open source intelligence (OSINT) collects data from publicly accessible sources like websites, social media platforms, and online forums. Though potentially rich in information, it can lead to redundancy or cluttered data, demanding careful handling to maintain relevance and precision.

Organizations can cherry-pick the feeds that harmonize with their security requirements, industrial niche, and objective.

How do threat intelligence feeds work?

Threat intelligence feeds are more than just lists of threats; they are dynamic and complex systems that require careful management and integration. Here’s how they work:

  1. Collection and normalization: Threat intelligence feeds gather data from a diverse array of sources, including public repositories, commercial suppliers, and in-house data pools. The raw data, once gathered, undergoes normalization to a uniform format, priming it for subsequent analysis.
  2. Enrichment and analysis: Enrichment adds context to the data, like linking IP addresses with identified malicious undertakings. The enhanced data is then scrutinized to detect patterns, trends, and interconnections, thereby exposing novel threats and laying bare the strategies of the attackers.
  3. Integration and dissemination: Post-analysis, the intelligence must be woven into the organization’s standing security framework, granting various security instruments access. It is then disseminated to relevant stakeholders, ensuring timely response to emerging threats.
  4. Feedback and customization: A feedback loop allows continuous improvement, while customization enables organizations to focus on specific threats or industries. These processes ensure that the intelligence remains relevant, accurate, and valuable to the organization’s unique needs, aligning with a unified threat intelligence approach.
  5. Compliance and reporting: Threat intelligence feeds also play a role in adherence to regulations by furnishing comprehensive reports on threats and the overarching security stance, abiding by the regulatory mandates concerning cybersecurity.

Threat intelligence with Coralogix

Threat intelligence feeds are a cornerstone in cybersecurity, offering real-time insights and actionable data to combat evolving cyber threats. They enable organizations to proactively enhance security measures, ensuring robust protection against potential risks.

Coralogix’s Unified Threat Intelligence elevates this process by offering seamless integration with top threat intelligence feeds, curated by Coralogix security experts. Without any need for complex configurations or API integrations, Coralogix can automatically enrich log data with malicious indicators in real-time, facilitating efficient threat detection and alerting.

The enriched logs are stored to your own remote storage, allowing you to query directly from Coralogix with infinite retention and even research the data with external tools. Explore Coralogix security and discover how the platform can enhance your organization’s security posture and keep you one step ahead of potential threats.

Guide: Smarter AWS Traffic Mirroring for Stronger Cloud Security

So, you’ve installed Coralogix’s STA and you would like to start analyzing your traffic and getting valuable insights but you’re not sure that you’re mirroring enough traffic or wondering if you might be mirroring too much data and could be getting more for less.

In order to be able to detect everything, you have to capture everything and in order to be able to investigate security issues thoroughly, you need to capture every network packet. 

More often than not, the data once labeled irrelevant and thrown away is found to be the missing piece in the puzzle when slicing and dicing the logs in an attempt to find a malicious attacker or the source of an information leak.

However, as ideal as this might be, in reality, capturing every packet from every workstation and every server in every branch office is usually impractical and too expensive, especially for larger organizations. Just like in any other field of security, there is no real right or wrong here, it’s more a matter of whether or not it is worth the trade-off in particular cases.

There are several strategies that can be taken to minimize the overall cost of the AWS traffic monitoring solution and still get acceptable results. Here are some of the most commonly used strategies:

1. Mirror by Resource/Information Importance

  1. Guidelines: After mapping out the most critical assets for the organization from a business perspective, configure the mirroring to mirror only traffic to and from the most critical servers and services to be mirrored and analysed. For example, a bank will probably include all SWIFT related servers, for a software company it will probably include all traffic from and to their code repository, release location, etc.
  2. Rationale: The rationale behind this strategy is that mirroring the most critical infrastructures will still provide the ability to detect and investigate security issues that can harm the organization the most and will save money by not mirroring the entire infrastructure.
  3. Pros: By following this strategy, you will improve the visibility around the organization’s critical assets and should be able to detect issues related to your organization’s “crown jewels” (if alerts are properly set) and to investigate such issues.
  4. Cons: Since this strategy won’t mirror the traffic from non-crown jewels environments, you will probably fail to pinpoint the exact (or even approximate) path the attacker took in order to attack the organization’s “crown jewels”.
  5. Tips: If your organization uses a jump-box to connect to the crown jewels servers and environments, either configure the logs of that jump-box server to be as verbose as possible and store them on Coralogix with a long retention or mirror the traffic to the jumpbox server.

2. Mirror by Resource/Information Risk

  1. Guidelines: After mapping out all the paths and services through which the most critical data of the organization is being transferred or manipulated, configure the mirroring to mirror only traffic to and from those services and routes. The main difference between this strategy and the one mentioned above is that it is focused on sensitive data rather than critical services as defined by the organization.
  2. Rationale: The rationale behind this strategy is that mirroring all the servers and services that may handle critical information will still provide the ability to detect and investigate security issues that can harm the organization the most and will save money by not mirroring the entire infrastructure.
  3. Pros: You will improve the visibility around the critical data across services and environments and you should be able to detect, by configuring the relevant alerts, attempts to modify or otherwise interfere with handling and transferring the organization’s sensitive data
  4. Cons: Since this strategy won’t mirror traffic from endpoints connecting to the services and paths used for transmission and manipulation of sensitive data, it might be difficult or even impossible to detect the identity of the attacker and the exact or even approximate path taken by the attacker.
  5. Tips: Collecting logs from firewalls and WAFs that control the connections from and to the Internet and sending the logs to Coralogix can help a great deal in creating valuable alerts and by correlating them with the logs from the STA can help identify the attacker (to some extent) and his/her chosen MO (Modus Operandi).

3. Mirror by Junction Points

  1. Guidelines: Mirror the data that passes through the critical “junction points” such as WAFs, NLBs or services that most of the communication to the organization and its services goes through.
  2. Rationale: The idea behind this strategy is that in many organizations there are several “junction points” such as WAFs, NLBs, or services that most of the communication to the organization and its services goes through. Mirroring this traffic can cover large areas of the organization’s infrastructure by mirroring just a handful of ENIs.
  3. Pros: You will save money on mirroring sessions and avoid mirroring some of the data while still keeping a lot of the relevant information.
  4. Cons: Since some of the data (e.g. lateral connections between servers and services in the infrastructure) doesn’t necessarily traverse the mirrored junction points, it won’t be mirrored which will make it harder and sometimes even impossible to get enough information on the attack or even to be able to accurately detect it.
  5. Tips: Currently, AWS cannot mirror an NLB directly but it is possible and easy to mirror the server(s) that are configured as target(s) for that NLB. Also, you can increase the logs’ verbosity on the non-monitored environments and services and forward them to Coralogix to compensate for the loss in traffic information.

4. Mirror by Most Common Access Paths

  1. Guidelines: Mirror traffic from every server is based on the expected and allowed set of network protocols that are most likely to be used to access it.
  2. Rationale: The idea behind this strategy is that servers that expose a certain service are more likely to be attacked via that same service. For example, an HTTP/S server is more likely to be attacked via HTTP/S than via other ports (at least at the beginning of the attack). Therefore, it makes some sense to mirror the traffic from each server based on the expected traffic to it.
  3. Pros: You will be able to save money by mirroring just part of the traffic that arrived or was sent from the organization’s servers. You will be able to detect, by configuring the relevant alerts, some of the indications of an attack on your servers.
  4. Cons: Since you mirror only the expected traffic ports, you won’t see unexpected traffic that is being sent or received to/from the server which can be of great value for a forensic investigation.
  5. Tips: Depending on your exact infrastructure and the systems and services in use, it might be possible to cover some of the missing information by increasing the services’ log verbosity and forwarding them to Coralogix.

5. Mirror Some of Each

  1. Guidelines: Randomly select a few instances of each role, region or subnet and mirror their traffic to the STA.
  2. Rationale: The idea behind this strategy is that it would be reasonable to assume that the attacker would not know which instances are mirrored and which are not, and also, many tools that are used by hackers are generic and will try to propagate through the network without checking if the instance is mirrored or not, therefore, if the attacker tries to move laterally in the network (manually or automatically), or to scan for vulnerable servers and services, it is very likely that the attacker will hit at least one of the mirrored instances (depending on the percentage of instances you have selected in each network region) and if alerts were properly configured, it will raise an alert.
  3. Pros: A high likelihood of detecting security issues throughout your infrastructure, especially the more generic types of malware and malicious activities.
  4. Cons: Since this strategy will only increase the chances of detecting an issue, it is still possible that you will “run out of luck” and the attacker will penetrate the machines that were not mirrored. Also, when it comes to investigations it might be very difficult or even impossible to create a complete “story” based on the partial data that will be gathered.
  5. Tips: Since this strategy is based on a random selection of instances, increasing the operating system and auditing logs as well as other services logs and forwarding them to Coralogix for monitoring and analysis can sometimes help in completing the picture in such cases.

In addition to every strategy, you’ll choose or develop, we would also recommend that you mirror the following. These will probably cost you near nothing but can be of great value when you’ll need to investigate an issue or detect security issues (manually and automatically):

  1. All DNS traffic – It is usually the tiniest traffic in terms of bytes/sec and packets/sec but can compensate for most black spots that will result in such trade-offs.
  2. Mirror traffic that should never happen – Suppose you have a publicly accessible HTTP server that is populated with new content only by scp from another server. In this case, mirroring should be done on the FTP access to the server, since that FTP is one of the most common methods to push new content to HTTP servers, mirroring FTP traffic to this server and defining an alert on such an issue will reveal attempts to replace the HTTP contents even before they have succeeded. This is just one example, there are many possible examples (ssh or nfs to Windows servers, RDP, SMB, NetBIOS and LDAP connections to Linux servers) you probably can come up with more based on your particular environment. The idea here is that since an attacker doesn’t have any knowledge of the organization’s infrastructure, the attacker will have to first scan hosts to see which operating systems are running and which services they are hosting, for example by trying to connect via SMB (a protocol mostly used by Windows computers) and if there is a response, the attacker would assume that it is Windows. Of course, the same applies to Linux.

Cloud Access

In cloud infrastructures, instances and even the mirroring configuration are accessible via the Internet and therefore theoretically allows an attacker to find out whether an instance is mirrored and to act accordingly. Because of this, it is even more important to make sure that access to the cloud management console is properly secured and monitored.

What is the Coralogix Security Traffic Analyzer (STA), and Why Do I Need It?

The wide-spread adoption of cloud infrastructure has proven to be highly beneficial, but has also introduced new challenges and added costs – especially when it comes to security.

As organizations migrate to the cloud, they relinquish access to their servers and all information that flows between them and the outside world. This data is fundamental to both security and observability.

Cloud vendors such as AWS are attempting to compensate for this undesirable side effect by creating a selection of services which grant the user access to different parts of the metadata. Unfortunately, the  disparate nature of these services only creates another problem. How do you bring it all together?

The Coralogix Cloud Security solution enables organizations to quickly centralize and improve their security posture, detect threats, and continuously analyze digital forensics without the complexity, long implementation cycles, and high costs of other solutions.

The Security Traffic Analyzer Can Show You Your Metadata

Using the Coralogix Security Traffic Analyzer (STA), you gain access to the tools that you need to analyze, monitor and alert on your data, on demand.

Here’s a list of data types that are available for AWS users:

[table id=43 /]

Well… That doesn’t look very promising, right? This is exactly the reason why we developed the Security Traffic Analyzer (STA).

What can the Security Traffic Analyzer do for you?

Simple Installation

When you install the STA, you get an AWS instance and several other related resources.

Mirror Your Existing VPC Traffic

You can mirror your server traffic to the STA (by using VPC traffic mirroring). The STA will automatically capture, analyze and optionally store the traffic for you while creating meaningful logs in your Coralogix account. You can also create valuable dashboards and alerts. To make it even easier, we created the VPC Traffic Mirroring Configuration Automation handler which automatically updates your mirroring configuration based on instance tags and tag values in your AWS account. This allows you to declaratively define your VPC traffic mirroring configuration.

Machine Learning-Powered Analysis

The STA employs ML-powered algorithms which alert you to potential threats with the complete ability to tune, disable and easily create any type of new alerts.

Automatically Enrich Your Logs

The STA automatically enriches the data passing through it such as domain names, certificate names, and much more by using data from several other data sources. This allows you to create more meaningful alerts and reduce false-positives while not increasing false-negatives.

What are the primary benefits of the Coralogix STA?

Ingest Traffic From Any Source

Connect any source of information to complete your security observability, including Audit logs, Cloudtrail, GuardDuty or any other source. Monitor your security data in one of 100+ pre-built dashboards or easily build your own using our variety of visualization tools and APIs.

Customizable Alerts & Visualizations

The Coralogix Cloud Security solution comes with a predefined set of alerts, dashboards and Suricata rules. Unlike many other solutions on the market today, you maintain the ability to change any or all of them to tailor them to your organization’s needs.

One of the most painful issues that usually deters people from using an IDS solution is that they are notorious for their high false-positive rate, but Coralogix makes it unbelievably easy to solve these kinds of issues. Dynamic ML-powered  alerts, dashboards, and Suricata rules are just a matter of 2-3 clicks and you’re done.

Automated Incident Response

Although Coralogix focuses on detection rather than prevention, it is still possible to achieve both detection and better prevention by integrating Coralogix with any orchestration platform such as Cortex XSOAR and others. 

Optimized Storage Costs

Security logs need to be correlated with packet data in order to provide needed context to perform deep enough investigations. Setting up, processing, and storing packet data can be laborious and cost-prohibitive.

With the Coralogix Optimizer, you can reduce up to 70% of storage costs without sacrificing full security coverage and real-time monitoring. This new model enables you to get all of the benefits of an ML-powered logging solution at only a third of the cost and with more real-time analysis and alerting capabilities than before.

How Does the Coralogix STA Compare to AWS Services?

Here’s a full comparison between the STA and all the other methods discussed in this article:

[table id=44 /]

(1) Will be added soon in upcoming versions

As you can see, the STA is already the most effective solution for gaining back control and access to your metadata. In the upcoming versions, we’ll also improve the level of network visibility by further enriching the data collected, allowing you to make even more fine-grained alerting rules.

The Value of Ingesting Firewall Logs

In this article, we are going to explore the process of ingesting and monitoring logs into your data lake, and the value of importing your firewall logs into Coralogix. To understand the value of the firewall logs, we must first understand what data is being exported. 

A typical layer 3 firewall will export the source IP address, destination IP address, ports, and the action for example allow or deny. A layer 7 firewall will add more metadata to the logs including application, user, location, and more. 

This data, when placed into an aggregator like Coralogix and visualized, allows greater visibility into the traffic traversing your network. This allows you to detect anomalies and potential problems. A great example of this is detecting malware or data exfiltration to unknown destinations (more on this later).

Configuring Logstash

The first and most critical part of extracting the value of firewall logs is ingesting the correct data. When exporting logs from firewalls, Logstash is one method of ingestion. Coralogix also provides an agent for other Syslog services. This article assumes that you already have Logstash deployed and working. First, we will cover how to set up a configuration for ingestion. 

The recommended way to export firewall logs for ingestion into Logstash is using Syslog. Inside your Logstash conf.d folder, we are going to create our ingestion configuration files. 

To start with we are going to enable Syslog with the following config:

01-syslog.conf

Note: We are using port 5140 rather than 514 for Syslog. This is because Logstash is run as a user, meaning it does not have the privileges to run on port 514.

# TCP Syslog Ingestion (Port 5140)

input {

  tcp {

    type => "syslog"

    port => 5140

  }

}

# UDP Syslog Ingestion (Port 5140)

input {

  udp {

    type => "syslog"

    port => 5140

  }

}

At this point, we need to apply a filter to configure what happens with the data passed via Syslog. You can find several pre-made filters for Logstash online as it’s a popular solution. The following example is a configuration that would be used with a PFsense firewall.

In this configuration, we are filtering Syslogs from two PFsense firewalls. The first is 10.10.10.1 & the second is 10.10.10.2. You will see that we match Syslog information and add fields that will be used to index the data in Coralogix. We will cover GROK filters in more detail in the next section. 

filter {

  if [type] == "syslog" {

    if [host] =~ /10.10.10.1/ {

      mutate {

        add_tag => ["pfsense-primary", "Ready"]

      }

    }

    if [host] =~ /10.10.10.2/ {

      mutate {

        add_tag => ["pfsense-backup", "Ready"]

      }

    }


    if "Ready" not in [tags] {

      mutate {

        add_tag => [ "syslog" ]

      }

    }

  }

}

filter {

  if [type] == "syslog" {

    mutate {

      remove_tag => "Ready"

    }

  }

}

filter {

  if "syslog" in [tags] {

    grok {

      match => { "message" => "%{SYSLOGTIMESTAMP:syslog_timestamp} %{SYSLOGHOST:syslog_hostname} %{DATA:syslog_program}(?:[%{POSINT:syslog_pid}])?: %{GREEDYDATA:syslog_message}" }

      add_field => [ "received_at", "%{@timestamp}" ]

      add_field => [ "received_from", "%{host}" ]

    }

    syslog_pri { }

    date {

      match => [ "syslog_timestamp", "MMM  d HH:mm:ss", "MMM  dd HH:mm:ss" ]

      locale => "en"

    }

    if !("_grokparsefailure" in [tags]) {

      mutate {

        replace => [ "@source_host", "%{syslog_hostname}" ]

        replace => [ "@message", "%{syslog_message}" ]

      }

    }

    mutate {

      remove_field => [ "syslog_hostname", "syslog_message", "syslog_timestamp" ]

    }

  }

}

Next, we create an output. The output defines where Logstash should export the ingested logs. In this case, we are shipping them to Coralogix.

100-output.conf

output {

    coralogix {

        config_params => {

            "PRIVATE_KEY" => "YOUR_PRIVATE_KEY"

            "APP_NAME" => "APP_NAME"

            "SUB_SYSTEM" => "SUB_NAME"

        }

        log_key_name => "message"

        timestamp_key_name => "@timestamp"

        is_json => true

    }

}

Configuring Your Firewall for Syslog

Each firewall interface has a slightly different way to configure log forwarding. However, they all follow a similar pattern. We are going to run through configuring log forwarding on a PFsense firewall as an example of what to expect. Log forwarding is extremely common and most firewall vendors will provide details for the configuration of log forwarding in their manuals. 

On a PFsense firewall, the first step is to get logged into the firewall management interface. PFsense has a web interface that is accessible on the LAN interface. Once logged in your screen should look like this:

pfsense web interface

To set up log forwarding select status and then system logs:

configure log forwarding firewall

On the system logs page go to “Settings”. On the “Settings” page scroll to the bottom and enable “Enable Remote Logging”:

remote logging firewall

Here we can configure how logs will be shipped to Logstash:

ship firewall logs to logstash

In the above configuration, we are shipping all logs to the server 192.168.128.5 on port 5140. This is the same as the configuration we deployed to our Logstash server. Once this has been enabled, save and your logs should start shipping to Logstash. 

You may need to configure what happens with firewall rules. For instance, do you wish to ship all firewall rule events or just block events? On a PFsense firewall these are configured on each rule as below ‘Log – Log packets that are handled by this rule’:

extra configuration options pfsense

Visualize Your Data in Kibana 

Now that we have data flowing from our firewall to Logstash and into Coralogix, it’s time to add some filters that enable us to transform data so that we can visualize and create patterns in Kibana. 

Our first step is to address log parsing and then we can create some Kibana patterns to visualize the data. Filters can be made with GROK, however, Coralogix has a log parsing feature which enables you to much more quickly and easily create filters to manipulate the data you ingest. 

Log Parsing

Firstly, let’s uncover what log parsing rules are. A log parsing rule enables Coralogix to take unstructured text and structure it. When we complete this conversion, we are then able to assign how the data is structured. For example, we can extract source IP addresses, destination IP addresses, the time, and the action. With this data we can then create dashboards like the below:

log parsing dashboard

The value of being able to process, parse, and restructure log data for firewalls is that you can design data structures that are completely customized to your requirements and business processes. Firewalls generate a large number of logs that contain a wealth of data. However, the sheer volume of data means that it’s impossible to manually review your logs. 

Using a platform like Coralogix enables security engineers to quickly visualize data and ascertain what is happening on their network. Also, it’s important to keep this data retained so that in the event of a security event, the security team has the data required to review what happened and remediate any concerns. 

Let’s quickly explore how easy it is to create a rule in Coralogix. Once inside Coralogix, click on Settings, and then Rules:

log parsing rules coralogix

You will be presented with the different rule types that can be designed:

logs parsing rules types

You will note it’s easy to select the right rule type for whatever manipulation you are looking to apply. A common rule is to replace an incoming log. You might want to match a pattern that then sets the severity of the log to critical or similar. If we take a look at the replace rule we can see just how easy it is to create.

We give the rule a name:

rule naming coralogix

We create a matching rule, to locate the logs we wish to manipulate:

rule matcher coralogix

Finally, we design what is going to be manipulated:

extract and manipulate firewall logs

You can see just how easy Coralogix makes it to extract and manipulate your firewalls logs. This enables you to create a robust data visualization and security alerting solution using the Coralogix platform. 

It’s worth noting GROK patterns are also used in Logstash before the data hits Coralogix. Coralogix has a tutorial that runs through GROK patterns in more detail. It makes sense to just forward all of your logs to Coralogix and create rules using the log parsing rules, it’s much faster and far easier to maintain. 

Creating Index Patterns In Kibana

Now that we have manipulated our data, we can start to visualize it in Kibana. An index pattern tells Kibana what Elasticsearch index to analyze. 

To create a pattern you will need to jump over to the Coralogix portal and load up Kibana. In there click on Index Patterns:

index patterns

An index pattern is created by typing the name of the index you wish to match, a wild card can be used to specify multiple indexes for querying. An example *:13168_newlogs* will catch any indices that contain 13168_newlogs. Click next once you have matched your pattern.

creating index pattern step 1

Finally, we need to configure where Kibana will identify the time stamp for filtering records. This can be useful if you want to use metadata created by the firewall:

create index pattern coralogix

Now you have the data all configured, you can start to visualize your firewall logs in Kibana. We would recommend checking out the Kibana Dashboarding tutorial to explore what is possible with Kibana.

Conclusion

In this article, we have explored the value of ingesting firewall logs, we have uncovered the large wealth of data these logs contain, and how they can be used to visualize what activities are taking place on our networks.

Building on what we have explored in this article it should be clear that the more logs you consume and correlate the greater the visibility. This can assist in identifying security breaches, incorrectly configured applications, bad user behavior, and badly configured networks – to name just a few of the benefits. 

Coralogix’s tooling, like log parsing, enables you to ingest logs and transform them into meaningful data simply. Now you are armed with the knowledge, start ingesting your firewall logs! You will be amazed by just how much you learn about your network!