Elasticsearch with Python: Indexing, Searching, and Optimization


What Is the Elasticsearch Python Client?
The Elasticsearch Python client enables Python developers to communicate with the Elasticsearch cluster seamlessly. It abstracts the complexities of directly interacting with the Elasticsearch REST APIs.
The client supports various features of Elasticsearch like index management, querying, and aggregating data, making it easier for developers to integrate search capabilities into their Python applications. It’s designed to be low-level, providing a wrapper around the Elasticsearch REST API, giving Python developers flexibility and control over their Elasticsearch operations.
Getting Started with Elasticsearch and Python: Indexing and Searching Documents
Before beginning this tutorial, ensure you have the following components ready and installed:
- Python 3.x. Make sure you have a recent version of Python installed, as it’s required to run the scripts in this tutorial.
- An Elasticsearch cluster that is up and running. Install Elasticsearch on your machine and run the service.
- Elasticsearch-py. This is the official low-level client for Elasticsearch. It provides a straightforward and efficient way to interact with your Elasticsearch cluster through Python. You can install this using the pip package manager.
Connect to the Cluster
To interact with your Elasticsearch cluster through Python, you first need to establish a connection:
from elasticsearch import Elasticsearch
es = Elasticsearch("http://localhost:9200")
This code starts by importing the Elasticsearch class from the elasticsearch module. Then, it creates an instance of this class called es. This instance is configured to connect to an Elasticsearch cluster running on localhost on port 9200, which is the default port for Elasticsearch.
Index Documents
Once connected to the Elasticsearch cluster, you can begin indexing documents. Here is an example of how to index a simple document that contains a title and content:
doc = {
    "title": "Elasticsearch Python Demo",
    "content": "A demonstration of how to use Elasticsearch with Python."
}
index_name = "demo_index"
doc_type = "_doc"
doc_id = 1
response = es.index(index=index_name, id=doc_id, body=doc)
print(response)
The output should look something like:

This script indexes a document in the demo_index index. The document type is _doc and its ID is 1. The response from the index method is printed, which includes details about the indexing operation.
Search for a Document
To search for documents within your Elasticsearch cluster, you can use the following query, which searches for documents containing the word “demo” in the title field:
query = {
    "query": {
        "match": {
            "title": "demo"
        }
    }
}
response = es.search(index=index_name, body=query)
print(response)
The output looks something like this:

This query will return a response containing all the search results, including the total number of matching documents and the details of each document.
Parse the Search Results and Display Them
Parsing the response and displaying information such as the document IDs and titles helps make the search results easier to read:
hits = response["hits"]["hits"]
for hit in hits:
    print(f"Document ID: {hit['_id']}, Title: {hit['_source']['title']}")
The output should look like this:

This script iterates through the hits in the search response, printing out the document ID and title for each matching document. This makes it easier to understand the search results at a glance.
Elasticsearch with Python: Advanced Optimization
Here are a few ways you can improve search performance in Elasticsearch.
Map Your Data
Mapping in Elasticsearch refers to defining how a document and its fields are stored and indexed. With the Python client, this process begins by defining a mapping schema. This schema specifies the field types and how they should be processed. For example, you can define a field to be treated as text, which is tokenized, or as a keyword, which is stored as a whole and is not tokenized.
Here’s how you can set up mapping in Python:
from elasticsearch import Elasticsearch

# Create an instance of Elasticsearch
es = Elasticsearch("http://localhost:9200")

# Define the mapping schema
mapping = {
    "properties": {
        "title": {"type": "text"},
        "date": {"type": "date"},
        "content": {"type": "text"}
    }
}

# Apply the mapping to an index
index_name = "my_documents"
es.indices.create(index=index_name, body={"mappings": mapping})
This example creates an index called “my_documents” with specific settings for title and content to be text, and date as date type. This preparation ensures that the data is indexed appropriately, improving search accuracy and performance.
To verify if the index was indeed created, run the following command:
curl -X GET "localhost:9200/_cat/indices/my_documents?v"
The output should look something like this:

Leverage Helpers for Bulk Operations
The Python client for Elasticsearch includes a useful module called helpers that facilitates bulk operations. Bulk operations are efficient ways to perform multiple indexing, updating, or deleting operations in a single API call, which significantly reduces the number of HTTP requests to the cluster.
Here’s how to use the bulk helper:
from elasticsearch import Elasticsearch
from elasticsearch.helpers import bulk

es = Elasticsearch("http://localhost:9200")
actions = [
    {"_index": "bulk_index", "_type": "_doc", "_id": 1, "_source": {"title": "First document"}},
    {"_index": "bulk_index", "_type": "_doc", "_id": 2, "_source": {"title": "Second document"}}
]

# Perform bulk indexing
bulk(es, actions)
This script performs bulk indexing of documents into the ‘bulk_index’ index. This method is particularly useful when dealing with large datasets or when performance is critical.
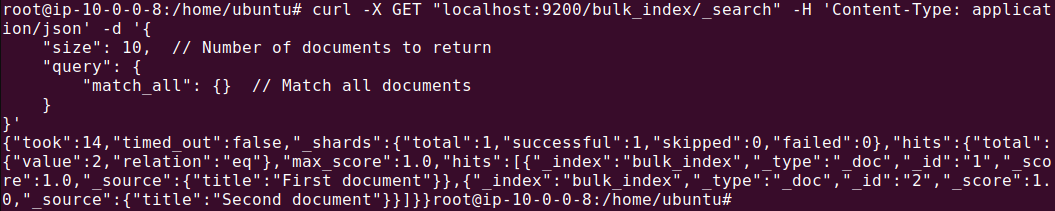
To check that the data was indexed, run the following command:
curl -X GET "localhost:9200/bulk_index/_search" -H 'Content-Type: application/json' -d '{
    "size": 10,  // Number of documents to return
    "query": {
        "match_all": {}  // Match all documents
    }
}'
The output should look something like this:
Use ASCIIFolding to Improve Search Flexibility
The ASCIIFolding filter is an essential feature in Elasticsearch that converts alphabetic, numeric, and symbolic Unicode characters which are not in the first 127 ASCII characters (the “Basic Latin” Unicode block) into their ASCII equivalents. This is particularly useful if your data includes accented characters.
Here’s how to configure it using the Python client:
mapping = {
    "settings": {
        "analysis": {
            "analyzer": {
                "folding": {
                    "tokenizer": "standard",
                    "filter": ["lowercase", "asciifolding"]
                }
            }
        }
    },
    "mappings": {
        "properties": {
            "name": {"type": "text", "analyzer": "folding"}
        }
    }
}

es.indices.create(index="international_products", body=mapping)
Let’s add some data to show how it works:
# Sample data
product1 = {
    "name": "Café"
}

product2 = {
    "name": "Cafe"
}

product3 = {
    "name": "Café au lait"
}

product4 = {
    "name": "Cafe au lait"
}

# Index documents
es.index(index="international_products", body=product1)
es.index(index="international_products", body=product2)
es.index(index="international_products", body=product3)
es.index(index="international_products", body=product4)
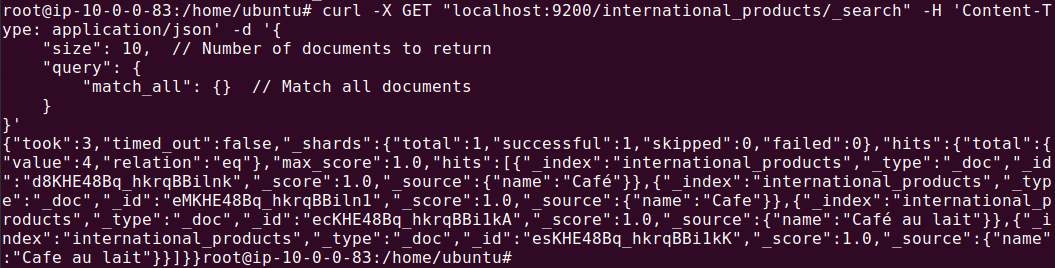
After executing your program, verify if data is added by running the following command:
curl -X GET "localhost:9200/international_products/_search" -H 'Content-Type: application/json' -d '{
    "size": 10,  // Number of documents to return
    "query": {
        "match_all": {}  // Match all documents
 }
}'
The output should look something like this:
This configuration creates an index that uses a custom analyzer named “folding,” which includes the asciifolding filter. It ensures that searches on the “name” field are insensitive to accents, increasing the flexibility of search queries.
Apply the copy-to Parameter to Improve Search Speed
The copy-to parameter in Elasticsearch is used to create custom fields that aggregate the values of several fields into a single field, which can then be queried as one. This approach can significantly speed up query performance.
Here’s how to implement it using the Python client:
mapping = {
    "mappings": {
        "properties": {
            "first_name": {"type": "text", "copy_to": "full_name"},
            "last_name": {"type": "text", "copy_to": "full_name"},
            "full_name": {"type": "text"}
        }
    }
}

es.indices.create(index="users", body=mapping)
Let’s add some data to test this code:
# Sample data
user1 = {
    "first_name": "John",
    "last_name": "Doe"
}

user2 = {
    "first_name": "Jane",
    "last_name": "Smith"
}

# Index documents
es.index(index="users", body=user1)
es.index(index="users", body=user2)
Now let’s query using one of the names:
search_results = es.search(index="users", body={"query": {"match": {"full_name": "John Doe"}}})

# Print search results
for hit in search_results['hits']['hits']:
    print(hit['_source'])
The output should look like this:
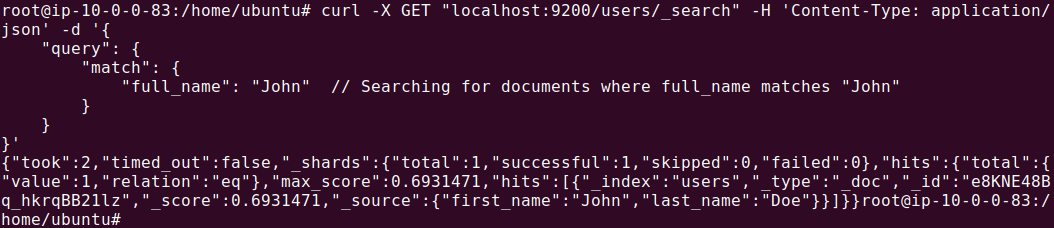
In this example, both first_name and last_name are copied into the full_name field whenever a document is indexed. This technique allows for more efficient searches against the full name, without the need to use multi-field queries.
Observability SaaS – Coralogix
Managing your own ELK stack might be costing you far more than your think with hidden infra costs, dedicated engineering resources and other overhead. If you are looking for a fully managed solution, Coralogix provides full-stack observability with out-of-the-box parsing rules, alerts and dashboards and of course fully customizable view and workflows. On top of this, Coralogix’s unique architecture is not reliant on expensive indexing or hot storage so you can observe all your data for far less cost.
Learn about one of our customers who successfully migrated off of their ELK stack to Coralogix.