OpenSearch with Python: The Basics and a Quick Tutorial


OpenSearch Python Clients
There are several clients that can be used to interface with OpenSearch in Python.
Low-Level Python Client
The low-level Python client, opensearch-py, serves as an interface to the OpenSearch REST API, enabling more natural interactions with an OpenSearch cluster within a Python environment. Instead of sending raw HTTP requests, users can create an OpenSearch client instance and utilize built-in functions to perform various operations. This approach streamlines the process of managing OpenSearch clusters and executing API requests.
Machine Learning Python Client
opensearch-py-ml is a specialized Python client designed to enhance data analytics and natural language processing (NLP) capabilities within OpenSearch. This client allows data analysts to leverage the following features:
- DataFrame APIs: Wraps OpenSearch indexes into an API that mirrors the functionality of Pandas DataFrames, enabling the manipulation of large datasets from OpenSearch within environments such as Jupyter Notebooks.
- NLP model integration: Users can upload NLP models, specifically SentenceTransformer models, into OpenSearch using the ML Commons plugin.
- Model training and tuning: Supports the training and tuning of SentenceTransformer models using synthetic queries, providing tools for NLP tasks.
High-Level Python Client (Deprecated)
The high-level Python client for OpenSearch, known as opensearch-dsl-py, offers convenient wrapper classes for handling OpenSearch entities, such as documents, as Python objects. This client simplifies the process of writing queries and provides accessible Python methods for frequent OpenSearch tasks, such as creating, indexing, and updating documents, as well as conducting searches with and without filters.
However, it is important to note that opensearch-dsl-py will be deprecated after version 2.1.0. Users are encouraged to transition to the low-level Python client, opensearch-py, which has incorporated the functionalities of the high-level client.
Tutorial: Getting Started with OpenSearch and Python
In this tutorial, we’ll walk through the steps to set up OpenSearch with Python, including how to connect to an OpenSearch cluster, perform basic operations such as creating an index, indexing a document, performing bulk operations, searching for documents, and deleting documents and indexes. The tutorial steps are adapted from the official documentation.
Setup
First, install the OpenSearch Python client using pip:
pip3 install opensearch-py
Once installed, import the client in with the following Python script:
from opensearchpy import OpenSearch
Connect to OpenSearch
To connect the client to the OpenSearch host, create a client object. If using the Security plugin, enable SSL and provide authentication details. Here’s an example:
host = 'localhost'<br>port = 9200<br>auth = ('admin', 'admin') <br>ca_certs_path = '/full/path/to/root-ca.pem' <br>client = OpenSearch(<br> hosts=[{'host': host, 'port': port}],<br> http_compress=True,<br> http_auth=auth,<br> use_ssl=True,<br> verify_certs=True,<br> ssl_assert_hostname=False,<br> ssl_show_warn=False,<br> ca_certs=ca_certs_path<br>)<br># Print out a debug print to see if connection is successful<br>print( client.info() )
If using the organization’s client certificates, include them as follows:
client_cert_path = '/full/path/to/client.pem'<br>client_key_path = '/full/path/to/client-key.pem'<br>client = OpenSearch(<br> hosts=[{'host': host, 'port': port}],<br> http_compress=True,<br> http_auth=auth,<br> client_cert=client_cert_path,<br> client_key=client_key_path,<br> use_ssl=True,<br> verify_certs=True,<br> ssl_assert_hostname=False,<br> ssl_show_warn=False,<br> ca_certs=ca_certs_path<br>)<br># Print out a debug print to see if connection is successful<br>print( client.info() )
For connections without the Security plugin, disable SSL:
client = OpenSearch(<br> hosts=[{'host': host, 'port': port}],<br> http_compress=True,<br> use_ssl=False,<br> verify_certs=False,<br> ssl_assert_hostname=False,<br> ssl_show_warn=False<br>)<br># Print out a debug print to see if connection is successful<br>print( client.info() )

Connect to Amazon OpenSearch Service
Before proceeding, please make sure:
- Boto3 library is installed, if not run the following command: pip3 install boto3
- aws-cli is installed and you have added an App ID and Key Secret
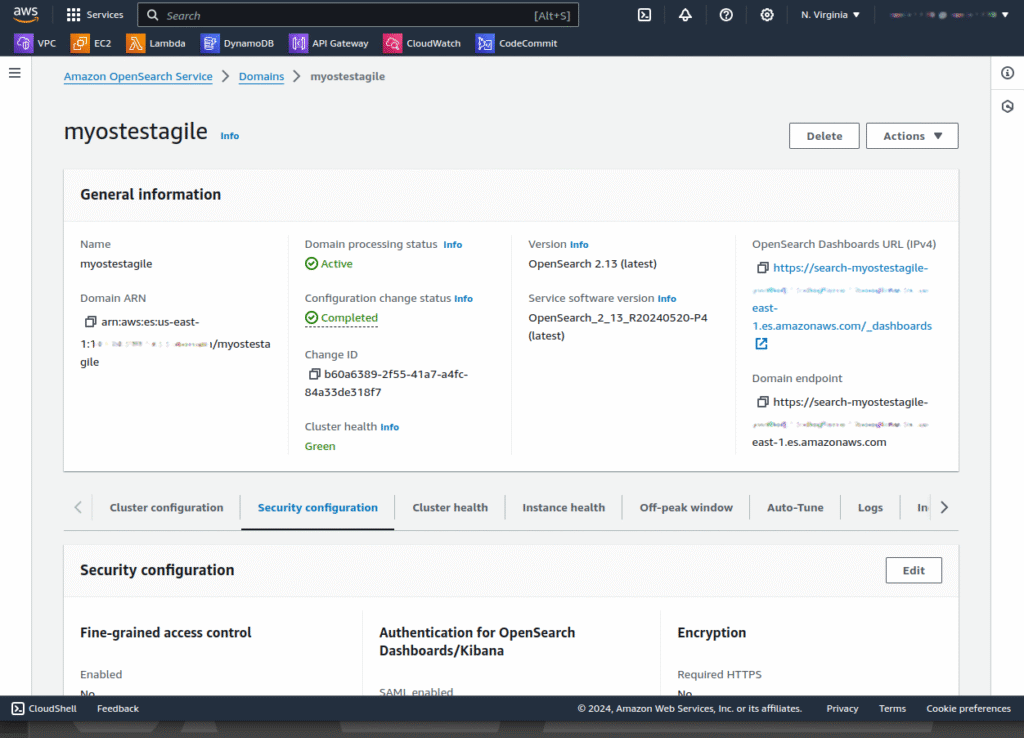
- You have edited OpenSearch Security settings to allow your AWS user (whose credentials are pulled in via boto3). To do this, navigate to AWS OpenSearch Console > Domains > [Your Domain].
To connect to Amazon OpenSearch Service, use AWS credentials and specify the connection details:
from opensearchpy import OpenSearch, RequestsHttpConnection, AWSV4SignerAuth<br>import boto3<br>host = 'my-example-domain.us-east-1.es.amazonaws.com'<br>region = 'us-east-1'<br>service = 'es'<br>credentials = boto3.Session().get_credentials()<br>auth = AWSV4SignerAuth(credentials, region, service)<br>client = OpenSearch(<br> hosts=[{'host': host, 'port': 443}],<br> http_auth=auth,<br> use_ssl=True,<br> verify_certs=True,<br> connection_class=RequestsHttpConnection,<br> pool_maxsize=30<br>)<br># Check if above command succeeded or not<br> print( client.info() )

The Policy document explicitly denies access by default, please allow for it for your IAM user by using the following JSON:
{<br> "Version": "2012-10-17",<br> "Statement": [<br> {<br> "Effect": "Allow",<br> "Principal": {<br> "AWS": "arn:aws:iam::XXXXXXXX:user/YOUR_USER"<br> },<br> "Action": "es:*",<br> "Resource": "arn:aws:es:us-east-1:XXXXXXXXX:domain/myostestagile/*"<br> }<br> ]<br>}
Create an OpenSearch Index
To create an index, use a script similar to this:
index_name = 'python-example-index'<br>index_body = {<br> 'settings': {<br> 'index': {<br> 'number_of_shards': 5<br> }<br> }<br>}<br>response = client.indices.create(index_name, body=index_body)<br>print('Creating index:', response)

Index a Document
To index a document, use the client.index() method. For example:
document = {<br> 'title': 'To Kill a Mockingbird',<br> 'author': 'Harper Lee',<br> 'year': '1960'<br>}<br>response = client.index(<br> index='python-example-index',<br> body=document,<br> id='1',<br> refresh=True<br>)<br>print('Adding document:', response)

Perform Bulk Operations
For bulk operations, use the client.bulk() method. This supports multiple simultaneous operations, which can be of the same or different types. To separate operations, use n. For example:books = '{ "index" : { "_index" : "example-dsl-index", "_id" : "1" } } n { "title" : "To Kill a Mockingbird", "author" : "Harper Lee", "year" : "1960"} n { "create" : { "_index" : "example-dsl-index", "_id" : "2" } } n { "title" : "1984", "author" : "George Orwell", "year" : "1949"} n { "update" : {"_id" : "2", "_index" : "example-dsl-index" } } n { "doc" : {"year" : "1950"} }'<br><br>client.bulk(body=books)

Search for Documents
To search for documents, create a query using the client.search() method:
q = 'Harper Lee'<br>query = {<br> 'size': 5,<br> 'query': {<br> 'multi_match': {<br> 'query': q,<br> 'fields': ['title^2', 'author']<br> }<br> }<br>}<br>response = client.search(<br> body=query,<br> index='python-example-index'<br>)<br>print('Search results:', response)

Delete a Document
The client.delete() method can be used to delete documents:
response = client.delete(<br> index='python-example-index',<br> id='1'<br>)<br>print('Deleting document:', response

Delete an Index
To delete an index, use the client.indices.delete() method:
response = client.indices.delete(<br> index='python-example-index'<br>)<br>print('Deleting index:', response)

Managed Application Observability with Coralogix
Coralogix sets itself apart in observability with its modern architecture, enabling real-time insights into logs, metrics, and traces with built-in cost optimization. Coralogix’s straightforward pricing covers all its platform offerings including APM, RUM, SIEM, infrastructure monitoring and much more. With unparalleled support that features less than 1 minute response times and 1 hour resolution times, Coralogix is a leading choice for thousands of organizations across the globe.